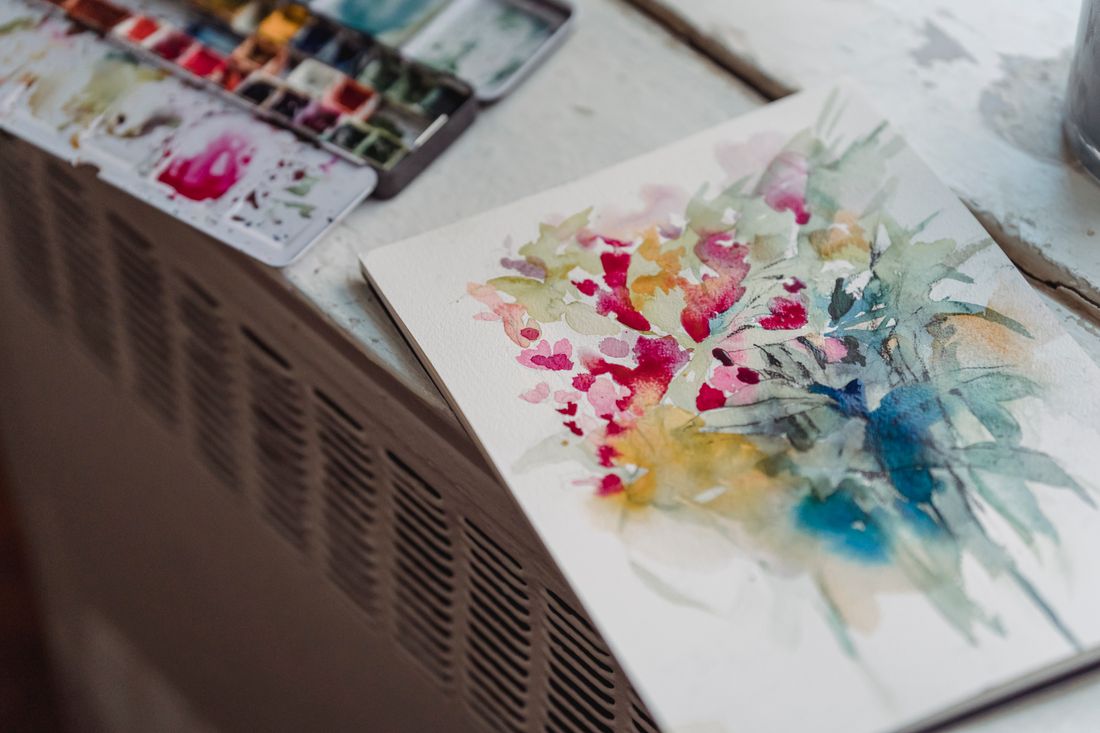
A flatbed scanner and a camera solve the same problem (getting a work on paper into a digital file) in almost opposite ways. A scanner gives back flat, even, repeatable color every time, but it can't show what a deckled edge, a raised brushstroke, or a sheet of gold leaf actually looks like. A camera shows all of that, at the cost of a lighting setup and more variation between shoots. Picking the wrong one for a given piece costs either accuracy or texture, sometimes both.
A scanner gives flat, repeatable color but flattens surface texture to gray; a camera captures deckled edges, paint texture, and metallic sheen but needs careful lighting to match a scanner's color consistency. Choose based on the piece's size, fragility, and what the final file needs to prove: color, surface, or both.
When does a flatbed scanner actually win?
A flatbed scanner wins when a sheet is flat, fits the bed, and needs steady, repeatable color (reproduction prints, small giclée editions, or a catalog where every piece should look consistent from one file to the next). It skips a lighting setup entirely and gives back nearly the same result every time.
The scanner's light source and sensor sit at a fixed distance from the glass on every pass, so a scan taken in the morning and one taken a week later land within a hair of each other in color and exposure. That consistency is what a print run or a small edition actually needs. Nobody wants five prints that each carry a slightly different cast because the light in the room changed between shoots.
A scanner also removes most of the setup a camera copy stand requires. There's no light to level, no reflection to chase out of a glossy patch of ink, and no lens distortion to correct at the edges of the frame. For a stack of works on paper that all need one clean master file (a printmaker documenting an edition, an illustrator preparing files for a run, a gallery building a flat archive of pieces that don't need texture documented), a scanner moves through that stack faster and with less drift between pieces than a camera setup, one sheet after another, without re-metering each time.
The tradeoff shows up the moment the work stops being flat, or stops fitting on the glass.
When does a camera actually win?
A camera wins whenever the surface of the paper is part of the work: a deckled edge, raised gouache, heavy graphite, torn margins, or anything larger than a scanner bed. A camera sees what light does to a surface at an angle. A scanner only sees what a flat scan of that same surface looks like head-on.
Raking light (light aimed low and to one side) is the whole reason a camera can do something a scanner structurally can't. It throws shadows across every ridge, fiber, and brushstroke, which is exactly how a viewer reads texture in person. A scanner's light source travels straight along the bed at a fixed, even angle, so it flattens that same ridge into a uniform gray. The paper looks correct in color and dead in texture.
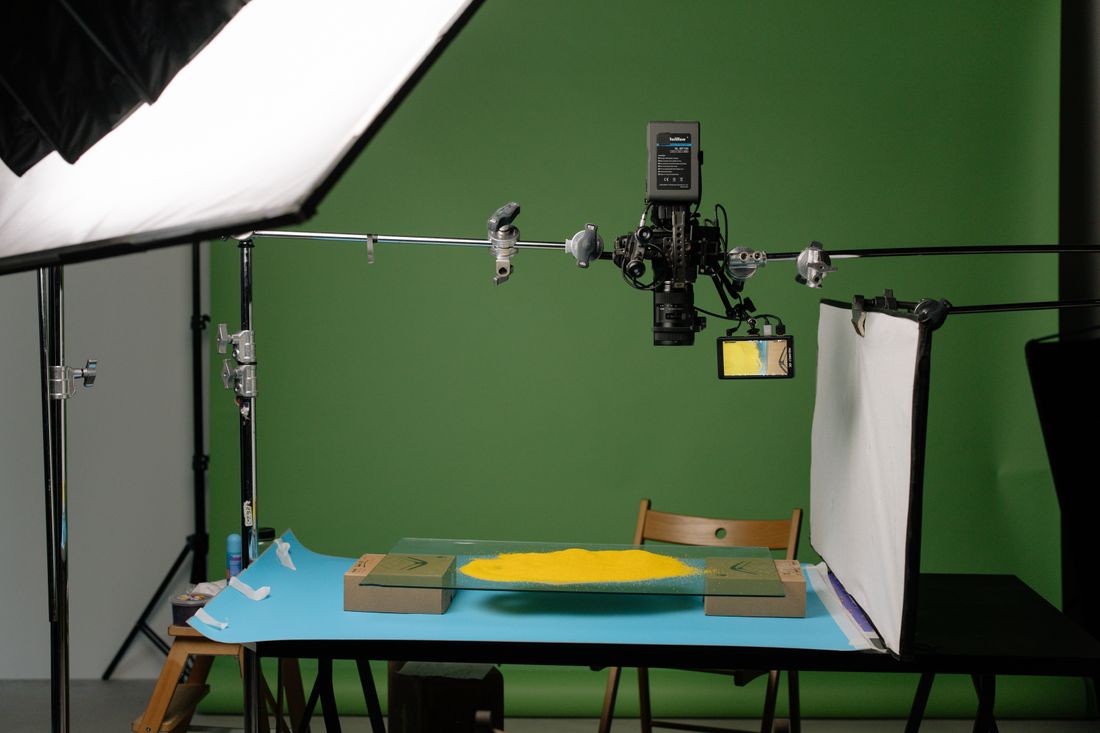
Size is the other deciding factor. Most flatbeds top out around 11x17 inches, with a smaller number of large-format models reaching further. A camera on a copy stand has no such ceiling. A sheet at any size gets photographed the same way, just from farther back or with a wider lens. For a diploma-sized watercolor, either tool can do the job. For a full sheet of Arches paper or a large charcoal drawing, the scanner is already out of the conversation before texture even becomes the question. A camera also handles a piece that's slightly warped, cockled, or mounted on a mat board without forcing it flat first, which a scanner's glass lid effectively requires.
What are the size limits of a flatbed scanner?
Most consumer and prosumer flatbeds cap out at legal or tabloid size, roughly 8.5x14 or 11x17 inches, with a small number of large-format flatbeds reaching wider. Anything past that means tiling the piece across multiple scans and stitching them, which adds time and a real chance of visible seams.
Tiling works like this: the sheet gets scanned in overlapping sections, then the sections get aligned and blended in an image editor. It's a workable method for an oversized print or drawing that absolutely needs scanner-level flatness and color, but it's slow, and any slight shift in how the paper sits between passes shows up as a soft seam line running through the final file. It's a fallback, not a default.
This is also where a lot of studios quietly give up on scanning past a certain size and switch to a camera without ever framing it as a decision. The camera doesn't care whether the sheet is 9x12 or 30x40. The setup is identical, just farther back or with a longer lens. That's the practical line worth drawing on purpose: know the bed size of the scanner actually in the room, and treat anything larger as a camera job from the start rather than a scanning problem to solve with tiling.
Framed or matted works add another wrinkle. Most flatbeds can't accommodate a mat's thickness without crushing it against the glass, which pushes those pieces toward a camera regardless of their sheet size.
Color accuracy or texture fidelity: what's the real tradeoff?
Color accuracy and texture fidelity pull in opposite directions, and no single setup maximizes both. A scanner's fixed, even light gives the most reliable color match to the original but reads texture as flat gray. A camera can render texture in full but needs real color management to match a scanner's consistency.
The reason is physical, not a matter of better or worse equipment. A scanner's sensor travels the bed at a constant height with a light source built into the same carriage, so every point on the page gets hit by light from the same angle and distance every single time. That evenness is what makes the color trustworthy. There's no variable to introduce drift. It's also exactly what erases texture, because texture is only visible when light hits a surface unevenly.
A camera setup can absolutely match a scanner's color reliability, but it takes deliberate work to get there: even, diffused lighting across the whole sheet, a calibrated white balance, and a consistent shooting distance and angle from one piece to the next. Skip any of that and color drifts between sessions in a way a scanner never would. The honest way to frame the choice isn't "which is more accurate." It's asking whether the file needs to prove the paper's surface or prove its color, because chasing both at once with one exposure usually means neither comes out fully right.
What happens to graphite, gouache, and gold leaf under each method?
Graphite, thick gouache, and gold or metal leaf all behave badly on a scanner and predictably on a camera, because all three depend on how they reflect light from a specific angle rather than how they look under flat, even illumination. A scanner can only give even illumination. It has no other setting.
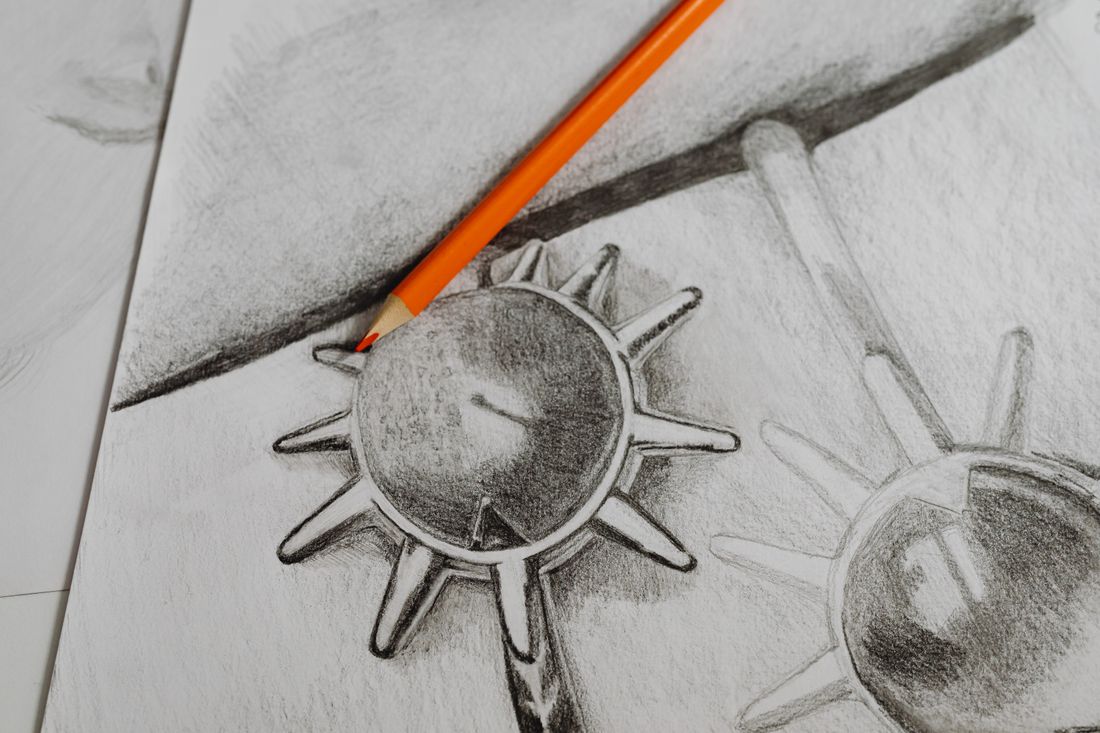
Graphite has a natural sheen that shifts as a viewer moves past the piece. Under a scanner's straight-on light, that sheen usually turns into a dull, sometimes blotchy patch rather than the soft shimmer a graphite drawing actually has in a frame on a wall. A camera with the light angled away from the lens axis avoids the worst of that glare and keeps the sheen readable instead of erasing it or blowing it out.
Gouache applied with any real thickness casts small shadows at its edges, which is part of how the medium reads in person. Flatten that light and the paint looks like a printed color swatch instead of a built-up surface. Gold and metal leaf are the most extreme version of the same problem: leaf is specular, meaning it reflects light in a tight, bright direction rather than scattering it, so a scanner's fixed light angle will either miss the shine entirely or blow a section of it out to solid white, with no way to adjust for it mid-scan. A camera lets someone move the light, or move around the piece, until the leaf actually catches it the way it's meant to.
Which works are too fragile to press to a scanner's glass?
Some works on paper should never touch a scanner's glass at all: loose pastel, charcoal, or chalk that sheds; anything with flaking or lifting media; brittle or heavily foxed antique paper; and pieces already mounted, framed, or hinged in a way that can't be removed for a scan. A camera photographs all of these without contact.
The risk with pastel and charcoal is straightforward. The pigment sits loosely on the paper's surface rather than binding into it, and the pressure of a scanner lid, even a light one, can transfer some of that pigment straight onto the glass and lift it off the piece. That's not a hypothetical; it's the same reason conservators handle chalk media under glass frames rather than sleeves. Foxed or brittle antique paper carries a different risk: the sheet itself can crack or tear under even gentle pressure, and once it's damaged, there's no scan quality that fixes that.
Anything already framed, matted, or hinged into a mount usually can't go anywhere near a scanner bed regardless of the media, simply because it won't lie flat against the glass without disassembling the mount first. A camera on a copy stand handles every one of these cases the same way: no contact, no pressure, nothing but light. For genuinely fragile work, that's less a preference than the only responsible option on the table, and often the point where documenting it yourself stops being worth the risk. What professional documentation costs is worth a look before you press anything to glass.
What does a hybrid scanning-and-photography approach look like?
A hybrid approach uses a scanner for the color-accurate master file, plus a camera for a few supporting shots the scan can't provide: a raking-light detail of the surface, a straight-on shot of an edge or signature, and a wider view of the piece in its mat.
Most working studios end up doing some version of this without naming it.
In practice, that looks like scanning the flat, unmounted sheet for the primary reproduction file, then setting the camera up separately for two or three targeted images: one lit from a low angle across the surface to document texture and condition, one of any deckled or torn edge that identifies the piece, and one of the signature or any inscription. None of those secondary shots need to match the scanner's color perfectly, because they're not standing in for the master file. They're documenting something the master file was never going to show in the first place.
This is also the practical answer for a body of work that's mostly flat and scannable except for one or two pieces with real texture or metallic media. Rather than switching the whole batch to camera work because a handful of pieces need it, most studios scan what fits the bed and photographs cleanly, then pull the camera out only for the outliers. It's slower than picking one tool and staying with it, but it matches the tool to what each piece actually needs instead of forcing every piece through the same workflow.
How does the intended output decide the method?
The intended output should decide the method before anything else does. A print reproduction or edition wants a scanner's color consistency, if the piece fits the bed. An archive or insurance record wants whichever tool shows the paper's real condition and surface. A web portfolio image usually needs to look good at screen size, which either tool can manage.
Print reproduction is the clearest case for a scanner, because a giclée printer is reproducing the file's color values directly. Any inconsistency in the source file becomes an inconsistency on the wall. An archive built for insurance or condition records is closer to the opposite case: an appraiser or adjuster wants to see the piece as it actually exists, including any texture, damage, or surface irregularity a flat scan would smooth away, which usually points toward a camera with raking light for at least part of that record.
A web-facing portfolio image sits in the middle and tends to get overthought. Screens compress detail regardless of source, and most viewers are looking at a piece on a phone for a few seconds, not inspecting brushwork at full resolution. A clean scan or a well-lit photo both clear that bar easily. The only reason to reach for a camera here instead of a scanner is when the artwork's texture is genuinely part of what sells the piece (a heavily worked drawing, a collage with visible layers), where a flat scan would undersell the actual object.
Frequently asked questions
Can a large watercolor be scanned in sections and stitched together?
Yes, this is called tiling: the sheet gets scanned in overlapping sections, then the sections are aligned and blended in an image editor. It works for pieces that need scanner-level color and can't be photographed instead, but it's slow and any slight shift in how the paper sits between passes can leave a faint seam line in the finished file. Most studios treat it as a fallback for oversized pieces, not a default method.
Does a scan always look more color-accurate than a photograph?
Not automatically. A scanner is more consistent by default because its light source and sensor distance never change between passes. A camera can match or beat that accuracy, but only with deliberate work: even diffused lighting, a proper white balance, and a fixed shooting distance and angle. Skip any of those steps and a photograph's color will drift from piece to piece in a way a plain scan usually won't.
Will a flatbed scanner flatten out the texture of gouache or thickly applied paint?
Yes, and there's no scanner setting that fixes it. Texture only reads visually when light hits a surface at an angle and casts small shadows, and a scanner's built-in light travels straight along the bed at a fixed, even angle by design. That evenness is what makes its color reliable, but it also erases the raised brushwork or paint edges a camera with angled, raking light would show clearly.
What kind of scanner is worth using for a small studio's works on paper?
A flatbed scanner sized to the largest sheet the studio regularly handles is the practical starting point. Legal or tabloid size covers most working paper, and reaching for a larger-format model only makes sense if oversized pieces are routine. Beyond bed size, the features that matter most are a stable light source and consistent color response from scan to scan, not a higher headline resolution number.
Can a phone camera replace a scanner or a proper copy-stand setup?
For a quick reference image or a social post, usually. For a reproduction file, an archive record, or anything that needs to hold up at a larger size, no. A phone's fixed lens, auto white balance, and handheld angle introduce exactly the inconsistency both a scanner and a proper copy-stand camera are built to avoid, and that shows up fast once the file gets printed or zoomed in on.
Give your collection a record that holds up.
We document artwork the way an adjuster or appraiser would actually want to see it: full views, accurate color, condition detail, and a system that keeps every file tied to the right record.
Explore artwork documentation →