
A drawing, print, watercolor, or paper collage carries its own physical memory. Cockling from old humidity, a deckled edge left by the mould, a plate mark pressed in by an etching press, all of it is real information about the object, and all of it disappears under the flat, even lighting most documentation defaults to. This piece works through the tension between accuracy and evidence, when a flat file is the right answer, when raking light is the right answer, why the paper's own white can shift grey or blue on camera, and the practical decisions in between, how much pressure is safe when flattening a curled sheet, whether the deckle edge belongs in the frame, and what changes when the work is already behind glass.
Shoot two files instead of one. A flat, evenly lit file gives accurate color and value for print, web, or a gallery submission. A separate raking light file, made with one low angled source, records cockling, deckle edges, plate marks, and embossing exactly as they exist on the sheet.
Why does flat, even lighting make a drawing look like a print of itself?
Flat, even lighting removes shadow, which is exactly what proves a sheet has thickness, tooth, and history. A charcoal drawing lit dead flat photographs the same as a giclée print of that same drawing. A watercolor, a paper collage, a folded zine page, all of it starts to read as a screen image rather than an object someone could pick up.
Accuracy is the job most clients ask for first. Even, shadowless light from two matched sources reads color, value, and edge placement the way a printer or an appraiser needs to see them. That flat file is correct, and it should stay correct. It is also, on its own, quiet about the surface. Cockling from old moisture, a plate mark pressed in by an etching press, the soft ridge where a mat window sat for years, none of that survives flat light.
That is not a flaw in the lighting. It is the lighting doing what it was set up to do. Trouble starts when a flat file gets treated as the complete record. A viewer looking at a flat scan has no way to tell a drawing from a reproduction of it, and for works on paper, that difference carries real value. The fix is not a better flat setup. It is accepting that flat light answers one question, what does this look like, and leaves a second question, what is this made of, unanswered. Both are worth shooting for on purpose, which is the whole premise of documenting paper properly.
What does raking light actually reveal on paper?
Raking light means one light source set low and to the side, close to the plane of the paper, so shadows fall long across every ridge and dent instead of disappearing into flat, frontal fill. That single change is what turns cockling, curl, plate marks, and embossing from invisible to obvious in the same photograph.
The technique is simple once the goal is clear. One source, at a shallow angle roughly ten to twenty degrees off the paper's surface, throws a shadow behind anything that interrupts the plane. A cockled sheet, the gentle waviness that shows up after years of humidity swings, suddenly has visible peaks and valleys instead of a flat gray field. A deckled edge, the soft, irregular fiber border left by handmade or mould-made paper, picks up a fringe of shadow a straight, machine-cut edge never produces. The same low angle is what separates laid paper's fine parallel ribbing, or a cold-press sheet's pebbled tooth, from a smooth hot-press surface, texture a flat scan flattens into one uniform grey.
This file usually looks worse to an untrained eye, and that reaction is normal. Raking light is not trying to flatter. It is trying to be honest about condition and process, which is exactly what a conservator, an appraiser, or a careful buyer wants to see before anything else. A studio that only offers one lighting setup for paper is quietly deciding that this kind of evidence does not matter, and for many works on paper, it does.
Why does the paper's white turn grey or blue in photos?
Paper white shifts grey or blue on camera almost always because the light source and the camera's white balance disagree, not because anything is wrong with the paper. Gallery track lighting, mixed daylight and tungsten, or a phone's automatic white balance guessing at the scene all pull a true, warm cotton-rag white toward cool blue or flat grey.
A color-accurate documentation file corrects this with a calibrated color target, a small printed card with known grey and color patches, shot in the same frame or the same lighting setup as the piece. That target gives a fixed reference point in post-production, so the paper's actual white gets set back to neutral instead of whatever the ambient light happened to cast. Skipping the target does not mean skipping the problem, it just means nobody catches the drift until the file is already printed or posted.
This matters more on paper than on canvas because paper white is often part of the composition itself, the untouched margin around a drawing, the negative space in a collage, a zine page's stock color read as intentional. A blue-grey cast on that white does not just look slightly off, it changes what the piece is actually saying. Two matched, color-balanced light sources plus a target shot at the start of a session is the practical fix, and it is worth asking a studio whether that step is part of their standard flat-file workflow before assuming it is.
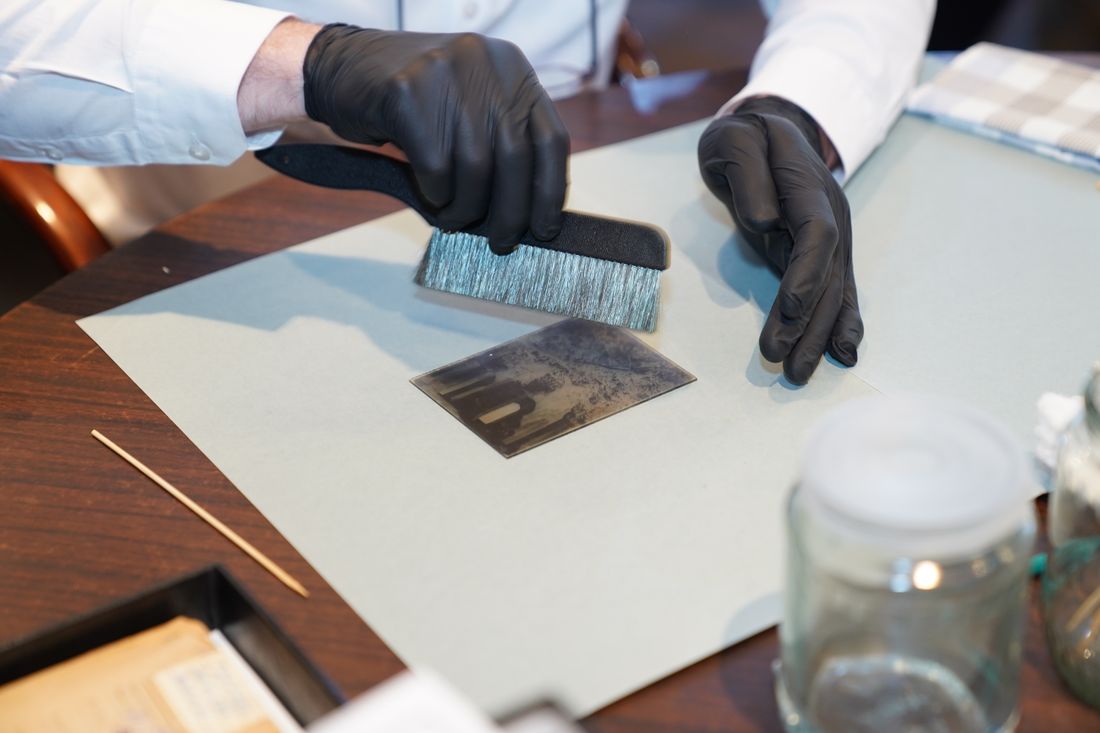
Why do most works on paper need two separate photo files?
Most works on paper need two separate files, not one compromise file, because a flat color-true image and a raking evidence image are answering different questions for different audiences. Trying to make one photograph do both jobs usually means it does neither one particularly well.
The flat file is the working image. It goes to a print vendor for a reproduction, into a gallery submission, onto a website, or into a portfolio, anywhere the goal is showing what the piece looks like with accurate color and clean, even value. For that use, flat and shadowless is correct, not a compromise.
The raking file is the condition record. It supports an insurance appraisal, a conservation note, a condition report before a loan, or simply an artist's own archive of a piece's physical state at a point in time. A studio's standard documentation tier already includes a hero shot plus two separate detail shots, so the raking file often fits naturally as one of those details rather than as an extra line item, worth asking about directly.
In practice, that means budgeting time for a second setup in the same session rather than treating the raking shot as an afterthought. It takes a few extra minutes per piece to reposition one light and reshoot. Skipping that step to save time is the most common reason a client later asks for images a studio never captured, and by then the piece may have been reframed, relined, or sold.
How much pressure is safe when flattening a curled or cockled sheet?
Flattening a curled or cockled sheet before shooting is sometimes appropriate and sometimes exactly the wrong move, and the difference comes down to whether the goal is an accurate flat file or an honest condition record. A flat file benefits from gentle, reversible flattening. A condition file does not want the curl removed at all.
For the flat, color-true shot, light and even weight helps. A clean sheet of non-reflective glass, sometimes called museum glass when the piece justifies it, laid gently over the paper with a soft interleaving sheet at the glass edge, keeps the surface flat without pressing hard enough to crush texture that matters, like heavy impasto pastel or thick gouache. The glazing should rest on its own weight, not get pressed down further by hand, and should never touch fragile or friable media directly.
Pressure is where judgment matters most. A sheet with active media, loose charcoal, pastel, or anything that could smear or lift, should not get glass pressed onto it at all. In those cases, weighted strips along the borders, clear of the image area, do the flattening work instead. A sheet simply curled from storage, with no fragile surface media, tolerates light glazing well.
For the raking, evidence shot, none of this happens. The curl, the cockle, the wave in the sheet, all of it stays exactly as found, because removing it removes the very thing that shot exists to document. Asking a studio which approach they are using for a given frame, and why, is a reasonable question before any pressure touches the paper.
Should the deckle edge stay in the frame or get cropped out?
Whether the deckle edge stays in frame or gets cropped out depends on what the photograph is for, and the honest answer is that both choices are correct in different contexts. There is no universal rule that the edge must always show or always disappear.
For a flat reproduction file headed to print or web, cropping tight to the image area, or just outside it, usually reads cleaner and matches how most viewers expect to see a piece of art represented online or in a catalogue. The deckle can become a distraction in a small thumbnail, and most print vendors want a clean rectangle to work from anyway. This is the more common request for marketing and sales use, and it applies as much to a torn-edge paper collage as it does to a drawing.
For the raking, evidence file, the deckle edge is often exactly what needs documenting. A genuine deckle, left by handmade or mould-made paper during production, is a meaningful physical characteristic, sometimes tied to a specific mill or period, and cropping it out removes information a conservator or appraiser might actually need. Keeping the full sheet in frame, ideally with a small scale reference nearby, preserves that detail for anyone who needs to measure or authenticate later.
The decision is worth stating out loud before the shoot rather than assuming. Telling a studio to keep the deckle visible on the condition shots, and crop tight on the reproduction file, takes one sentence and avoids a second session later when a registrar or appraiser asks for an image nobody thought to capture the first time.
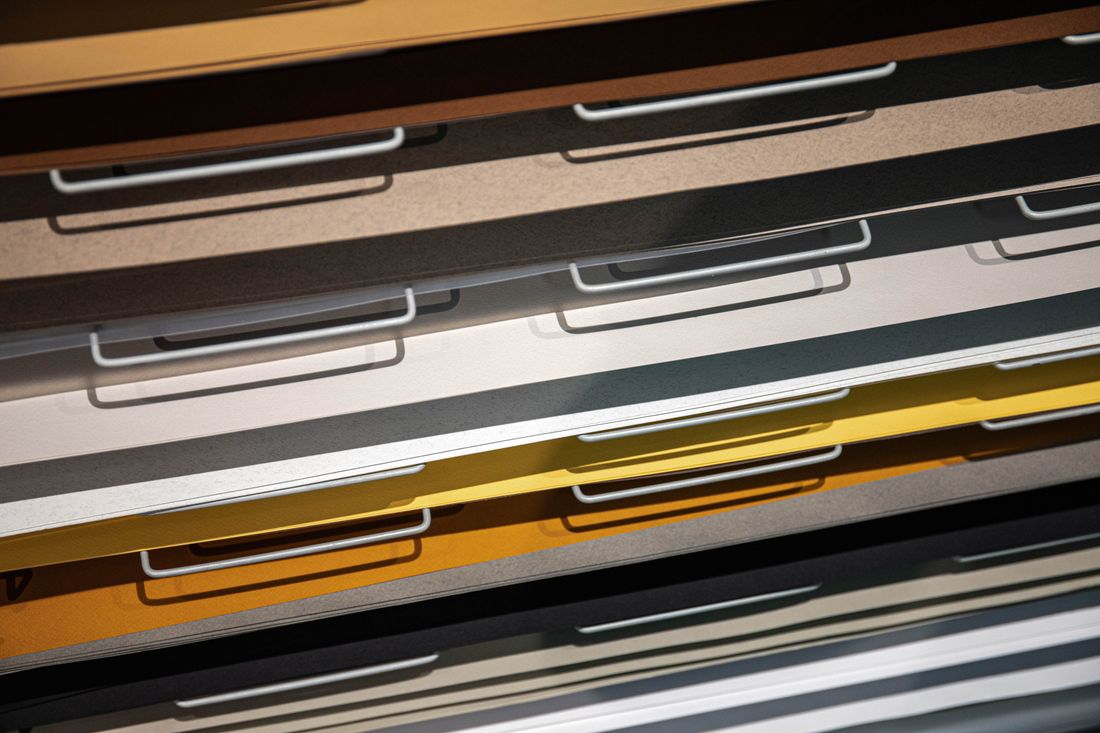
What does an unframed work on paper need before the shoot?
An unframed work on paper is the easier case, and it mostly needs a clean, flat, low-friction surface and a hands-off approach to the sheet itself, since anything unframed can still be repositioned, tilted, folded at a corner, or accidentally creased during ordinary handling before the camera is even set up. That includes a bound zine page or a multi-layer collage as much as a single drawing.
The work should sit on a rigid, clean support, a light table, a sheet of acid-free board, or simply a clear flat surface, large enough that the whole piece lies flat without curling off the edge. Static-prone plastic sleeves should come off before shooting, since they pick up dust and create odd reflections under raking light. A piece stored rolled may need time flat under light, even weight before the shoot rather than being forced flat under pressure in front of the camera.
Handling matters more than people expect. Bare hands carry oils that can mark porous paper over time, so cotton gloves or clean, dry handling by the edges only is the safer default, especially for older or more fragile sheets. A studio should ask before the session whether the piece can be lightly weighted at the corners or edges, and whether any media on the surface is loose enough that even light contact from glazing is off the table.
Because there is no glass or frame in the way, unframed work is also where the raking-light shot tends to look its clearest. Every ridge, curl, and deckle is visible without a pane of glass adding its own reflections or distortion on top of the paper's own texture.
What changes when the work on paper is already framed behind glass?
A framed work on paper changes the plan mainly because of the glass or acrylic glazing sitting between the camera and the sheet, which adds reflection, sometimes distortion, and usually rules out true raking light unless the piece comes out of the frame first.
The first question worth asking is whether removing the glazing is possible and appropriate. A conservator or framer, not the photography studio, should make that call when the piece is valuable, old, or fragile, since removing glazing on an already-fragile sheet carries its own risk. If it can safely come out, shooting it unframed briefly gives access to both the flat file and a genuine raking file, then the piece goes back into its frame.
If the glazing has to stay, the flat file is still achievable with a polarized lighting setup built to control reflection off glass, usually priced as a flat add-on rather than folded into the base rate, worth confirming before booking. Color and contrast may shift slightly compared to an unglazed shot, worth flagging to whoever receives the file. A true raking shot behind glass is close to impossible to get clean, since the glazing itself picks up the low, angled light and throws it back at the lens as glare. Clean glass helps either way, so wiping the surface with a microfiber cloth before the session is worth doing ahead of time.
In that situation, the honest move is telling the client what the file can and cannot show. A flat, accurate color file behind glass is still useful for most purposes. A condition record showing surface texture may need to wait for a future reframing, cleaning, or conservation visit when the glazing comes off anyway, and that gap is worth naming rather than pretending the glazed shot covers both needs.
Which file, flat or raking, should actually go where?
Which file to use depends entirely on who is asking and why, and mixing the two up is the most common mistake once both files exist. The flat file is for anyone judging what the piece looks like. The raking file is for anyone judging what condition it is in or what it is made of.
An insurance appraiser or a conservator wants the raking file first, alongside close, even lit detail shots of any specific damage, foxing, tears, or losses. That file supports a condition report and a defensible valuation, since it shows the paper as it actually exists rather than as a clean, idealized version of it.
A print vendor, gallery submission portal, or website almost always wants the flat file. Color accuracy and clean, even value matter more there than proving the sheet has physical depth, and a raking shot sent to a printer can actually confuse the reproduction process by introducing shadow the printer has no way to know is not part of the artwork.
Booking logistics are worth knowing going in. A documentation session in NYC carries a modest per-booking minimum, meaning it usually makes sense to bring a few extra pieces to the same appointment rather than one at a time, and there is no separate travel charge within Manhattan. Standard turnaround runs about ten business days, with a faster delivery available for a fee when a deadline is tight. Labeling files clearly when the shoot wraps, flat versus raking, by date and piece, saves real confusion two years later when someone reaches for the wrong one.
Frequently asked questions
Do you always need both a flat file and a raking-light file for a work on paper?
Not always, but for most pieces worth documenting carefully, yes. A flat file gives accurate color and value for print, web, or a gallery submission. A raking file records cockling, deckle edges, plate marks, and other physical evidence a flat scan erases. If the piece is going into an appraisal, insurance file, or condition report, skipping the raking shot means that record does not actually exist yet.
Is it safe to flatten a curled or cockled sheet before photographing it?
It depends on the media and the purpose of the shot. Gentle, reversible weight, like clean non-reflective glass resting on its own weight, is usually fine for a flat color file on a stable sheet. Loose media like charcoal or pastel should never get glass pressed onto it. For the raking, evidence shot, the curl should stay exactly as found, since removing it removes the thing being documented.
Why does my paper look grey or blue instead of its actual white in photos?
It usually comes down to the light source and the camera's white balance disagreeing, not the paper itself. Gallery track lighting or mixed daylight and tungsten both pull a warm, true white toward cool blue or flat grey. Shooting against a calibrated color target and correcting to it in post is the fix, and it is worth asking a studio whether that step is part of their normal flat-file process.
Should the deckle edge be visible in the final photograph?
It depends on which file it is. For a flat file headed to print, web, or a gallery submission, cropping tight to the image area usually reads cleaner and is the more common request. For a raking, condition file, keeping the deckle in frame with a small scale reference preserves a real physical detail a conservator or appraiser may need later. Stating the preference up front avoids a second, avoidable reshoot.
What changes if the work on paper is already framed behind glass?
Glazing adds reflection and usually rules out a true raking shot unless the piece comes out of the frame, which is a call for a conservator or framer, not the studio, on valuable or fragile pieces. A flat, color-accurate file is still achievable behind glass with a polarized lighting setup, though contrast may shift slightly. A full condition record may need to wait until the piece is reframed or cleaned.
Give your collection a record that holds up.
We document artwork the way an adjuster or appraiser would actually want to see it: full views, accurate color, condition detail, and a system that keeps every file tied to the right record.
Explore artwork documentation →