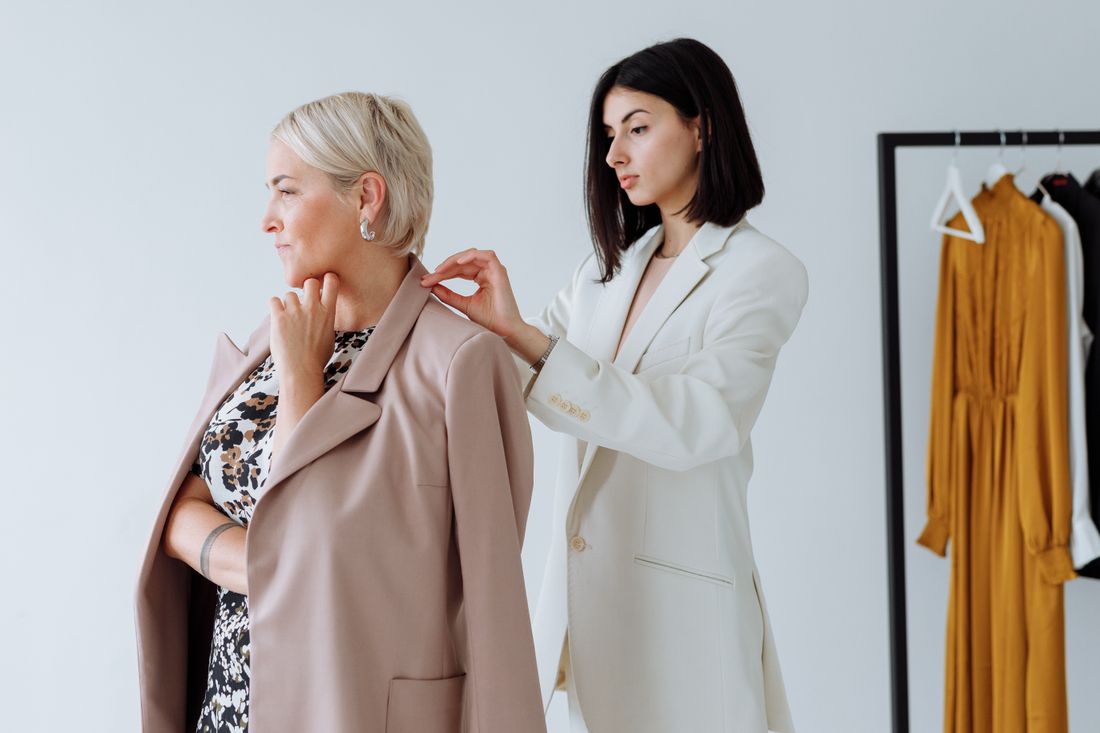
Sample sizes are cut for a narrow range of bodies, and most people photographed for a portrait or branding shoot, artists, gallerists, founders, don't fall inside that range. This is a guide to what a stylist actually does when the pulled piece doesn't fit: what clamping and clipping can and can't solve, which pieces skip the problem entirely, when a subject's own wardrobe is the safer call, and where smart styling ends and misrepresenting someone's actual look begins.
When a pulled piece doesn't fit a non-model subject, a stylist works through a set order of fixes: forgiving pieces first, then clamping and clipping from behind, then quick on-set tools like pins and tape, then camera angle and posing. A garment that's structurally wrong needs a tailor before the shoot, not a fix on the day.
Why doesn't sample sizing fit most portrait subjects?
Sample sizes exist to fit garments efficiently through a fitting and grading process, not to represent the range of bodies that actually show up for portrait and branding shoots. Runway and lookbook samples are typically cut for a narrow, consistent set of measurements, so a rack pull rarely fits an artist, gallerist, or founder without adjustment.
A brand sample is built once, on one fit model, then reproduced at a handful of sizes for buyers and press. It was never engineered to flatter a wide range of proportions. When a stylist pulls that same sample for a portrait shoot, the fit is a starting point, not a guarantee. Waistbands sit differently, shoulders don't land where they should, sleeve length runs short or long, and the overall silhouette can read as either swimming on the body or straining at the seams.
None of this reflects anything about the subject. It reflects how the garment was made. A blazer cut for a fit model with a specific torso length will behave differently on a shorter or longer torso, regardless of overall size. This is why the first minutes with any non-model subject usually go to assessing fit honestly instead of assuming the pulled piece will just work.
Once a stylist treats fit as a garment-engineering problem rather than a body problem, the rest of the toolkit makes sense: clamping, alteration-free flattering pieces, the subject's own wardrobe, quick on-set fixes, and camera choices that do real work. Each is a response to the same starting fact, the clothes were built for someone else's measurements first.
What does clamping and clipping from behind actually fix?
Clamping and clipping pulls excess fabric to the back of a garment with binder clips, spring clamps, or safety pins so the front reads as fitted on camera. It works well for excess volume in the back, a loose waist, a gaping blazer, but it can't fix length, shoulder width, or fit problems that show from the side.
This is the single most common on-set fix for a subject who isn't a model, and it works because the camera only sees what's in frame. Gathering the extra fabric at the center back with a few clips, then smoothing the front, closes the gap between a garment's actual fit and how it reads in a straight-on or three-quarter shot.
The real limits show up fast. Clamping can't shorten sleeves or pant legs, and it can't fix a shoulder seam that sits too far down the arm, that reads as sloppy tailoring no matter how clean the front looks. It also breaks down the moment the subject turns. A profile shot, a walking frame, or any angle that reveals the back of the garment will show the clips, the pulled fabric, or an unnatural stiffness in how the fabric moves.
Clamping is a photography-only fix. It changes what the lens records, not what the garment actually does on the body. That distinction matters on set: the stylist plans shots around what clamping can hide before the fitting even starts, choosing angles and framing that keep the back out of frame rather than discovering mid-shoot that a great pose reveals every clip.
Which pieces flatter a body without needing alteration?
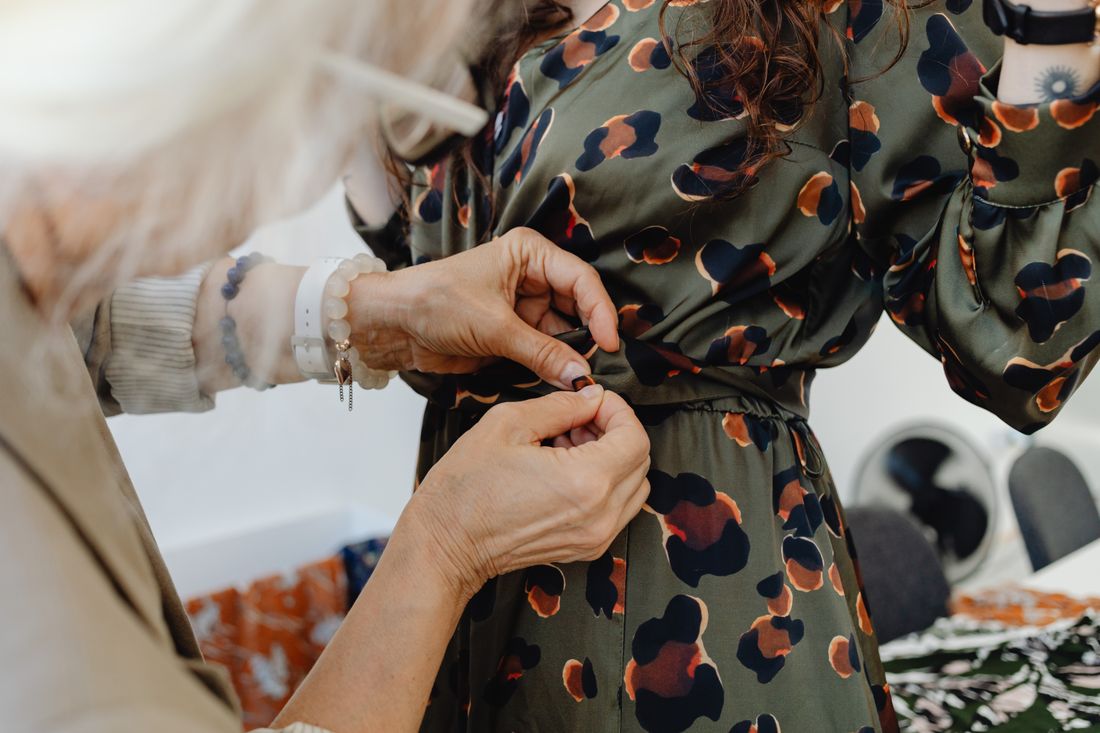
The pieces least likely to need alteration are ones with built-in ease: wrap styles, elastic or drawstring waists, unstructured blazers, and fabrics with natural stretch. These forgive a range of proportions because their fit isn't fixed at a single measurement, so a stylist reaches for them first when there's no time for a fitting.
A structured, fitted blazer with a defined waist seam has one correct body to sit on. A wrap dress or an oversized jacket has a working range. That range is the entire point when the subject's exact measurements aren't known ahead of time, or when the shoot is booking multiple people into the same rack.
Fabric matters as much as cut. A woven cotton shirt with no give shows every inch of gap or strain at the buttons. The same shirt in a cotton-spandex blend, or styled a half-size up and left slightly open, reads as intentional rather than tight. Midweight knits, ponte, and anything with mechanical stretch are far more forgiving than stiff, structured wovens.
Silhouette does real work too. A relaxed trouser or a longer-line jacket skims past fit issues that a slim cut would expose. Monochrome styling, where the top and bottom read as one continuous shape, hides waistband gaps that a contrasting outfit would call attention to. None of this is about disguising a body. It's about choosing garments engineered with more built-in room, so the piece does the flattering instead of the stylist scrambling to compensate for a rigid cut.
Why is a subject's own wardrobe often the safer choice?
A subject's own wardrobe is often the safer default because it's already fitted to their actual body, already worn the way they move, and already familiar enough that they'll relax in front of the camera. For non-model subjects especially, that combination of correct fit and personal comfort usually outperforms a beautifully pulled sample that fits nowhere close.
Pulled wardrobe photographs well in a lookbook, where the garment itself is the subject. A portrait or branding shoot has a different job: the person needs to look like themselves, at ease, in something that fits the way their real clothes fit. A stylist who reviews a subject's closet ahead of time, even over a quick photo call, is often solving the fit problem before it exists rather than fixing it on set.
This isn't a fallback position. Working from someone's own wardrobe means every piece already accounts for their proportions, their posture, and how they actually wear a garment day to day, rolled sleeves, a particular way a jacket sits open, a favorite fit that's slightly big through the shoulders on purpose. A stylist's job in that scenario shifts from fixing fit to editing choices: picking the strongest colors, textures, and silhouettes from what already works, then layering in one or two pulled pieces to sharpen the overall look.
The strongest sessions usually blend both. A base of the subject's own well-fitting clothes, with select pulled pieces added for texture or a stronger silhouette where the subject's closet runs thin, keeps the fit reliable while still giving the shoot a styled, considered look.
What can safety pins, clips, and tape actually solve on set?
Safety pins, binder clips, and double-sided fashion tape solve small, temporary problems: a gaping button, a loose waistband, a hem that needs a quick lift, or a neckline that won't sit flat. They're fast, reversible, and standard in every stylist's kit, but they only ever correct minor gaps, not a garment that's fundamentally the wrong size.
Fashion tape holds a neckline closed or keeps a wrap style from shifting during movement, which matters when a subject is posing rather than standing still. Safety pins take in a waistband from the inside, out of camera view, faster than clamping does for a small gap. Binder clips work best on heavier fabric at the back, where clamping alone might not hold.
The limit is scale. These tools manage an inch or two of excess or a small gap at a seam. They can't take in a jacket that's two sizes too big through the shoulders, and they can't add fabric to a shirt that won't close across the chest. Pushed past their actual range, pins and tape create visible pulling, puckering, or strain that reads worse on camera than the original problem.
Knowing where that line sits is part of the job. A stylist reaches for pins and tape as the quick, in-the-moment fix for something minor discovered mid-shoot, not as a substitute for sourcing the right piece in the first place. When a garment needs more correction than a pin can offer, that's the signal to swap the piece rather than spend the next twenty minutes fighting it in front of the lens.
What actually needs a tailor before the shoot?
A piece needs a tailor beforehand, not a clip on set, whenever the problem is structural: shoulder seams that miss the shoulder, sleeves or pant legs visibly too long or short, or a garment that won't close across the body. These change the garment's construction, not its silhouette in one frame.
The general rule: if fixing it would take more than a pin, a clip, or tape holding for the duration of one setup, it belongs with a tailor days before the shoot, not with the stylist minutes before call time. Hemming pants or sleeves, taking in a waist by more than an inch or two, or adjusting a shoulder seam all require cutting and resewing fabric, none of that happens on set.
This is where a pre-shoot fitting earns its place in the schedule. Trying on the actual pulled pieces, or the subject's own key pieces, far enough ahead of the shoot date leaves time to get real alterations done by a professional. Discovering a structural fit problem the morning of the shoot leaves only the on-set toolkit to work with, and that toolkit was never built for structural problems.
The cost of skipping this step usually isn't visible in a single photo. It shows up as extra time spent per outfit change, a subject who's uncomfortable and it reads on their face, or a stylist quietly deciding to reshoot in a different piece altogether because nothing short of a tailor was going to fix what showed up in the first few frames.
How do camera angle and posing do the work fit can't?
Camera angle and posing solve fit problems no clip or pin can touch: a three-quarter stance instead of square-on slims a silhouette, a slightly raised chin and a small gap between the arm and torso define the waist, and a slightly lower or higher camera height changes how proportion reads entirely. These choices happen before a single garment is adjusted.
A subject standing directly square to the lens shows the full width of any fit gap across the chest or waist. Turning the body slightly and shooting a three-quarter angle immediately narrows that same silhouette and hides most waistband or button strain without touching the garment at all. Small adjustments to where the arms sit, a hand in a pocket, a slight bend at the elbow, create negative space that reads as intentional styling rather than compensating for a loose fit.
Camera height and lens choice do similar work. Shooting from slightly above elongates the torso and can minimize how a boxy fit reads around the middle. A longer lens with more compression flattens some of the visual strain a tighter garment creates, where a wide lens up close would exaggerate it. None of these are tricks unique to non-model subjects, they're standard portrait technique that solves fit problems as a side effect.
The advantage of leaning on posing and angle is that it's free, fast, and reversible between frames. A stylist who's run out of clips or pins can hand the rest of the problem to the photographer, who can usually find an angle that makes a so-so fit look considered rather than accidental.
Where's the line between smart styling and misrepresentation?
The honest line sits between styling that flatters someone as they actually look and styling that produces an image no one would recognize in person. Choosing forgiving cuts, smart angles, and well-fitted pieces is standard craft. Cinching, padding, or radically reshaping a subject's proportions crosses into misrepresenting how they show up day to day.
Every technique in a stylist's kit, clamping, forgiving fabrics, posing, camera angle, is aimed at the same goal: making a garment that doesn't quite fit look considered on camera. That's craft, and it's normal on nearly every shoot with a non-model subject. The test is whether the person recognizes themselves in the final image, not whether the outfit looks flawless.
The line gets crossed when styling stops responding to the subject and starts overriding them: shapewear used to change body shape, extreme cinching that restricts movement or breathing for a photo, or heavy retouching planned to compensate for choices made on set that had nothing to do with lighting or wardrobe. A portrait meant to represent an artist, gallerist, or founder in ongoing use, a website, a press kit, a gallery bio, has a longer shelf life than a single campaign image, and needs to hold up next to how that person actually looks in a room.
For a working portrait or branding shoot, the safest habit is simple: solve fit problems with garment choice, clamping, and camera work first, and treat any technique that changes how a body looks as a last resort worth a second conversation before it's used.
Frequently asked questions
Can a stylist alter a pulled sample on the day of the shoot?
Minor changes are possible on set, taking in a waistband with pins, clamping excess fabric at the back, or securing a neckline with tape. Anything involving cutting, hemming, or resewing fabric needs a tailor and time, which a shoot day doesn't have. If a pulled sample needs structural alteration, the better move is swapping to a different piece or the subject's own wardrobe rather than forcing the original sample to work.
Does clamping clothing from behind show up on camera?
It shouldn't, as long as the shot is framed to keep the back of the garment out of view. Clamping works for straight-on and three-quarter angles where clips sit behind the body, out of the lens's line of sight. It breaks down the moment a pose or angle reveals the back, a profile shot, a turned shoulder, or a walking frame can expose the pulled fabric or the clips themselves, so angle choice has to account for it.
Should a non-model subject wear their own clothes for a portrait shoot?
Often, yes, especially when there's no time for a pre-shoot fitting. A subject's own clothes are already fitted to their body and already familiar, which usually reads as more natural and comfortable on camera than a pulled sample that fits imperfectly. The strongest approach is often a mix: a base of the subject's own well-fitting pieces, with a few pulled or sourced pieces added to sharpen color, texture, or silhouette where their closet runs thin.
What's the difference between styling for fit and misrepresenting how someone looks?
Styling for fit uses forgiving cuts, camera angle, and small on-set adjustments so a garment that doesn't quite fit reads as intentional. Misrepresentation happens when techniques go further than the garment: shapewear used to change body shape, extreme cinching, or heavy retouching planned to alter proportions rather than smooth a fit issue. The test is simple, the subject should recognize themselves in the final image, not see a stranger wearing their outfit.
Is a pre-shoot fitting necessary for someone who isn't a professional model?
It's not mandatory, but it's the single best way to avoid discovering a structural fit problem on shoot day. Trying on pulled pieces or reviewing the subject's own wardrobe ahead of time leaves room for real tailoring if something needs it, instead of relying only on clips, pins, and camera angle to compensate. For a subject with a less standard build relative to sample sizing, that lead time matters more, not less.
Not sure what to wear for your portrait session?
We build the wardrobe plan around your actual work and how you present it, so the clothes support the portrait instead of competing with it.
Explore styling services →