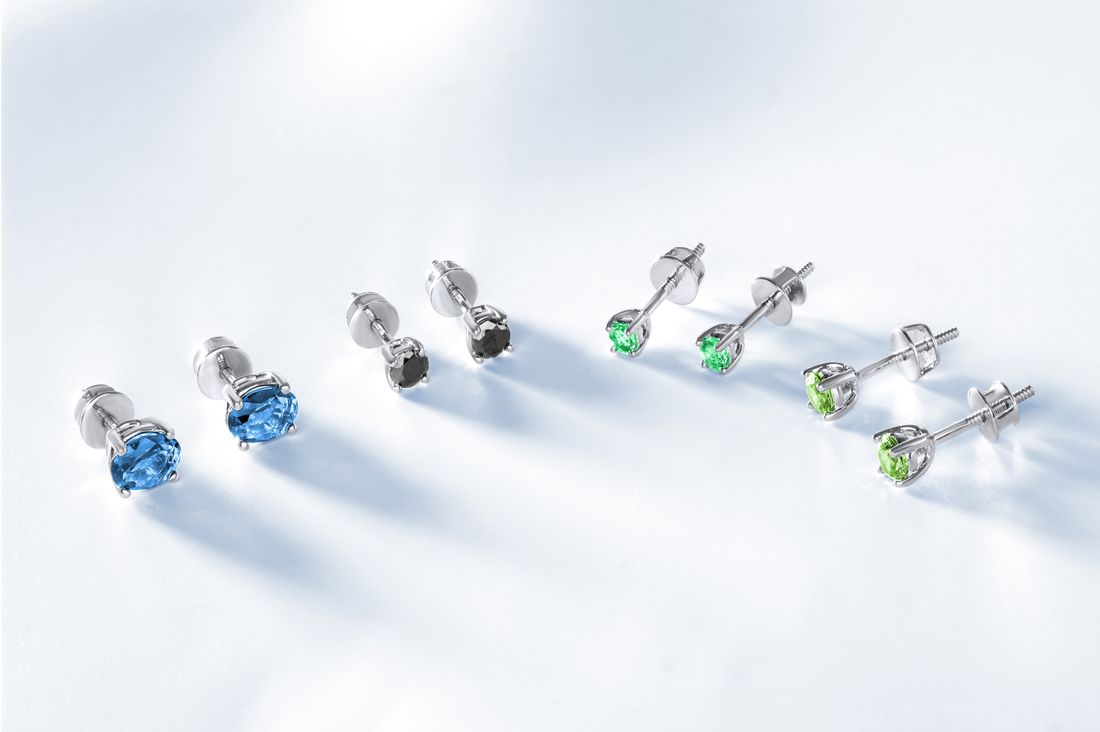
The smaller a piece is, the harder it becomes to hide anything. A dust speck that would vanish into a six-foot canvas becomes a visible flaw on a ring photographed close enough to show its texture. A fingerprint left from repositioning a bracelet reads as a smear once the lens gets close enough to reveal it. Jewelry and small-object photography runs on the same fundamentals as any other art documentation, but at a scale where every mistake gets magnified along with the object itself. Getting it right means treating focus, cleanliness, reflection, and light as one connected system, not a checklist worked through separately.
Jewelry and small-object photography scales up every flaw: dust, fingerprints, reflections, and soft focus that would be invisible on a painting become the dominant feature of a two-centimeter piece. A clean, accurate photograph comes from a deliberate handling routine, controlled diffusion for reflective surfaces, lighting sized to the object instead of the room, and a scale reference kept out of the hero frame. The core skills match any other art documentation. What changes is how little room there is for error.
Why Does Depth of Field Become the Central Problem in Jewelry Photography?
Depth of field shrinks dramatically at macro distances, so a ring photographed close enough to show its texture might have only a few millimeters in sharp focus at once. That narrow band forces a choice between a fully sharp piece and genuinely close detail, a tradeoff normal product photography rarely faces.
At normal working distances, closing the aperture down buys enough depth of field to keep a whole object sharp without giving up much in lighting or exposure time. Macro work removes that comfort zone. A gemstone's face can be tack sharp while the band of the same ring, only a few millimeters further back, reads as soft. Stopping down to f/16 or f/22 helps, but diffraction starts softening fine detail well before the depth of field problem fully disappears, so aperture alone only closes part of the gap.
Focus stacking, shooting several frames at slightly different focus points and combining them into one sharp composite, is what actually resolves the tradeoff for detailed macro work. It takes more setup time, since the object and camera both need to stay still between frames, but it delivers sharpness front to back without the softness that heavy stopping-down introduces.
A full stack isn't always necessary. Choosing one focus plane deliberately, usually the object's most important visual feature, and letting secondary elements go a little soft is often the faster, still-defensible choice, as long as that decision gets made on purpose rather than left to chance.
Why Does Surface Cleanliness Matter More the Smaller the Object Gets?
A dust speck invisible at arm's length becomes a visible flaw once a lens magnifies a two-centimeter object to fill a frame. Fingerprints, faint scratches, and settled dust all scale up the same way, which makes surface cleanliness a bigger factor in small-object photography than it is almost anywhere else.
On a painting or a large sculpture, a few dust particles simply vanish into the overall scale of the piece. On a ring or a pair of earrings, that same dust sits right at the size the viewer is meant to focus on. A single fingerprint on a polished metal band can read as a smear across the whole highlight, and a faint film of oil on a gemstone facet dulls exactly the sparkle the photograph is supposed to capture.
The fix is a cleaning routine that happens before the piece sits in front of the lens, not a plan to fix it later in editing. A soft, lint-free cloth handles most metal and glass surfaces. Compressed air, used from a distance and in short bursts, clears dust from settings and crevices a cloth can't reach without risking a scratch. Gemstones with inclusions or soft stones like opal or pearl need gentler handling than hard stones like diamond or sapphire, since some materials scratch or cloud with the wrong cleaning approach.
Cleaning between shots matters as much as cleaning before the first one. Repositioning a piece reintroduces fingerprints almost immediately, so a quick wipe before each new angle keeps the whole set consistent instead of clean at first and steadily worse after.
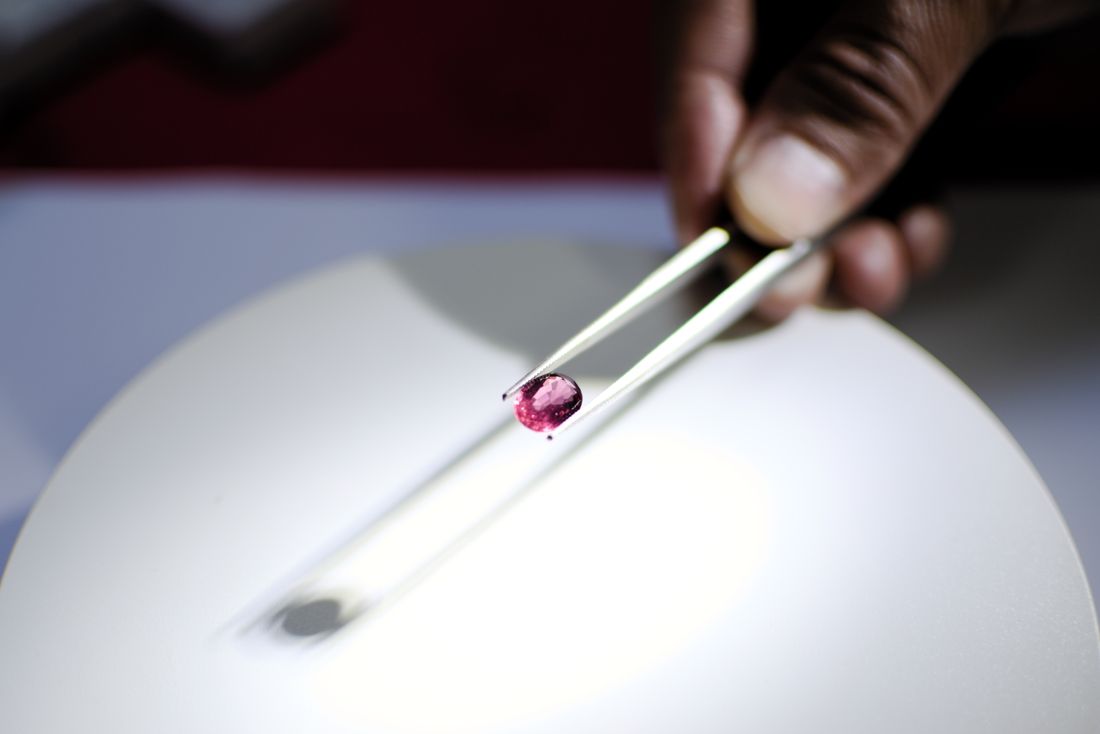
What Handling Routine Keeps Small Objects Consistent Between Shots?
A consistent handling routine, gloves or clean bare hands, dedicated tools for repositioning, and a fixed sequence for picking up and setting down each piece, keeps small-object photography from sliding backward between shots. Without it, the cleaning work done at the start of a session gets quietly undone one touch at a time.
Cotton or nitrile gloves prevent the oil transfer that bare hands leave on polished metal and gemstone surfaces, though gloves reduce the fine control needed for precise repositioning, so many photographers switch to clean bare hands only for the moments that need it and glove up for everything else. Either approach works as long as it's applied consistently rather than switched on and off without a reason.
Small tools do a lot of the actual work. A pair of nylon-tipped tweezers or a small foam cradle lets a photographer adjust a ring's angle by a degree or two without touching the visible surface at all. Blu-tack or a small dab of museum wax anchors a piece that won't sit still on its own, invisible once it's tucked under the object and out of frame.
The bigger risk with small objects isn't damage from photography itself, it's the accumulation of small handling marks across a long session. A piece photographed from twelve angles gets picked up and set down twelve times, and each of those moments is a chance to leave a print that shows up in the next frame. A deliberate routine turns that risk into a habit instead of something that has to be remembered each time.
How Do You Control Reflections on Metal, Gems, and Glossy Surfaces?
Reflections on metal, faceted gems, and glossy surfaces come from light sources and the room itself bouncing straight back into the lens, so controlling them means controlling everything the surface can see, not just the light aimed at the subject. A polished ring reflects the photographer, the ceiling, and the camera itself unless all three get managed.
Diffusion is the first line of defense. A light bounced through a diffusion panel or softbox spreads across a wider area, so instead of one hard point of glare, the metal shows a broad, soft gradient that reads as shine rather than a blown-out hotspot. Bare bulbs and direct on-camera flash almost always produce the harsh, distracting reflections that make polished jewelry hard to look at in a photograph.
A light tent or a simple enclosure built from white paper or fabric removes the room from the equation entirely. Facing a curved or faceted surface, the object reflects whatever surrounds it, so wrapping that surface in soft white material instead of an open room with visible furniture and windows gives the piece something forgiving to reflect back.
Faceted gemstones add a wrinkle metal doesn't have: each facet can reflect a different part of the setup at a slightly different angle, so a single light position rarely reads well across the whole stone. Small adjustments, moving a diffuser a few inches, angling the piece a few degrees, tend to matter more than a full lighting rebuild once the basic enclosure is in place.
How Do You Show Scale Without Cluttering the Frame?
Scale reference matters most when a small object is photographed close enough that its actual size becomes impossible to judge from the image alone. A ring shot to fill the frame can look like a bracelet without something in the picture to anchor its real dimensions for a viewer who's never held it.
The simplest option is a small ruler or scale card placed just outside the primary composition, visible in a secondary frame or a corner crop without crowding the hero shot. This keeps the main image clean while still giving anyone who needs exact dimensions a clear reference to work from. For a documentation set with several angles, one frame carrying the scale reference is usually enough. It doesn't need to appear in every shot.
A coin or a common object works for casual reference but reads as informal for insurance, archival, or gallery use, where a marked scale bar or a stated measurement in the caption is the more reliable standard. The goal is accuracy anyone can verify later, not a prop that happens to be a familiar size.
Cluttering the hero frame with a ruler laid across the piece itself usually does more harm than good. It competes with the object for attention and can cast a shadow or reflect into a gem's facets. Keeping the scale reference in a separate, clearly labeled frame protects the main image while still answering the size question for anyone who needs it.
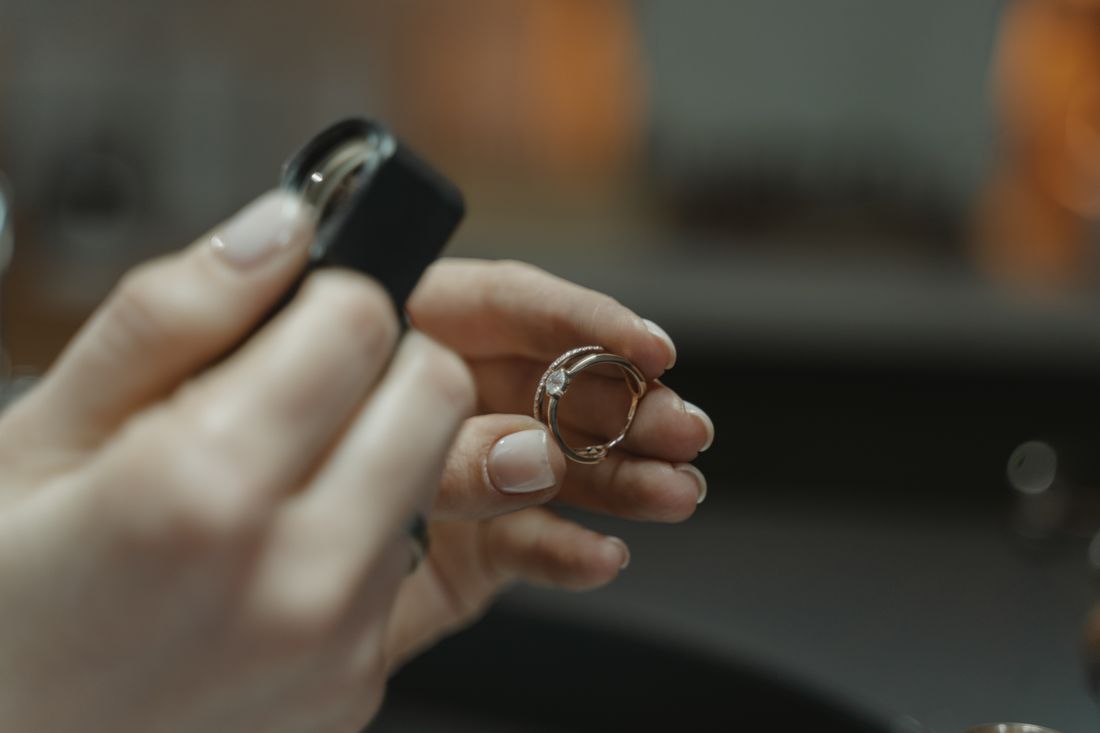
What Lighting Setup Avoids Blown-Out Highlights on Reflective Jewelry?
Reflective materials blow out highlights when a light source is too small, too close, or too direct for the surface to handle, turning a bright metal edge or a gem's table facet into a featureless white patch with no visible detail. The fix is almost always making the light source larger and softer, not simply dimming it.
A light source's effective size compared to the object it's lighting determines how soft or hard the resulting highlight looks. Because jewelry is so small, even a modest softbox or diffusion panel counts as a large light source relative to the piece, which is part of why jewelry photography can produce such smooth, controlled highlights with fairly simple gear. The key is positioning that light close enough to wrap around the object instead of hitting it as a small, harsh point.
Bracketing exposures and checking the histogram, not just the preview screen, catches blown highlights that are easy to miss on a small camera display. A highlight that looks fine at a glance can still be clipped, with detail in the metal or the stone's facets lost permanently in a way no amount of editing recovers afterward.
Multiple light sources at different intensities, one main light and one or two lower-power fill lights, help control which highlights read as sharp specular sparkle and which stay soft enough to hold visible detail. The goal isn't eliminating every bright spot. A little controlled sparkle is often what makes a gemstone photograph read as convincing in the first place.
How Does Photographing Jewelry Differ From Documenting a Painting or Sculpture?
Photographing jewelry differs from documenting a painting or a larger sculpture mainly in the scale of error: the same dust speck, reflection, or focus miss that's invisible on a six-foot canvas becomes the dominant feature of a two-centimeter object. Every technical habit built for larger work needs to be tightened, not simply scaled down proportionally.
A painting or a piece of sculpture is usually photographed from a working distance that keeps the whole piece in reasonably even focus without a macro lens or focus stacking. Depth of field, cleanliness, and reflection control still matter for larger work, but the margin for error is measured in centimeters rather than fractions of a millimeter, so small mistakes have far more room to hide.
Lighting setups scale differently too. A large canvas or sculpture needs light spread evenly across a wide area to avoid hot spots and shadow falloff. A small reflective object needs light shaped and sized specifically for its own dimensions, since a light that would read as perfectly even across a painting can produce a single, distracting hotspot on a ring.
The handling stakes shift as well. A sculpture generally stays put once it's positioned, while jewelry gets picked up, repositioned, and re-cleaned constantly through a single session, multiplying the number of moments where a fingerprint, a bump, or a stray reflection can creep back in. Small-object documentation asks for the same core skills as any other art photography, applied with a level of precision that larger work simply doesn't require.
What Macro Equipment Actually Changes the Results?
A true macro lens, one capable of at least 1:1 reproduction, matters more for jewelry than almost any other equipment upgrade, because it's the piece of gear that determines how close a camera can focus while still holding sharp detail. Extension tubes and close-up filters offer cheaper paths to similar results with real tradeoffs attached.
A dedicated macro lens focuses close enough to fill the frame with a small object without cropping in during editing, which preserves resolution and keeps noise and softness out of the final file. Extension tubes, hollow rings that fit between the camera body and a normal lens, push a non-macro lens closer to true macro range at a fraction of the cost, though they typically cost some light and autofocus speed in exchange.
A sturdy tripod and a remote shutter release matter more here than in almost any other type of documentation, since even tiny camera movement becomes visible at macro magnification, and manual triggering avoids the vibration a finger on the shutter button introduces. A focusing rail, which shifts the whole camera forward and back in small precise increments, makes focus stacking dramatically easier than trying to nudge focus by hand between frames.
None of this equipment fixes a cluttered background, poor cleaning, or uncontrolled reflections on its own. It expands what's technically possible once the fundamentals, a clean piece, a controlled light source, and a deliberate focus plan, are already in place.
Frequently asked questions
Do you need a true macro lens to photograph jewelry well?
A true macro lens isn't strictly required, but it makes close, sharp jewelry photography far easier. Extension tubes or close-up filters on a standard lens can get close enough for many pieces, at the cost of some light and autofocus speed. For frequent small-object work, a dedicated macro lens earns its cost quickly through sharper detail, cleaner files, and less time spent compensating for softness in post-production later on.
Should jewelry always be cleaned right before it's photographed?
Yes, cleaning before every session matters more for jewelry than for almost any other subject, since dust and fingerprints scale up dramatically at macro distances. A soft, lint-free cloth and short bursts of compressed air handle most pieces safely. Gemstones vary in hardness, so a stone that tolerates firm cleaning, like diamond, needs a noticeably gentler approach than a softer stone like opal or pearl.
What's the fastest way to reduce reflections on metal jewelry?
Reflections come from the room and the light source bouncing directly off a polished surface, so the fix is removing what the object can see rather than just repositioning one light. A diffusion panel, softbox, or simple light tent built from white paper spreads the light source wide and blocks the surrounding room, turning a harsh, distracting point of glare into a soft, controlled highlight instead.
How do you show a piece's real size without putting a ruler in the shot?
Placing a ruler or scale card in a secondary frame, separate from the main hero shot, keeps the primary image clean while still giving an accurate size reference for anyone who needs it. One clearly labeled frame per documentation set is usually enough. Laying a ruler directly across the piece in the hero shot tends to compete with the object for attention and can cast a shadow across it.
Why is jewelry considered harder to photograph than larger artwork?
Jewelry is harder to photograph well because every flaw scales up: a dust speck, a soft focus plane, or a stray reflection that would vanish on a six-foot canvas becomes the dominant feature of a two-centimeter object. The core skills involved are the same as any other art documentation, but the margin for error shrinks from centimeters to fractions of a millimeter, so small mistakes become much harder to hide.
Build a paper trail your insurer can't argue with.
We shoot artwork documentation the way an appraiser or adjuster actually reads it, full views, true color, condition notes, and files that stay tied to the right piece.
Explore artwork documentation →