
A glazed vessel is one of the harder things to photograph well, and not for the reasons people usually expect. It isn't about the color or the shape alone. A glaze is, physically, a curved mirror, and a curved mirror reflects whatever is in front of it back at the lens wherever the two happen to line up. The same surface that looks alive and deep standing in a room can collapse into a flat white hotspot the instant it's reduced to a single locked-off frame. Add a three-dimensional form that goes flat under the kind of even lighting built for a painting, and the studio itself starting to show up curved across the surface, and ceramics documentation turns out to be its own specific problem, distinct from photographing flat work or even sculpture in a fixed material.
Ceramics documentation is harder than flat work because glaze acts like a curved mirror: it throws specular highlights that move with the light instead of sitting fixed like glass over a painting, it reflects the room around it (ceiling fixtures, the photographer) instead of just the key light, and the even lighting that flatters a painting flattens a rounded form instead of describing it. Getting it right means sizing the light to the piece, controlling what the glaze can see and reflect, shooting more than one angle, and including the base, interior, and a texture detail buyers and juries expect.
Why Does a Glaze That Glows in the Room Turn Into a Hotspot on Camera?
A glaze that looks alive in the room can blow into a flat white hotspot on camera because a curved glazed surface acts like a soft mirror. It reflects the light source itself, not the color underneath it. Move your head and the reflection shifts away with you. A locked-off camera can't do that, so it keeps whatever hotspot lands in frame.
This is different from photographing something behind glass. A framed piece under glass has one flat reflective plane, so a change in camera angle or a polarizing filter usually clears the glare in one move. A glazed vessel doesn't offer that shortcut. The surface curves in every direction at once, so the specular highlight rides the curve and reappears somewhere else the instant the camera, the light, or the piece moves even slightly.
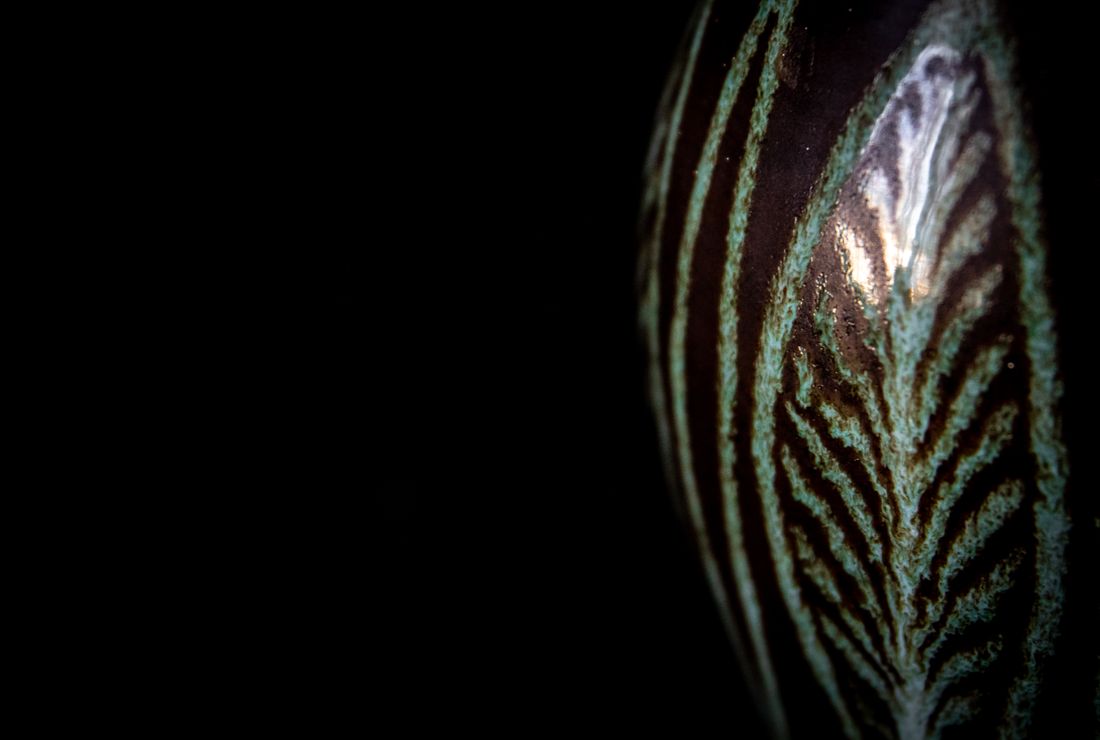
The glazes that photograph hardest are usually the ones that look best in a showroom: deep glossy blacks, celadon greens, anything with a wet-looking clear topcoat. The same shine that reads as depth and quality to a buyer standing in front of the piece is exactly what turns into a blown highlight once a camera compresses that curved reflection into a flat rectangle of pixels.
None of this means glossy glazes can't be documented well. Lowering exposure just turns a bright hotspot into a dimmer one; the color underneath still isn't recorded. The real fix is controlling what the glaze reflects, which is a lighting problem, not an exposure problem.
Why Does the Even Lighting That Suits a Painting Make a Ceramic Piece Look Flat?
A painting is flat, so a photographer lights it as evenly as possible, edge to edge, to avoid any shadow that would fake depth that isn't there. A ceramic piece is the opposite problem. It's genuinely three-dimensional, and the subtle shadow gradient running across a curved belly or shoulder is what your eye reads as roundness. Light it as flat and even as a painting, and that gradient disappears along with the sense of form.
The piece doesn't look wrong exactly, but it looks thinner and less present than it does in person, closer to a cutout of the shape than the shape itself. This shows up most on pieces with a strong, simple silhouette, where the form is doing most of the work and there isn't texture or pattern to carry the read on its own.
The fix is a softer version of the opposite move: keep the light diffused so it doesn't throw a hard glare, but let it fall from more of an angle instead of dead-on, so a gentle shadow can develop where the curve turns away from the source. A little shaping goes further than people expect. The goal isn't dramatic side light, just enough falloff that the piece reads as round again.
This is why a ceramics setup usually can't reuse a flat-art lighting rig without adjustment. The two subjects want almost opposite things from the same light: even coverage for one, gentle shadow for the other.
Why Does the Size of the Light Matter More for Ceramics Than for Most Other Surfaces?
A light source that's small relative to the piece creates a small, hard, obvious hotspot. A light source that's large relative to the piece, through diffusion, bounce, or simply moving a bigger light closer, spreads that same reflection into a soft gradient the eye reads as glaze depth instead of a spot of blown-out white.
Size here means the light's size as the glazed surface actually experiences it, not the wattage or the physical dimensions of the fixture. A small bulb close to a piece can behave like a large source; a big softbox too far away can shrink back down to something closer to a point source. What matters is the visual angle the light appears to take up as seen from the surface being photographed.
On a flat, matte-painted canvas, a smaller light rarely causes trouble, since there's no curve to concentrate a reflection into one spot. A glazed vessel has curve everywhere, so the same light that looks fine on flat work can throw a tight, ugly hotspot onto a rounded shoulder or belly.
The practical fix is usually some combination of a bigger diffusion panel, a closer light position, or bouncing light off a large white or silver surface near the piece rather than firing it directly at the glaze. Scrims, shoot-through umbrellas, and light tents all do the same basic job: they turn a small hard source into something the curved glaze can reflect gently instead of specularly.
Does a Polarizing Filter Actually Get Rid of Glaze Glare?
A polarizing filter can remove specular glare from a glazed surface, but only when it's used on both ends: a polarizing gel on the light and a linear polarizer on the lens, rotated against each other. That combination, cross-polarization, cancels the mirror-like reflection while leaving the diffuse color underneath intact. A lens filter alone, with no polarized light, does much less on a curved glaze than people expect.
This isn't a subtle upgrade. Cross-polarization can pull a hotspot almost completely out of a glossy black glaze that would otherwise blow out no matter how the light is diffused or angled. It's the same category of fix used on glass and highly reflective flat work, adapted for a curved surface where diffusion alone can only get you partway.
It comes at a real cost, though: rotating light through two polarizers eats a couple of stops of light, so it needs a stronger source or a longer exposure than the same setup unpolarized, and it's slower to set up than diffusion alone. That's why it's priced as its own add-on rather than assumed on every booking. Our published rate for a polarized rig on glazed work is a flat $200 for the setup, on top of the base per-piece documentation rate.
Not every glaze needs it. A matte or satin piece rarely does. It earns its cost on the glossiest, most reflective glazes, where diffusion and light size have already been pushed as far as they'll go and there's still a hotspot left to clear.
Why Is One Photograph Never Enough to Document a Piece of Ceramics?
A single photograph can only show the silhouette and surface visible from that one camera position, and a ceramic piece is a three-dimensional object whose proportions change depending on where you stand. One angle can make a wide-bellied vessel look tall and narrow, or hide an asymmetry that's actually part of the piece.
A flat painting has one plane and one correct read: photograph it straight-on, evenly lit, and that single frame represents the whole piece. Ceramics doesn't offer that shortcut. Walk around a thrown bowl or a hand-built vessel and the proportions genuinely change. What looks squat from the front can look tall and narrow from the side, and a slight lean that's part of the piece's character can disappear or exaggerate itself depending on the angle chosen.
This matters more for buyers, jurors, and collectors than it might seem. Someone deciding whether to purchase a piece sight unseen, or a jury reviewing a submission for a show, is trying to build a mental model of an object they can't pick up and turn in their hands. A single hero shot leaves that model incomplete, and an incomplete model is what leads to a piece arriving smaller, larger, or differently proportioned than the buyer pictured.
The practical answer is a small standard set of angles rather than one flattering shot. It doesn't need to be exhaustive, but it needs to be consistent enough that anyone looking at the set can mentally reconstruct the actual object, not just admire one well-lit view of it.
What Angles Make Up a Proper Multi-Angle or Turntable Set?
A standard multi-angle set usually covers front, both three-quarter views, both profiles, and back, photographed with the light position and background held constant so the only thing changing between frames is the piece's rotation. A turntable makes this fast and repeatable, since the camera and light stay fixed and only the piece moves.
Six to eight positions around a full turn is usually enough for a working documentation set. Fewer than that and asymmetries or details on the back and sides go unrecorded. More than that starts producing near-duplicate frames that don't add real information, since consecutive positions on a smooth curve rarely look meaningfully different from each other.
A rotating turntable also solves a lighting problem specific to ceramics: because the light stays in one place relative to the camera, the hotspot moves predictably around the piece as it turns, rather than requiring the light to be re-aimed and re-diffused for every single angle. That's one less variable to manage across a shoot that might already involve a dozen or more separate pieces.
A turntable isn't required to get this result. The same set is possible by rotating the piece by hand between marked positions, as long as the light, camera height, and background stay identical from frame to frame. What matters is the consistency, not the equipment used to get there.
Why Does the Studio Itself Show Up as Reflections on the Piece?
A curved glazed surface doesn't just reflect the key light. It reflects nearly everything in front of it, compressed and warped along the curve: ceiling fixtures, white walls, gear on a nearby table, even the photographer standing at the camera. On a flat painting behind glass, one change of angle usually clears all of that at once. On a rounded vessel, the room can show up as a smeared, curved streak that no single angle fully avoids, because the surface is curving away from any one clearing angle almost immediately.
The most common culprit is the photographer's own reflection, or the camera itself, showing up as a dark shape low on the piece where the lens is pointed straight back at a section of glaze. Ceiling lights read as small bright streaks higher up, usually on the shoulder or rim where the surface angles toward the ceiling.
The standard fix is enclosing the piece rather than chasing individual reflections. A light tent, a wrap of diffusion material around the setup, or large white flats positioned close to the piece all work the same way: they replace the visible room with a controlled, plain surface, so whatever the glaze reflects is diffusion material instead of the studio around it.
Black flags or floppies handle what a tent can't: a stubborn bright reflection in one specific spot gets blocked with something dark and matte held just outside the frame, rather than by moving the whole light setup and disturbing everything that's already working.
What Foot, Base, and Interior Views Do Buyers and Juries Actually Expect?
A complete ceramics set usually includes the foot ring or base, showing any maker's mark, glaze pooling, or kiln-stilt marks, plus an interior shot for open forms like bowls and cups, since glaze often behaves differently on interior walls than on the exterior. These views answer condition and authenticity questions a front-facing hero shot never touches.
The base carries information nowhere else does: a signature or stamped mark, the color and texture of the unglazed clay body where it met the kiln shelf, and how the glaze pooled or thinned as it ran during firing. For collectors and appraisers, the foot is often where authenticity and maker identification actually get confirmed, so leaving it out of a documentation set is a genuine gap, not a stylistic choice.
Interior shots matter for a related but different reason. Glaze often reacts to heat and gravity differently on the inside of a bowl or vessel, pooling at the bottom or showing a different sheen where it wasn't exposed to the same airflow during firing. A buyer choosing a piece for daily use, a bowl or mug especially, usually wants to see the interior surface they'll actually be looking at and touching.
Neither view needs dramatic lighting. A simple, even, top-down or angled light that shows the surface clearly without adding its own hotspot is usually enough. The goal for both shots is legibility and honesty about condition, and a plain background, white, gray, or black, keeps the color grading consistent with the rest of the set.
Does Matte Glaze Photograph Differently Than High-Gloss or Crystalline Glaze?
Yes. Matte glazes scatter light broadly and rarely produce a hard hotspot, though they can look flat if lit too evenly, which is the same flattening problem discussed above, just easier to trigger on a surface with less natural sheen to describe it. Glossy glazes produce the sharpest, most concentrated highlights and need the most diffusion, or a polarized rig when diffusion alone isn't enough.
Matte glazes are the most forgiving to photograph because they scatter incoming light across a wide range of angles instead of concentrating it into one reflected point. That forgiveness has a tradeoff: a matte surface lit too flatly, with light too close to the camera's own position, can look chalky, since there's little shadow or highlight variation left to describe its texture and depth.
Crystalline glazes complicate the matte-versus-gloss logic, because the visual interest is the crystal structure itself, which is genuinely three-dimensional at a small scale. Photographing crystalline work shadowless or with only broad diffusion can wash the crystals out, making a technically difficult glaze look like a plain glossy one. A bit of raking light, controlled so it doesn't reintroduce a hotspot elsewhere, is usually what lets the crystal formation read.
What Does a Complete File Set for One Ceramic Vessel Actually Contain?
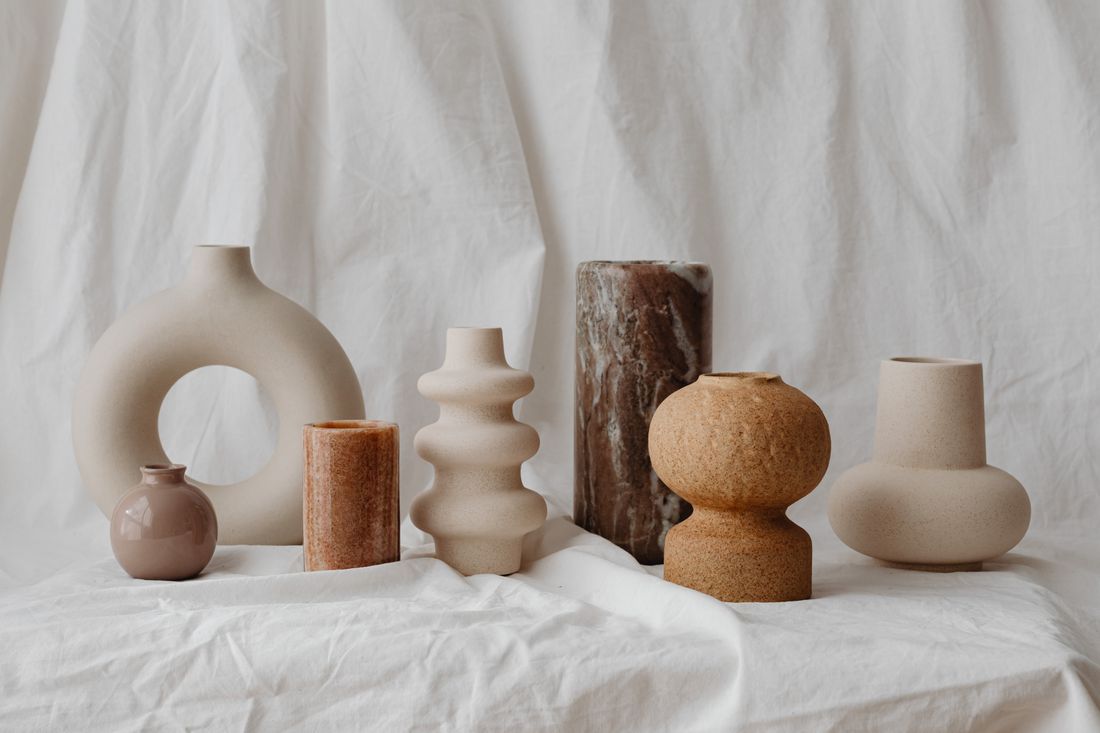
A complete set for a single vessel usually includes a hero front shot, a multi-angle or turntable series, foot and base detail, an interior shot for open forms, and at least one close glaze-texture detail, all color-corrected and delivered as consistently sized files. That range covers form, condition, and surface in a way no single image can.
Color accuracy across the set matters as much as any single shot. A glaze photographed slightly warm in one frame and slightly cool in another, because color temperature drifted between setups, makes a buyer distrust the whole set even if each image is otherwise well composed. Locking white balance against a color-calibration card at the start of a session, and checking the full set together rather than approving frames one at a time, is what catches drift before it ships. It's the same practice we use across all of our documentation work, not just ceramics.
None of this needs to be complicated to be complete. A short, consistent list, hero, angles, base, interior where relevant, one detail, covers what most buyers, jurors, and collectors need to decide on a piece they can't hold. Our per-piece documentation rates start at $50 for a single color-corrected hero shot and scale up from there depending on how many angles and details a piece needs; the polarized rig for glossy or crystalline glaze adds a flat $200 to a session, not per piece.
Frequently asked questions
Why do glossy ceramic glazes look worse in photos than they do in person?
In person, your eyes and the reflection move together as you shift position, so a hotspot never sits still long enough to register as a flaw. A camera locks that reflection in one fixed spot in the frame. The fix isn't a different camera setting; it's controlling the size and diffusion of the light so the reflection spreads into a soft gradient instead of a hard, bright hotspot.
Does a polarizing filter get rid of glare on glazed ceramics?
On its own, not much. A polarizer only cuts specular glare on a curved glaze when it's paired with a polarizing gel on the light, rotated against the lens filter, a setup called cross-polarization. Together they can pull a hotspot almost fully off a glossy glaze, which is why we price it as a dedicated $200 add-on rather than something every session needs. Alone, a lens filter does much less on a curve than it does on flat glass.
Do you need a turntable to document ceramics properly?
A turntable isn't required, but it makes a multi-angle set faster and more consistent, since the camera and light stay fixed while only the piece rotates. Without one, the same result is possible by moving the piece by hand between marked positions, as long as the light, camera height, and background stay identical from frame to frame across the whole set. What matters is the consistency, not the equipment used to get there.
What's the minimum number of photos a single ceramic piece actually needs?
For most documentation purposes, a hero shot, four to six angles around the piece, a base or foot shot, and a glaze-texture detail cover what buyers and jurors typically need. Interior shots apply to open forms specifically, since glaze often behaves differently inside a bowl than outside it. Fewer than that usually leaves a real gap in the form or condition information a serious buyer is looking for.
Give your collection a record that holds up.
We document artwork the way an adjuster or appraiser would actually want to see it: full views, accurate color, condition detail, and a system that keeps every file tied to the right record.
Explore artwork documentation →