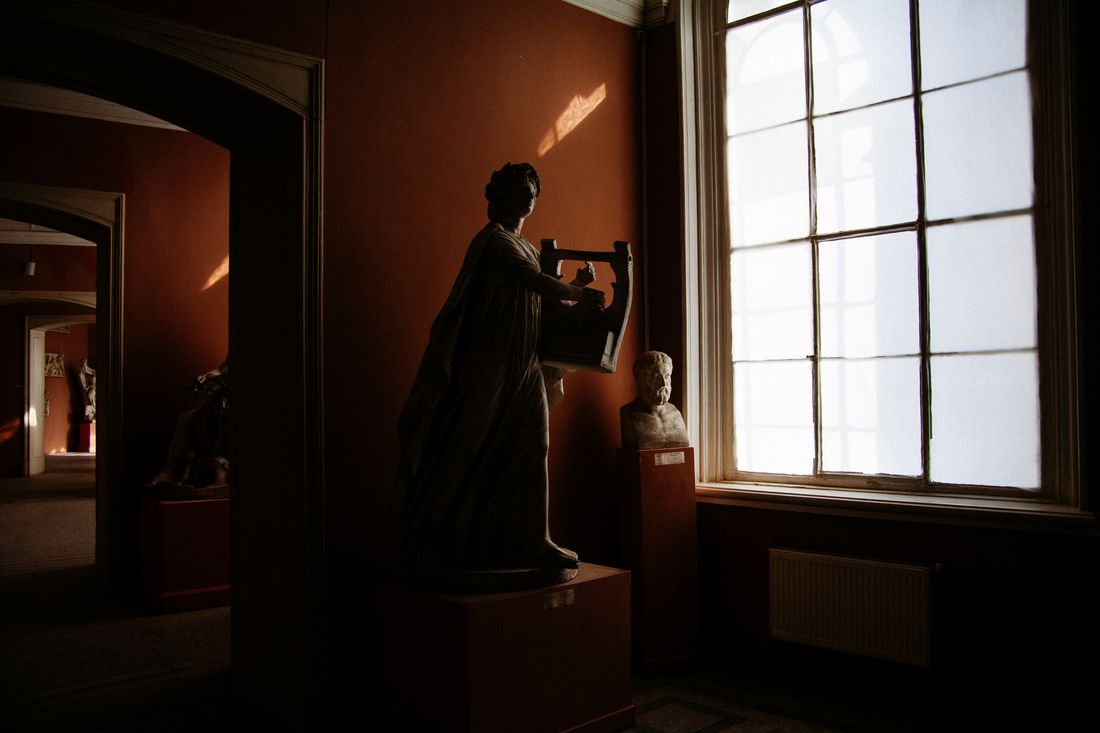
A painting has one plane and one set of even studio lights, and once that is solved, one photograph can stand in for the piece indefinitely. Sculpture does not offer that shortcut. It is a three-dimensional object, so its apparent shape, weight, and texture shift with every change in light direction: morning sun, afternoon cloud cover, a studio light moved fifteen degrees. There is no single "correct" lit version built into the object the way there is with flat work. The real job is choosing one on purpose, and holding it steady enough that it can actually function as a documentation standard.
Sculpture reads differently minute to minute because light direction controls where shadows fall on a three-dimensional surface, and shadow is what the eye reads as form. Documenting it well means locking one light position and quality for the whole session, then reviewing a few real options with the artist to choose the version that becomes the standard going forward.
Why Doesn't Sculpture Have One "Correct" Lit Version?
A flat painting has one plane to light evenly, and once that is lit well, one photograph can represent the piece indefinitely. A sculpture is a three-dimensional object, so its apparent shape, volume, and texture shift with every change in light direction. There is no single frame that captures "the" sculpture the way a flat scan captures a painting: every angle of light produces a legitimately different read of the same form.
This trips people up because documentation for flat work trains a certain expectation: get the lighting even, get the color accurate, done. Sculpture does not work that way. Move the light source fifteen degrees and the same piece can look heavier, lighter, more aggressive, or more serene, without anything about the object changing. That is not a flaw in the process. It is the nature of photographing something with depth.
What determines the read is mostly shadow: where it falls, how hard its edge is, and how much surface it covers. A raking light across a textured bronze reveals tool marks that flat front lighting erases entirely. A soft, even light flattens the same piece into something closer to a silhouette. Neither version is wrong. Both are accurate photographs of a real object under different conditions.
Because there is no single correct answer built into the object, the documentation choice has to be made on purpose. That is the real job here: not finding the "true" light, but choosing and locking a version that stays consistent enough to represent the piece reliably going forward.
How Does Light Direction Change How a Sculpture's Form Reads?
Light direction controls where shadows fall on a three-dimensional surface, and shadow placement is what the eye reads as volume. Light from directly in front flattens a sculpture toward two dimensions, hiding depth behind even illumination. Light from a low, raking angle exaggerates every ridge and hollow. The same piece can look almost abstract or intensely detailed, depending on where the light sits relative to the surface.
Front light is the most forgiving and the least informative. It shows color and overall silhouette clearly, but it tends to erase the small variations that make a carved or cast surface interesting. Side light, especially at a low angle, does the opposite: it digs into every groove, seam, and tool mark, which is useful for showing craftsmanship but can also exaggerate imperfections that read as minor in person.
Overhead light behaves differently again. It tends to darken the underside of forms, the parts that curve away from the ceiling, while brightening the top planes, which can make a piece look top-heavy or oddly cropped if the base is not also lit. Light from below almost never reads as natural on a sculpture; it flips the shadow logic the eye expects and usually looks staged rather than accurate.
In practice, walking a single light source around a piece before committing to a setup is one of the more useful habits in sculpture documentation. It shows, in real time, which angle actually represents the object rather than flattering or distorting it.
What Actually Changes Across a Natural-Light Documentation Session?
Natural light on a sculpture changes constantly: direction shifts as the sun moves, intensity shifts with cloud cover, and color temperature shifts from cool morning light to warm late-afternoon light. A session that starts at 10am and stretches past noon can produce noticeably different photographs even though nothing about the sculpture itself has changed.
Direction is the most visible shift. Early and late in the day, the sun sits low and casts long, raking shadows that reveal surface texture. Around midday, especially outdoors, light comes from nearly overhead and tends to flatten forms and cast unflattering shadows straight down under any protruding element. Indoors, near a window, the same logic applies on a smaller scale: the angle of light through the glass moves as the sun moves, so a piece photographed at 9am and again at 1pm near the same window can look meaningfully different.
Cloud cover changes the character of the light rather than its direction. A clear sky produces hard, defined shadows. Overcast conditions diffuse the light, softening shadow edges and lowering overall contrast, which can make fine surface detail harder to read but reduces the risk of blown highlights on reflective materials.
Because these shifts happen inside a single session, not just across days, natural-light documentation usually needs a tighter working window than people expect, sometimes as little as an hour before the light has moved enough to change the result.
What Does a Controlled Studio Setup Buy You That Natural Light Can't?
A controlled studio setup buys repeatability: the same light position, intensity, and color temperature on day one and day one hundred, regardless of weather, season, or time of day. That consistency matters more for sculpture than for flat work, because a fixed light source is what lets a documentation standard actually hold over time, not just for one shoot.
The practical advantage shows up most clearly on return visits. If a piece needs updated documentation months or years after the first session, a written record of light position, height, and modifier can be set up again and matched closely. Natural light cannot offer that. The sun on a specific date at a specific hour is not reproducible on demand, so any comparison between old and new documentation photographed outdoors carries some amount of lighting variation baked in.
Studio setups also remove the time pressure that comes with chasing natural light. A fixed key light, with or without a secondary fill, lets the team test several angles on the same piece in the same afternoon, without racing a moving sun or waiting out a cloud. That room to experiment is often what actually produces the strongest lit version, since it allows comparing five or six options side by side instead of committing to whatever the light happened to be doing at the time.
None of this makes studio light inherently better-looking. It makes it controllable, and control is what a documentation standard is built on.
How Do You Keep Light Direction and Quality Consistent Across a Session?
Consistency across a session means picking one light position, one quality (hard or diffused), and one general color temperature, then holding all three steady for every angle of the piece photographed that day. Changing any one of them mid-session, moving the light, letting a cloud roll in, switching from window light to a lamp, breaks the match between frames, even if each individual photo looks fine on its own.
In practice, that means settling on the light position before the real shooting starts, not adjusting it frame by frame as different angles of the sculpture are covered. If the piece needs to be photographed from four or five sides, the light generally stays where it is and the sculpture, or the camera, moves around it, rather than re-lighting for each new angle. That keeps shadow direction and contrast level matched across the full set.
Marking the light's position, whether with tape on the floor or a simple note of height and distance, makes it possible to return to the same setup later in the same session, or in a future one. Mixing light sources on the same piece, daylight through a window plus a lamp, or two different color temperatures, is one of the more common ways a set of documentation photos ends up looking inconsistent, even when every individual frame is technically sharp and well exposed.
The goal is a set of images that reads as one coherent record, not a scrapbook of good individual shots.
How Does Shadow Position Change How Volume and Texture Read?
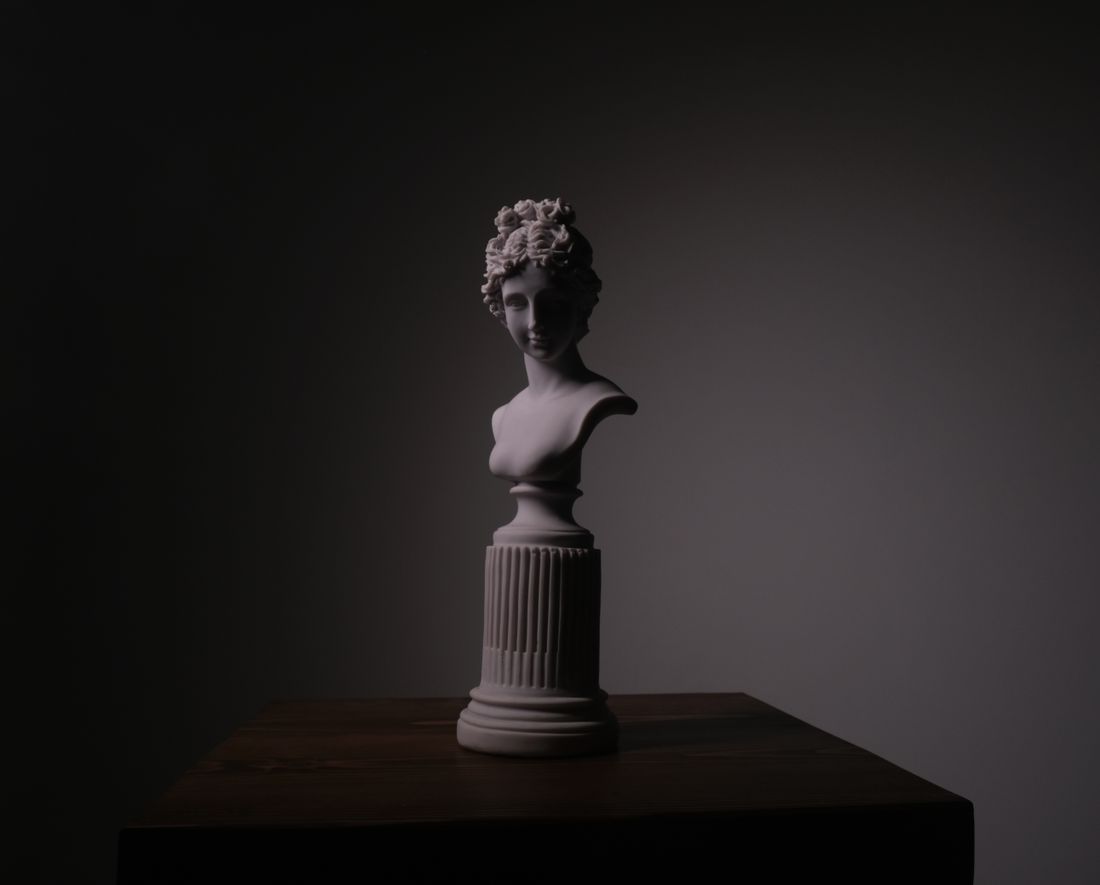
Shadow position tells the eye where a surface curves, dips, or protrudes, so moving the shadow changes how solid, heavy, or detailed a sculpture appears without altering the object itself. A shadow falling to one side reads as depth. A shadow that falls mostly behind the piece can nearly disappear from camera view, making the same form look flatter and less dimensional than it actually is.
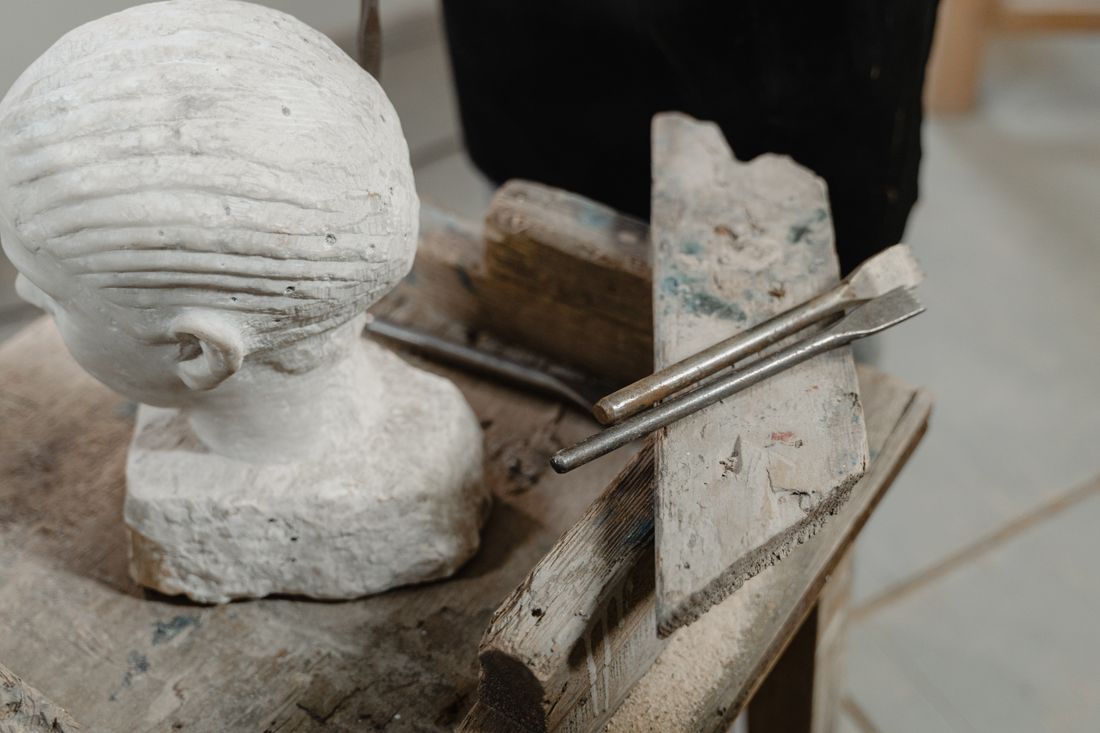
Small shadows inside creases, folds, and tool marks are what let texture read as texture rather than as a flat pattern painted onto the surface. A soft, broad light source fills those small shadows in, smoothing the surface visually even though nothing about the material has changed. A harder, more directional light keeps those small shadows sharp, which is usually the better choice when the documentation needs to show carving detail, casting seams, or surface wear accurately.
Shadow length matters too, separate from direction. Long shadows, the kind produced by low-angle light, add a sense of drama and scale that can be useful for a portfolio image but misleading for a documentation record, since it exaggerates height and depth beyond what a viewer would perceive standing in front of the actual piece. Shorter, more contained shadows tend to sit closer to how the object reads in person.
For documentation specifically, the goal is a shadow pattern that shows real surface information without dramatizing the form into something the piece does not actually look like standing in a room.
How Do You Decide Which Lit Version Becomes the Documentation Standard?
Deciding the documentation standard means reviewing two or three of the strongest lighting options directly with the artist and picking the one that most accurately represents how the piece actually reads in a normal room, not the most dramatic or most flattering option. That choice, once made, becomes the reference version used for future documentation of the same piece.
The most useful way to make that decision is showing real options side by side rather than describing them. A short session photographing the same piece under two or three distinct light setups, then reviewing the results together, tends to settle the question faster than any amount of talking about light in the abstract. Artists usually know immediately which version matches how they see their own work, even if they could not have specified the exact lighting angle beforehand.
It helps to ask directly: does this look like the piece as it actually sits in a room, or does it look like a photograph of the piece? The most contrast-heavy option is often the most visually striking, but it is not always the most accurate, and accuracy is usually what documentation is for, separate from a portfolio or marketing image of the same object.
Once a version is chosen, recording the setup, light position, distance, angle, even a quick reference photo of the physical arrangement, is what makes the standard repeatable the next time the piece needs to be documented again.
What Changes When You're Documenting Sculpture Instead of a Flat Painting?
Documenting sculpture adds two variables that flat work does not have: light direction relative to a three-dimensional surface, and the need to photograph from multiple angles rather than one flat plane. A painting can be lit evenly once and photographed once. A sculpture usually needs a deliberate lighting decision that gets repeated consistently across every angle the piece is shown from, since each angle is really a separate photograph of the same lighting problem.
Flat work has its own set of concerns, even illumination across the surface, accurate color, but once those are solved, one frame usually represents the piece completely. Sculpture does not offer that shortcut. Three-quarter view, profile, back view, and a detail shot of the surface can each look like a different object if the light setup shifts between them, so the planning has to account for the whole set of angles from the start, not just the first one photographed.
The other real difference is how much the time of day matters. A painting photographed at 9am and again at 3pm under the same studio lights looks identical. A sculpture photographed outdoors, or near a window, at those same two times can look like two different pieces, purely because the shadow pattern moved. That is the core reason sculpture documentation needs its own approach rather than borrowing the flat-work playbook and hoping it holds up on a three-dimensional object.
Frequently asked questions
Do we need to photograph a sculpture at the same time of day every time?
Not exactly the same time, but the same light direction and quality. What matters is matching the angle, hardness, and color temperature of the light, not the clock. A studio setup makes this easiest to repeat exactly. For natural light, aiming for a similar sun position and similar weather on each documentation date gets close enough that the images still read as one consistent record.
Why does the same sculpture look different in photos taken minutes apart?
Because light direction and shadow position are what the eye reads as volume, and both shift constantly outdoors or near a window. A cloud passing over the sun, or the sun moving a few degrees, changes where shadows fall on the surface. Indoors under a fixed studio light, this does not happen, which is one reason controlled setups produce a more stable, repeatable record across sessions.
Is studio light always better than natural light for sculpture documentation?
Not necessarily better, but more controllable and repeatable. Natural light can look beautiful and can suit a piece's material and mood well. The tradeoff is that natural light changes constantly and cannot be reproduced on demand months later. A studio setup gives up some of that natural quality in exchange for a light source that can be matched again for future documentation of the same piece.
How many lighting angles should we test before choosing a documentation standard?
Two or three distinct setups is usually enough to make a clear decision; more than that tends to create decision fatigue rather than better information. A front-lit option, a soft angled option, and a harder raking option cover most of the useful range. Reviewing those side by side with the artist, rather than one at a time, is what actually makes the choice fast and clear.
Once we pick a lit version, can it change later?
Yes, and sometimes it should. A documentation standard set for one series does not have to apply forever, especially if the piece is later shown in a different context, moves to a new space, or the artist's own preference shifts over time. What matters is that any change is a deliberate decision, recorded the same way the original setup was, rather than an accidental drift from session to session.
Build a paper trail your insurer can't argue with.
We shoot artwork documentation the way an appraiser or adjuster actually reads it, full views, true color, condition notes, and files that stay tied to the right piece.
Explore artwork documentation →