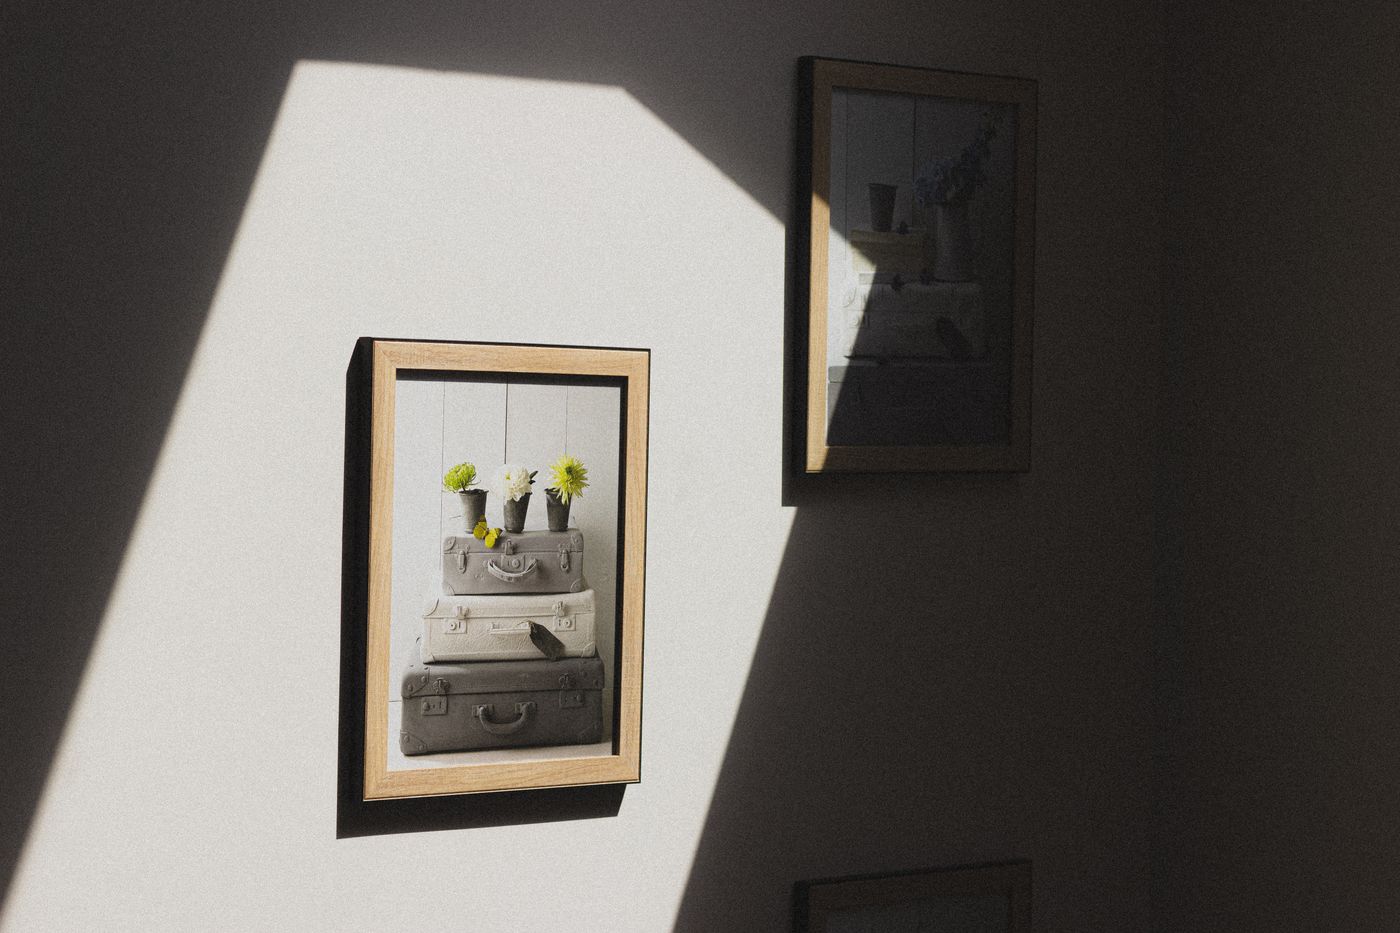
Most reflections come from a habit rather than a bad room: pointing the camera straight at the glass and expecting the glass to behave. It won't. Glass and acrylic reflect anything in front of them, windows, ceiling lights, your own silhouette, and a straight-on shot invites all of it into the frame.
The problem is almost always fixable without removing the piece from the wall or the frame from the artwork. This guide covers the camera angle and lighting position that clear most glare, when unframing is worth the extra care, and what to do when the room genuinely won't cooperate.
The short answer
Angle the camera and the light off the perpendicular, not just one or the other. Most glare on framed artwork comes from shooting straight on, with a light source directly in front of the glass. Move the camera slightly off-axis, position your lights outside the reflection zone, and use a polarizing filter if a faint sheen remains. That combination clears the vast majority of framed-artwork shots without ever touching the frame itself.
If the piece can safely come out of the frame, that's still the cleanest option for anything that needs to represent color and texture precisely: a portfolio, a grant application, an insurance record. Plenty of situations don't allow it, an installed exhibition, a client's living room, a piece that's fragile to unframe, and the angle-and-light approach below works well enough for most of those.
Why glass fights the camera
Glass and acrylic glazing exist to protect the artwork, and they do that job well. The tradeoff is that any reflective surface bounces back whatever's in front of it: windows, ceiling lights, your own camera and body, a white wall across the room. Shoot straight into a framed piece and you'll often see your own silhouette staring back from the file.
The reflection problem gets worse indoors, where a room usually has several light sources at once. A window off to one side, an overhead fixture, maybe a lamp, all bouncing off the glass at slightly different angles. The straight-on, camera-square-to-the-wall approach that works fine for an unglazed canvas actively works against you here.
The angle that actually kills glare
The fix is smaller than it sounds. Angle the camera roughly 5 to 10 degrees off perpendicular to the glass, just enough that whatever's reflecting bounces past the lens instead of into it. Too much angle and the piece starts to distort into a trapezoid. That small a shift usually clears the glare while keeping the geometry close enough to correct in editing.
Frame the shot a little wider than you need. A slight angle changes the piece's proportions in the frame, and the extra room lets you crop and straighten in post without losing any edge of the artwork. Shoot a few variations at slightly different angles if you're not sure which one clears the glare completely. Checking the image on a larger screen matters more than trusting the camera's small preview.
Distance can matter as much as angle. Stepping back and using a slightly longer lens flattens the geometry, so a small camera angle produces less visible distortion than the same angle shot up close with a wide lens. This is one of the small reasons a documentation shoot benefits from having room to work: a cramped hallway or a piece hung close to a wall can limit how far back the camera can go, which limits how much angle is available before the piece starts to skew.
Where to put your lights
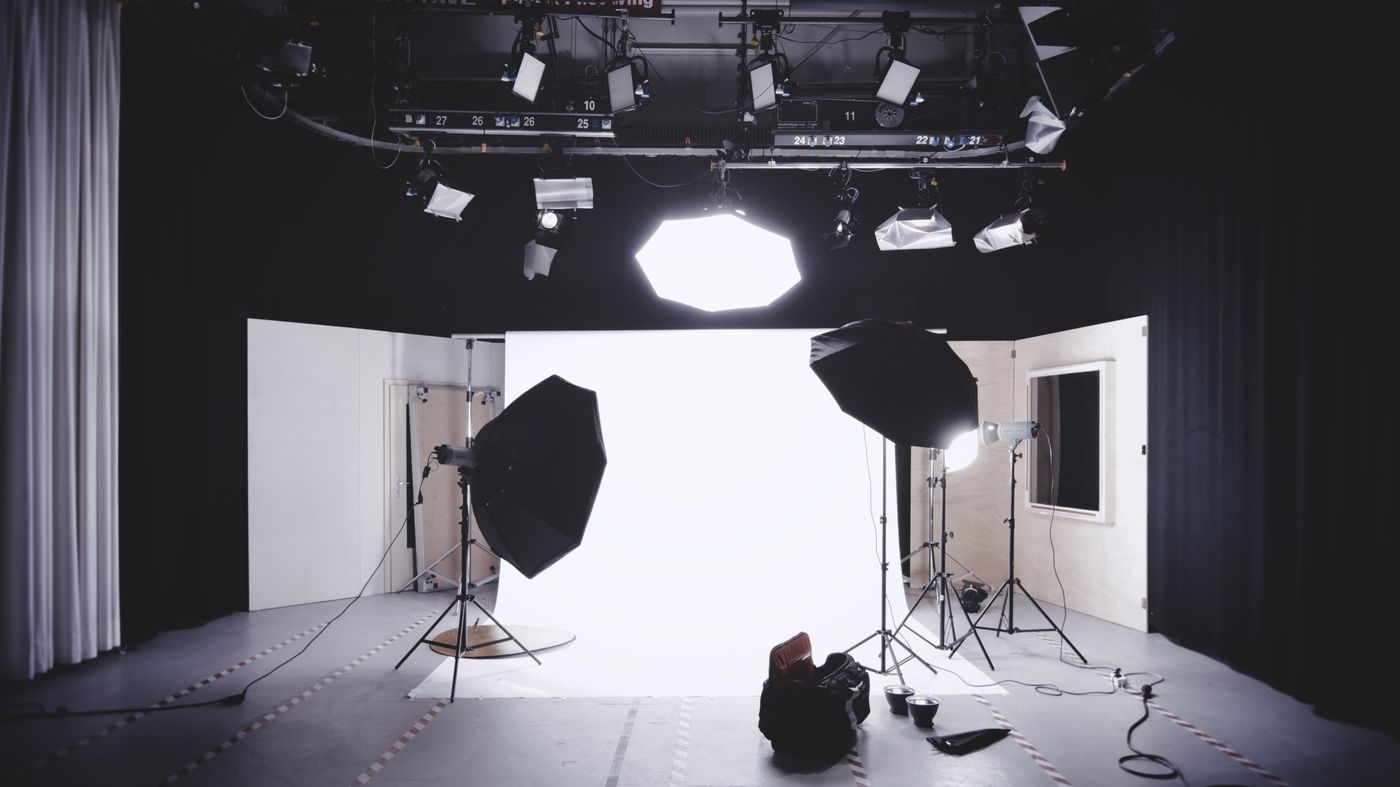
If you're using your own lighting rather than relying on the room, position both lights at roughly 45 degrees to the wall, one from each side. That angle lights the piece evenly without throwing the light source itself into the reflection.
Watch where each light lands relative to the camera position. A light placed directly across from the camera, bouncing straight back through the glass, is one of the most common causes of a blown-out reflection in the final files. Move the light a few degrees further around, or angle the piece itself very slightly away from square, and that hot spot usually disappears.
For work that's already installed on a gallery wall, you may not get to choose the lighting at all. In that case, the camera angle becomes the main tool you have. Walk the room and watch the glass at different positions. The clean spot usually reveals itself within a few steps.
Should you take the artwork out of the frame?
Removing the piece from the frame is still the most reliable way to get a clean, faithful reproduction, especially for anything that needs to represent color and texture accurately: grant submissions, insurance documentation, print reproductions, or an archive that needs to outlast the current framing choice.
Unframed, there's no glass to fight, no reflection to angle around, and lighting becomes simpler and more even. It also means the piece can be photographed flat-on, straight and square, without the small geometric compromise that comes with shooting at an angle through glass.
The tradeoff is handling risk and time. Removing and reframing takes care, the right tools, and a safe surface to work on, and it isn't always something an artist wants to do themselves or wants a photographer doing without supervision. If a piece is fragile, valuable, or awkwardly framed, that decision belongs to the artist or the gallery, not the photographer.
Standard glass, museum glass, and acrylic behave differently
Not all glazing reflects the same way. Standard picture glass throws back a strong, sharp reflection and is usually the hardest to shoot through cleanly. Museum or conservation glass has an anti-reflective coating that cuts glare dramatically, sometimes to the point where a straight-on shot works fine.
Acrylic, often used for larger or shipped pieces, reflects less aggressively than standard glass but scratches easily and can pick up a slight warp or bow that shows as a soft distortion in a photo, especially toward the edges. If a subtle wave shows up in an otherwise sharp photo, check whether the glazing itself is doing that before assuming it's a lens or angle problem.
Knowing which glazing you're working with before you set up saves time. A quick look at the surface under a raking light usually tells you whether you're dealing with standard glass, a coated museum glass, or acrylic, and that changes how aggressive your angle and lighting adjustments need to be.
When removal isn't an option
Plenty of real situations rule out unframing entirely: work installed in a gallery for the run of an exhibition, pieces in a client's home, a rental space, or anything the artist specifically wants photographed as displayed, frame included. In those cases, the angle-and-light approach carries the whole shot.
Give yourself more time than you'd expect. Finding the clean angle in a room with mixed lighting can take a few minutes of small adjustments, camera position, light position, sometimes turning off one fixture entirely. That's normal, and it's faster than trying to remove glare in editing afterward.
If a piece truly cannot be shot clean through the glass, because of the room, the lighting, or the frame itself, say so honestly rather than delivering a file with a visible reflection and hoping nobody notices. A quick note about the constraint, and a plan to revisit it under better conditions, serves the client better than a technically finished but compromised photo.
Cross-polarizing for glare the angle can't clear
A polarizing filter on the lens handles part of the glare. It works best on reflections that hit the glass at an angle, and it does very little for a light bouncing almost straight back into the camera. Documentation shoots handle glazed work by adding a second layer of polarization, on the lights themselves.
The setup is called cross-polarization. Each light gets a sheet of polarizing film, all turned the same way, and the lens filter is rotated until the reflections of those lights drop out of the frame. Light that reflects off the glass keeps the polarization it left the lamp with, so the lens filter blocks it. Light that passes through the glass, lands on the artwork and scatters back loses most of that polarization, so the painting stays visible while the hot spots disappear.
It costs a lot of light. Two layers of polarizer darken the exposure noticeably, so the lights run brighter or the shutter stays open longer, which is why this setup lives on a tripod. It also controls only the lights you've polarized. A window or a ceiling fixture still reflects on its own terms, so the camera angle and the habit of switching off stray fixtures still apply.
Cross-polarizing also removes the natural sheen of varnish and thick paint. Sometimes that's the point, and sometimes it flattens a surface the artist cares about. On a glossy oil, one extra frame with the lens filter turned back keeps a record of how the surface actually catches light.
What you can't fix in editing
A polarizing filter and a good angle solve most glare before the shutter ever fires, and that's worth doing right, because editing has real limits here. Removing a reflection after the fact usually means cloning or patching over part of the image, which risks altering the actual appearance of the artwork, exactly what a documentation photo isn't supposed to do.
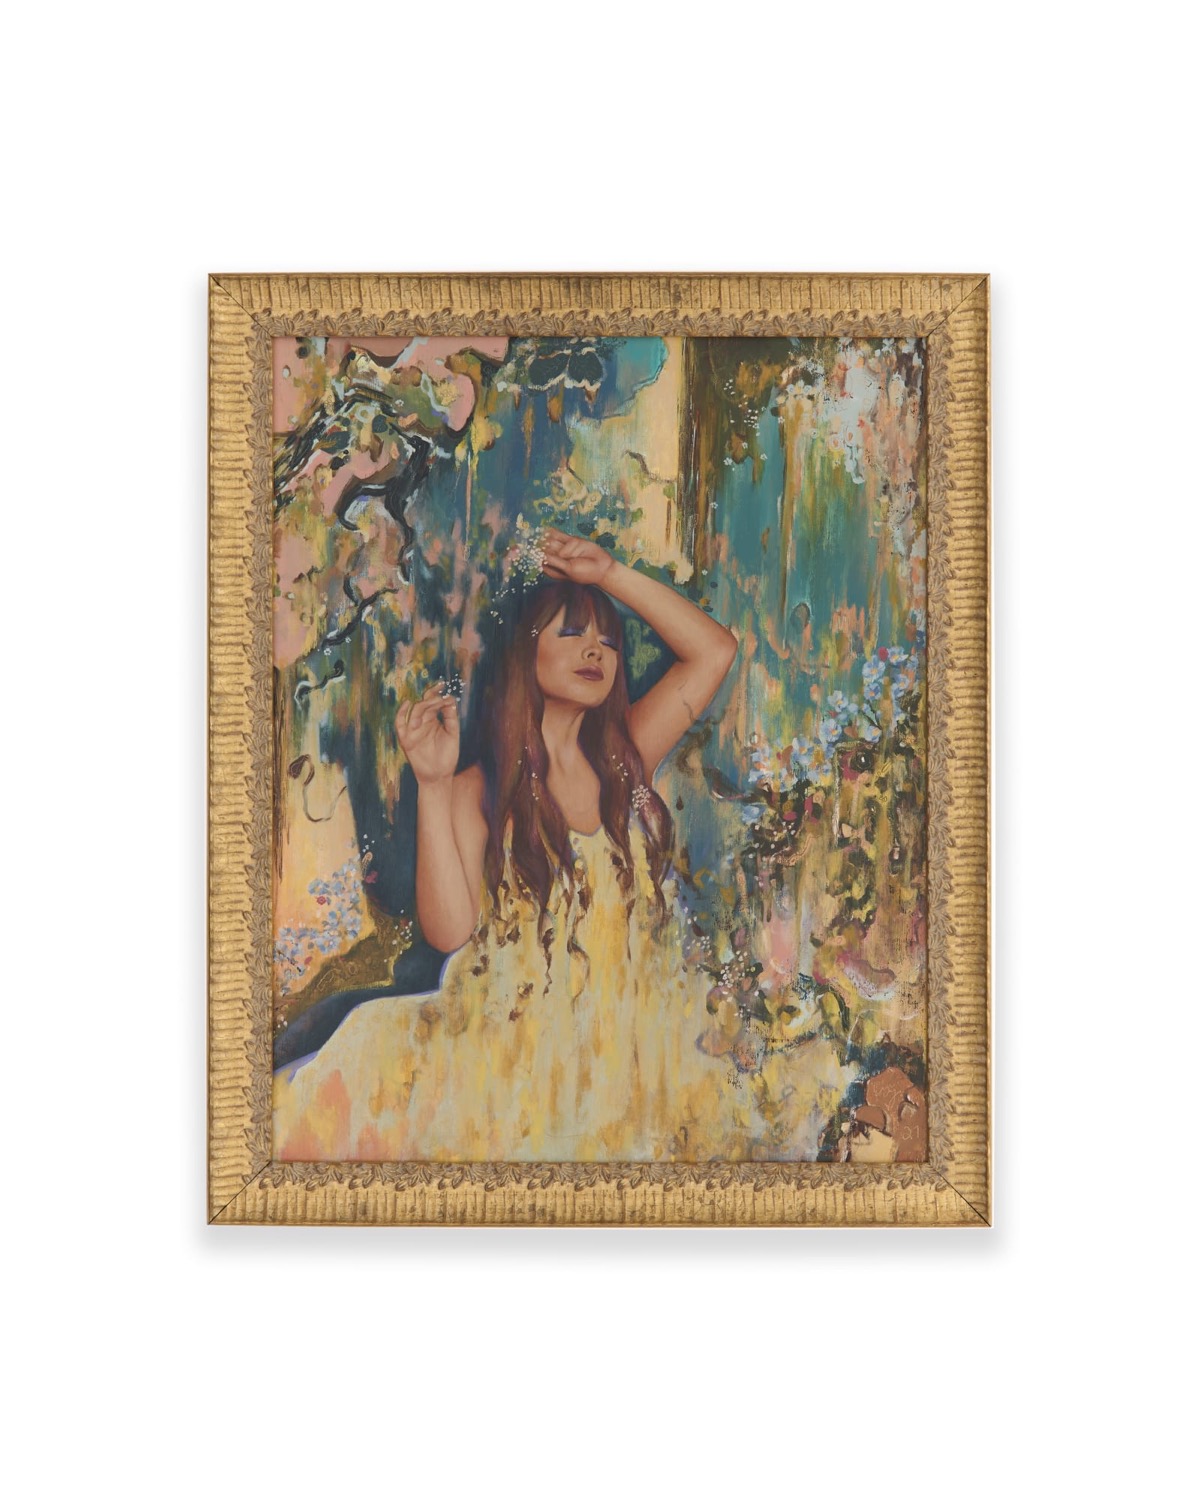
Color accuracy is the other place editing can't rescue a bad capture. Glass and acrylic both shift color slightly, and a strong reflection can throw off a camera's white balance reading for the whole frame. If the goal is an accurate record of the piece's real color, get the capture right at the lighting stage. No amount of editing fully restores information that a reflection or a bad white balance reading already corrupted.
A reasonable editing pass still matters: straightening a slight angle, correcting perspective, adjusting exposure and color to match the piece as closely as possible. That's different from trying to erase a reflection that should have been solved on set.
A simple checklist for shoot day
Before shooting any framed piece, run through a short list. Check the glazing type and note whether it's coated. Find the angle that clears reflections, camera and lights both. Confirm no light source sits directly across from the camera through the glass. Shoot a slightly wider frame than needed, in case cropping and straightening are required later. Take a few angle variations if the first one looks close but not perfect.
Bring a polarizing filter as a backup, not a first resort. It cuts real glare well, but it also reduces the light hitting the sensor, which means slower shutter speeds or a higher ISO. Angle and lighting position should solve the problem before the filter has to do the heavy lifting.
Check the files on a real screen before leaving, not just the camera's small display. Reflections and subtle color shifts are easy to miss on a three-inch preview and much easier to catch, and fix on the spot, on a laptop.
If you're shooting several framed pieces in one session, don't assume the first setup carries over to the next piece. Frame depth, glazing type, and wall position all change the geometry slightly, and a light position that cleared glare on one piece can create it on the next. A minute of rechecking per piece is cheaper than reshooting the room later.
What it costs to have framed work documented
When a piece is glazed and the file has a job to do (a grant, an insurance record, a print edition), handing it to a documentation photographer is often cheaper than an afternoon of fighting the glass. Here's how our pricing works for framed work in NYC.
Each piece is priced by what you get back. Essential is typically $50 for one color-accurate hero shot, Standard is typically $85 for the hero plus two detail shots, and Gallery is $135, which adds a 15 to 30 second video clip. Glazed work adds a flat $200 per session for the polarized lighting rig, however many framed pieces are in the room. Ten to nineteen pieces take 10% off the typical per-piece estimate, and twenty or more get a direct quote. Standard delivery is 10 business days, and rush delivery in under three business days adds 25%.
Tell us what you're working with. Send a few phone photos or book a 15-minute call, and we'll send an exact quote.
Before the shoot, give the glass a wipe with a microfiber cloth. Dust and fingerprints on the glazing photograph just as clearly as the artwork behind it. The documentation estimator does the math for a specific mix of pieces.
Frequently asked questions
Why does my photo of framed artwork have a bright spot or reflection?
A bright spot usually means a light source, a window, an overhead fixture, or a lamp, is reflecting directly off the glass into the camera. Moving the camera slightly off-perpendicular, or repositioning the light so it is not directly across from the lens through the glass, almost always clears it.
Do I need a polarizing filter to photograph artwork behind glass?
Not always. A polarizing filter helps with glare that angle and lighting alone cannot fully clear, but it should be a backup rather than the first fix, since it also reduces the light reaching the camera. Try adjusting your angle and light position first.
Is it better to remove artwork from its frame before photographing it?
For anything that needs to represent color and texture accurately, like grant submissions, insurance records, or print reproductions, removing the piece gives the cleanest, most faithful result. When removal is not possible or safe, a careful angle-and-lighting setup can still produce a usable, accurate photo.
Does museum glass make artwork easier to photograph?
Yes. Museum or conservation glass has an anti-reflective coating that significantly reduces glare compared to standard picture glass, sometimes enough to shoot straight-on without adjustment. Standard glass and some acrylic glazing usually need more careful angling.
Can I remove glass reflections in editing instead of fixing them on set?
Not reliably. Removing a reflection after the fact usually means cloning over part of the image, which risks altering how the piece actually looks, the opposite of what a documentation photo needs. It is faster and more accurate to solve glare with angle, lighting, and a polarizer before the shutter fires.
Get a clean file the first time, glass and all.
We document artwork for artists and galleries across NYC, framed or unframed, with lighting and angles built to hold up for grants, archives, and print.
Explore art documentation →