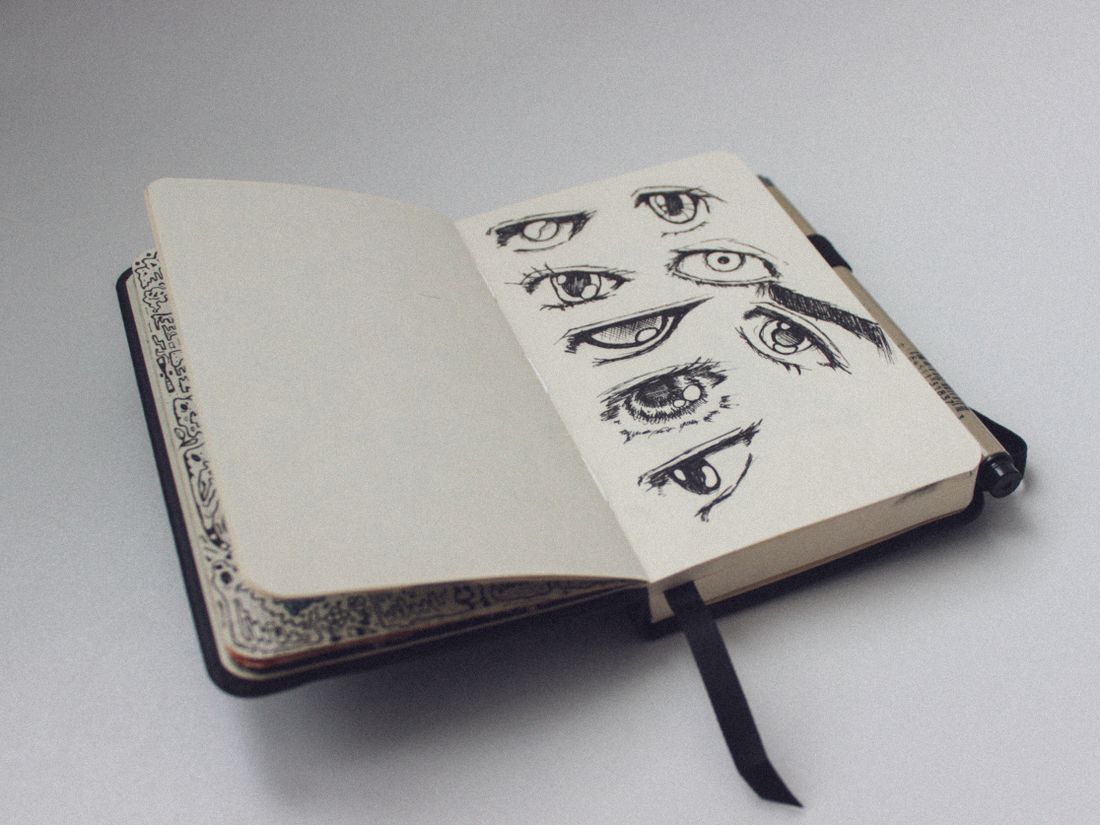
A sketchbook is a strange object to document, because it is one bound thing and, at the same time, every page in it. Digitizing it well means protecting the binding across the entire shoot while still treating each spread as content that has to come out legible, correctly sequenced, and ready to use.
Digitize a sketchbook by photographing it open on a support, never pressed onto a flatbed, using a cradle and light edge weights instead of forcing the spine flat. Shoot page by page with a fixed camera and lighting setup, name files so their order matches the book, and decide upfront which pages need full reproduction treatment.
Why is flatbed scanning often the wrong tool for a sketchbook?
A flatbed scanner is built for a single loose sheet pressed flat against glass, not for a bound book. Forcing a sketchbook face down onto the glass either leaves the pages nearest the spine unlit and warped, or asks for enough pressure on the lid to flatten them anyway. That's pressure a stitched or glued spine was never meant to take.
The problem compounds with volume. A single flatbed pass on a loose sheet is low risk. Repeating that same press-and-close motion across a hundred spreads works the same stress into the same hinge, page after page, until something gives: a cracked spine, a loosened signature, or pages that no longer sit flush against each other. Sketchbooks also rarely lie flat to begin with. Thick paper, wire coils, tape repairs, and pages swollen from wet media all fight the glass before the scan even starts, so the lid ends up doing more work than it should.
The more reliable setup is a camera above the book instead of a book pressed onto glass. A copy stand or tripod shoots down onto the open spread while the book rests on a table or in light support, nothing touching a surface it has to be pushed into. The trade-off is that a camera setup takes more care to keep level and evenly lit than dropping a page onto a scanner bed. That care is exactly what lets two hundred pages get turned without the binding paying for it.
What causes the gutter shadow, and why does it matter?
The gutter shadow is the dark, distorted band that appears near the spine when a page curves away from flat instead of sitting level with the rest of the spread. It happens because the inner edge of the page sits physically closer to the spine and farther from the light and the lens than the outer edge, so it falls into shadow and reads as bowed rather than flat.
Thicker sketchbooks and heavier paper make it worse, because the pages have more resistance to lying open and more curve builds up near the fold. Larger formats show it more obviously too, since the same few degrees of curve covers more physical distance across the page. Even lighting from both sides of the book (matched in intensity and angled to avoid glare) keeps the shadow as shallow as the book's own curvature allows, but it does not remove it. Post-processing can lighten a shadow, but it cannot recover detail the shadow actually obscured, and pushing exposure or contrast to compensate tends to introduce its own distortion near the spine.
What matters more than eliminating the shadow is knowing when it's acceptable. A page shot for a complete documentary record can tolerate mild curvature near the spine as long as the content stays legible. A single finished piece being pulled out for reproduction-grade treatment (a portfolio image or a print) is worth the extra setup time to minimize it, because that image is being judged on its own rather than as one of many.
Should you use a cradle, weights, or press the spine flat?
Use a cradle and light weights for most sketchbooks, and reserve full flattening for the few books whose binding was actually built to open flat, like spiral, disc, or comb-bound sketchbooks. A sewn or glued spine forced past its natural resting angle risks cracking at the joint, no matter how gently it's pushed there.
A cradle supports both covers at an angle the spine can hold on its own, instead of asking the binding to do work it was never built for. Weights (snake weights or small beanbags) go along the margins and page edges to keep a spread from lifting or curling mid-shot, never directly on ink, charcoal, collage elements, or anything raised or still slightly soft. For an older or tightly sewn book, a safe working angle is often well short of fully flat; forcing it past that point to chase a flatter-looking scan is how a binding fails partway through a shoot rather than at the end of one.
Modern spiral or disc-bound sketchbooks are the exception. They're designed to lie fully open with no strain on any joint, so there's little reason to under-open them. The general rule holds either way: match the support to what that specific binding was built to tolerate, and accept a bit more gutter curvature in exchange for a book that survives being opened two hundred times in one sitting.
How do you set up a shoot that won't wear out the binding over two hundred pages?
The setup that protects a binding over a long shoot keeps the book, the camera, and the light in fixed positions and only asks the page to move. A stable copy stand or tripod overhead, one consistent support angle, and one person handling the pages keeps every spread opened the same careful way instead of renegotiating the book's tolerance shot by shot.
In practice, that means locking the tripod or copy stand height and angle once at the start, and marking the book's position on the table so its orientation doesn't drift over a session. Page turns happen from the same corner each time, with clean or gloved hands depending on the media. A consistent two-light setup removes the temptation to reposition the book itself to chase a stubborn shadow, a habit that adds extra flexing across a full book.
For a genuinely fragile or heavily used sketchbook, splitting the work across multiple shorter sessions is usually kinder than one long sitting. The physical stress of opening and closing a spine compounds regardless of how gently it's handled, so shorter sessions with real breaks protect the object even when nothing about the technique changes.
Locking camera settings matters as much as locking the physical setup. White balance, exposure, and focus set once at the start and left alone keep every page comparable to the next. A quick level check on the copy stand before the first page catches a tilt that would otherwise show up as a subtle keystone across the whole set.
How do you photograph two hundred pages without losing pace or care?
At volume, the most reliable method is a fixed rhythm: turn the page, trigger the shutter with a remote or a cable release, turn again, without touching the camera body between shots. Touching the camera to fire the shutter is what reintroduces small shifts in framing and focus across a long session, and a remote removes that variable almost entirely.
Working in batches by physical section (say, one third of the book per sitting) keeps each session short enough that attention doesn't erode. Building in a checkpoint every so many spreads, where a handful of recent frames get reviewed for focus and exposure drift, catches a problem while it's still one spread's worth of reshooting instead of forty. Waiting until the end of the book to review anything turns a small fix into a second pass through the entire object.
It's worth resisting the urge to skip pages that look unfinished, blank, or like a note rather than a drawing. Volume work only stays trustworthy as a record if it treats the book as complete rather than pre-edited at the camera. Fatigue also changes handling more than technique does. A tired operator on page one hundred and eighty is the one most likely to rush a page turn, so short breaks matter as much for the object as for the work. A remote or pedal also frees a hand to steady the page while it's turned, rather than reaching back and forth between the book and the shutter button on every single frame.
How do you keep page order intact while shooting fast?
Page order stays intact when the book itself is the source of truth for sequence, not memory. Leave the book open to the last page shot if a session gets interrupted, use a single physical bookmark or flag rather than trusting recall, and count spreads against the frame count before closing out for the day.
Decide upfront whether every recto and verso is being shot separately or only full spreads together, since that changes what the final file count should be and makes a missing page easier to spot. Loose inserts, foldouts, or anything tipped into the book need a decision about where they belong in the sequence before shooting starts, not worked out afterward.
A quick tally at the end of each session (physical pages against captured frames) catches a skipped or doubled page while the book is still open and easy to fix. Finding the same gap after the sketchbook is back on a shelf usually means reopening a book that already went through its shoot, exactly the extra handling this process is trying to avoid.
It also helps to settle, before the first spread is shot, whether the sequence follows the book's physical order or the order the artist actually worked in. Sketchbooks are sometimes filled from both ends. Photographing in physical page order and noting the working order separately keeps the record honest without forcing a reshoot if the two disagree.
How should files be named so page order survives the shoot?
Name files so their sort order matches the book's physical order without anyone having to remember anything: a short, stable book slug, a zero-padded sequence number, and a recto or verso marker if both sides are captured separately, for example, sketchbook-name_014_verso.jpg rather than a title or date that has to be interpreted later.
Zero-padding matters because a plain file browser sorts a page numbered 9 after 10 and 90 without it, which quietly breaks sequence the moment a book runs past nine pages. The slug should stay fixed for the whole shoot even if the sketchbook's own working title changes later, since renaming a folder mid-project is far less risky than renaming files a client or archivist may already reference.
If a missed page turns up after numbering is already set, insert a decimal or letter suffix (014a, for instance) instead of renumbering everything that follows. Renumbering a whole sequence to fix one gap risks silently breaking a reference already shared. A plain index alongside the files, mapping filename to page description, lets anyone who wasn't in the room navigate the set.
The same discipline applies to folders as much as filenames. One folder per sketchbook, named the same way as the slug used inside it, keeps a growing archive of multiple books from producing file names that look identical out of context. A short caption file noting the sketchbook's title and date range means the sequence still makes sense years later.
Which spreads are finished works, and which are just documentary record?
Most pages in a working sketchbook only need a clean, consistent documentary record: legible, evenly lit, correctly sequenced. A smaller number of pages that function as finished, exhibition- or portfolio-worthy pieces on their own are worth the extra time of a dedicated, color-managed reproduction shot, closer to how a standalone work on paper gets treated.
That call is worth making before the shoot starts, in conversation with the artist, rather than page by page in the middle of a session. Deciding it in real time turns every spread into a judgment call and slows the whole shoot down. Useful criteria tend to be practical rather than aesthetic: has the piece been signed, dated, or otherwise set aside as finished, or is it a study, a note, or an idea still in progress? The artist usually already knows the answer faster than a photographer can guess it.
A documentary pass records everything, so nothing in the book gets lost regardless of how anyone later judges it. The smaller reproduction-grade pass then gets pulled from that same set afterward, flagged rather than re-shot from scratch. That sequencing is really the whole tension of digitizing a sketchbook: most of it deserves record-level care, a handful deserves work-level care, and settling which is which before the camera comes out is what keeps two hundred pages from turning into two hundred separate decisions.
Frequently asked questions
Can a sketchbook be digitized without disbinding or taking it apart?
Yes. Disbinding is rarely necessary and should be treated as a last resort, not a starting assumption. Most sketchbooks can be photographed intact using a cradle or light support that opens the book only as far as its binding safely allows, with a camera positioned above rather than a scanner pressed against the pages. Disbinding is only worth considering for a severely damaged book already coming apart, and even then it's a conservation decision, not a photography one.
How is digitizing a sketchbook different from photographing loose works on paper?
A loose sheet can be handled and repositioned individually with no structural constraint. A sketchbook page is attached to every other page through the spine, so its angle and the light it receives are limited by what the binding will tolerate. The workflow shifts too: instead of one setup used once, it's one setup used consistently across dozens or hundreds of pages in sequence, which puts a premium on consistency and order over perfecting any single frame.
Does every page in a sketchbook need the same level of digitization?
No. Most pages only need a clean, evenly lit, correctly sequenced documentary record so nothing in the book gets lost. A smaller set of pages that function as finished, standalone pieces usually earns a dedicated reproduction-grade shot with tighter color accuracy, similar to how a finished work on paper gets treated. Deciding which pages get which treatment works best as a conversation with the artist before the shoot starts, not a call made mid-session.
What lighting works best for photographing an open sketchbook?
Two even, diffused light sources placed on either side of the book, matched in intensity and angled to avoid glare, work better than one strong light. Even lighting keeps the gutter shadow near the spine as shallow as the book's own curvature allows and stops one side of the spread from reading brighter than the other. A light aimed too aggressively across the page can also exaggerate the paper's own texture, which reads as noise rather than detail once reviewed.
How do you make sure the files come back in the right page order?
Consistent file naming does most of the work: a stable book slug, a zero-padded sequence number, and a recto or verso marker if both sides are captured separately, so files sort in the same order as the physical pages. Counting spreads against frame counts before ending a session catches a skipped or doubled page early. A short index mapping filenames to page descriptions helps anyone who wasn't in the room navigate the set afterward.
Give your collection a record that holds up.
We document artwork the way an adjuster or appraiser would actually want to see it: full views, accurate color, condition detail, and a system that keeps every file tied to the right record.
Explore artwork documentation →