
Most of the packing anxiety before a styled shoot comes from treating it like an unknown. It isn't. A styled shoot has a small, predictable set of things that actually get used on the day, and a much longer list of things that get packed out of nerves and never leave the bag. Knowing the difference in advance saves real time once the day starts.
This is a real packing list, not a general pep talk. It covers how many outfit options actually earn their place, the small things that ruin a frame, most invisibly until someone spots them on camera, what we bring so you don't have to, and what's genuinely fine to leave at home.
How many outfit options actually help, and why
The instinct to bring one outfit and hope it works is understandable, but a stylist making a call under real studio light needs an actual second option, not a hypothetical one. For a single planned look, two to three genuine options is usually the right range: enough for a stylist to compare fabric, fit, and color against the actual backdrop, without turning the call into a lengthy audition.
Bring more than that and it rarely helps. It mostly adds decision time, since every extra piece still gets picked up, considered, and set aside before the real choice gets made, and that time comes straight out of the shooting window. A shoot built around several distinct looks multiplies this math, but only by two real options per look, not by however many outfits happen to fit in the bag.
What separates a real option from padding is one question: could this piece actually get worn on camera today. A jacket that might work if the weather turns, a backup version of something already covered, a piece packed "to see what the stylist thinks" with no real belief it belongs, none of that is a genuine option. It's weight, and it's time nobody gets back once the shoot starts.
The small things that ruin a frame
Some problems only show up once a garment is on camera, which is exactly why they're worth naming before the day rather than catching them mid-shoot. A visible logo or brand mark can pull focus from the subject's face, turn a portrait into an ad nobody meant to shoot, or create a usage headache later. Check every piece for logos on buttons, zipper pulls, and woven labels, not just the obvious chest print.
Fresh fold creases are the next quiet problem. A shirt straight out of a shipping box or a dresser drawer carries sharp horizontal lines that studio light picks up and a photo can't un-see. The fix isn't complicated, it's steaming or pressing before the shoot, not after someone notices it in a frame.
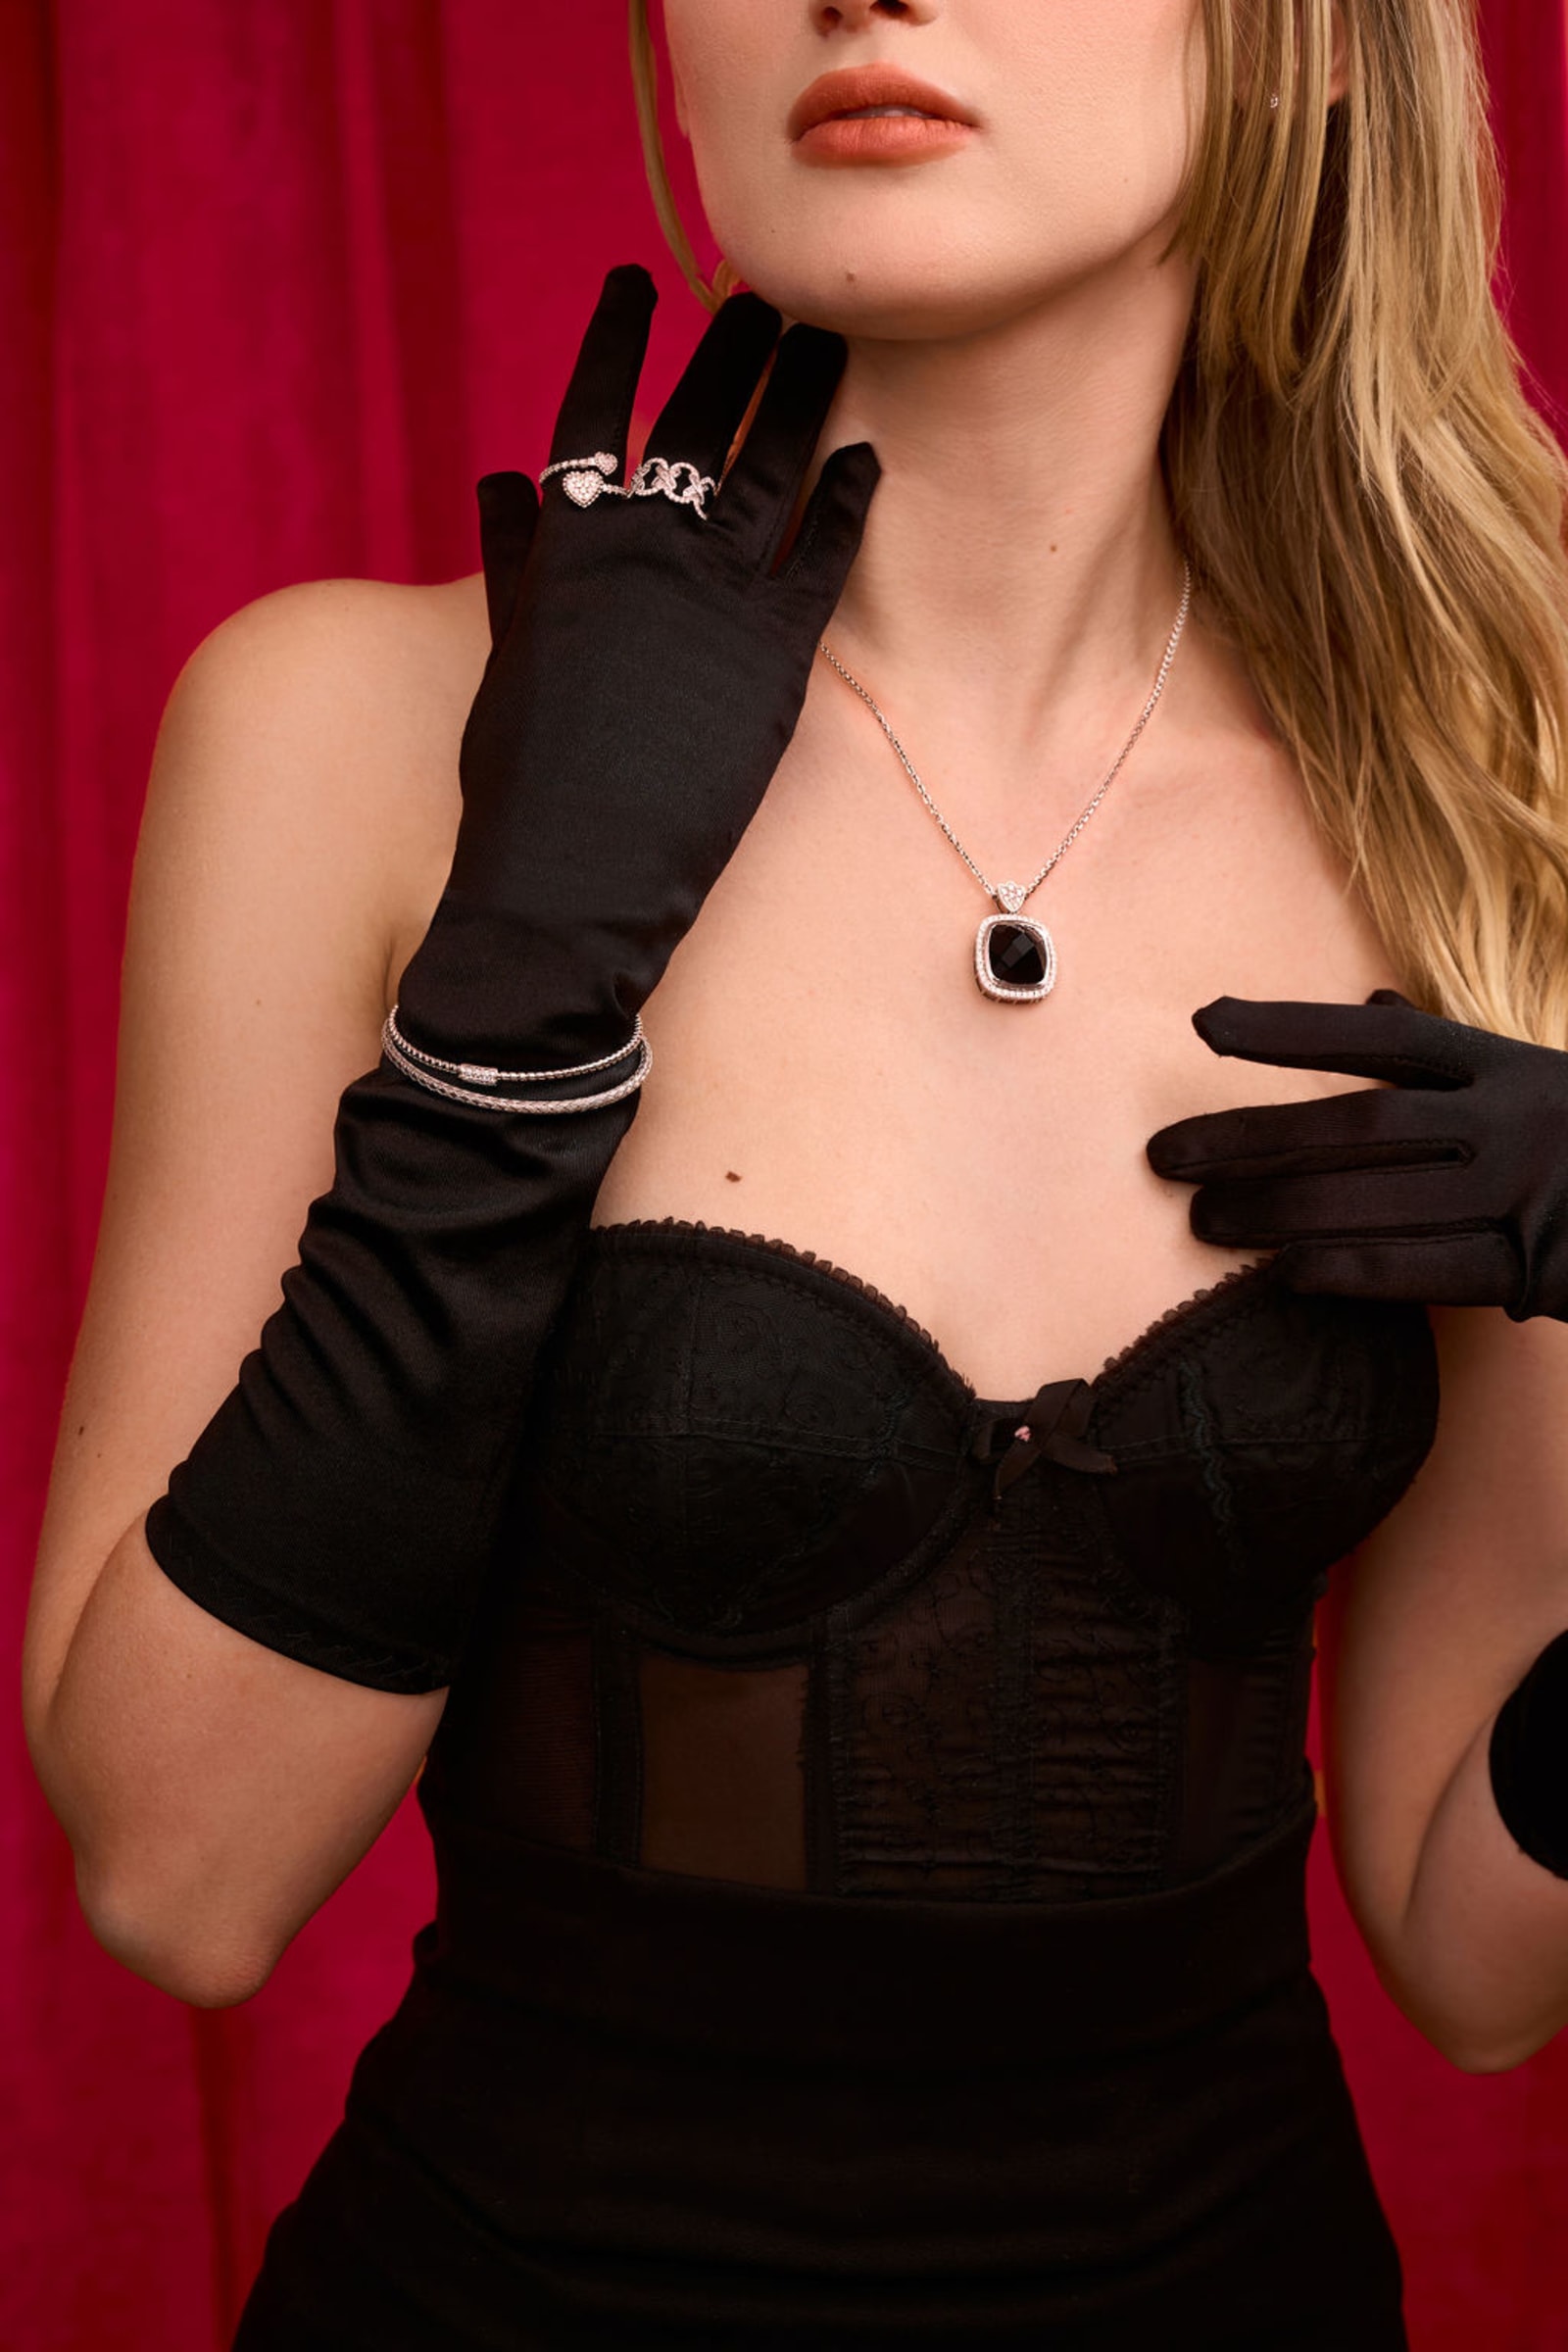
Fit problems are easy to miss standing in front of a mirror at home and obvious the second a camera is pointed at them. A bra strap fighting a neckline, sliding into view every time the subject turns, is one of the most common. So is a watch tan line showing under a sleeve that was supposed to cover it, or jewelry that catches and glares under a hard key light. None of these are dramatic. All of them are the kind of thing a second look before the camera rolls would have caught.
What we bring, and what's worth adding to yours
A working styling kit is smaller than it sounds. On an indoor shoot we bring a steamer, a lint roller, double-sided fashion tape, a few clips for adjusting fit from behind the frame, and a small repair kit: scissors, a needle and thread, and safety pins for the fold, wrinkle, and loose-button problems that show up on almost every shoot. It rarely gets used in full on any given day, which is exactly why it's worth having rather than improvising with whatever is on hand.
What changes is the setup. An indoor kit leans on the room itself, a wall outlet for the steamer, a doorframe for a hanging rod, a mirror for a last check before stepping in front of the camera. On location, none of that infrastructure travels with us automatically, so it's worth confirming at booking whether the space has power and a place to hang a rack, especially for a shoot outside a studio.
What's worth skipping on your side is anything that duplicates what we already bring: a second steamer, a full-size ironing board, backup hangers beyond what the day's pieces need. All of it adds bulk without adding real capability. If a specific repair or steaming need is unusual, mention it before the shoot rather than assuming it either way.
Accessories, backup shoes, and what to change out of
Accessories are the one category worth overpacking slightly, because they're small, fast to swap, and a stylist can usually try three earring options in the time it takes to change one outfit. Bring a genuine range, jewelry, a scarf, a belt, a bag, and let the choice happen once the outfit is locked rather than deciding at home. The exception is anything precious or borrowed. A one-of-a-kind piece or a loaner from a gallery is worth a specific conversation about handling before the shoot starts.
Shoes get less attention than they deserve, partly because a lot of frames crop them out entirely. But comfort matters more here than almost anywhere else in the kit: a shoot can run long, and a shoe that looks right but genuinely hurts after twenty minutes starts showing up in posture before it shows up in the frame directly. A backup pair, something comfortable to move between setups in, takes up almost no room and solves a problem that's easy to underestimate.
It's also worth packing something to change out of, whatever you're wearing on arrival plus a robe or a loose layer for between looks. Warm-up clothes protect the actual wardrobe from coffee, makeup, and the general wear of getting ready, and they keep a subject comfortable during the parts of the day that aren't in front of the camera.
What to prep the night before, not the morning of
Steaming, ironing, and any real wrinkle work belong the night before, not the morning of the shoot. A rushed steam job done in the last twenty minutes before leaving is easy to spot in final images, especially anywhere fabric catches direct light. The same goes for laying out and confirming which pieces are actually going, so the morning is spent packing a known list rather than making fresh decisions under time pressure.
Anything genuinely undecided, whether a piece will make the cut, whether an accessory feels right, is fine to leave for the day itself. What shouldn't be left uncertain is whether the pieces that are definitely coming are actually ready to shoot: steamed, checked for logos and creases, and paired with whatever accessories or shoes go with them.
It's also worth confirming logistics the night before, not just wardrobe: what time call is, where to park or drop off a loaded rack, and whether there's a private space to change. None of it is glamorous prep, but showing up without an answer to any of it tends to eat the same early minutes that a rushed steam job does.
What doesn't need to come
A tighter bag isn't a compromise, it's usually the version of preparation that actually helps the day go well, because everything in it has a real reason to be there. It also helps to notice the instinct behind most overpacking: nobody wants to be the reason a shot doesn't work because the right piece got left at home, so bringing everything feels safer. That instinct is understandable, but it doesn't actually protect the shoot. A few things are safe to leave home outright:
- Backup versions of a piece already covered by a real option
- Anything that needs a specific styling moment to work and doesn't have one planned for this shoot
- Borrowed or precious pieces without a clear plan for keeping them safe on a busy set
- A second steamer, a full-size ironing board, or backup hangers beyond what the day needs
- Anything packed "just in case" with no real belief it belongs in the shoot
That last one is the quiet time sink. It doesn't add a real option, it adds a decision, and a stylist working from a smaller, more considered set of choices tends to move faster and land on stronger final looks anyway.
Got a photo or video project taking shape in NYC?
Tell us what the files need to do, where the day is happening, and what has to go right, and we'll help shape a production plan around it.
Start a project →