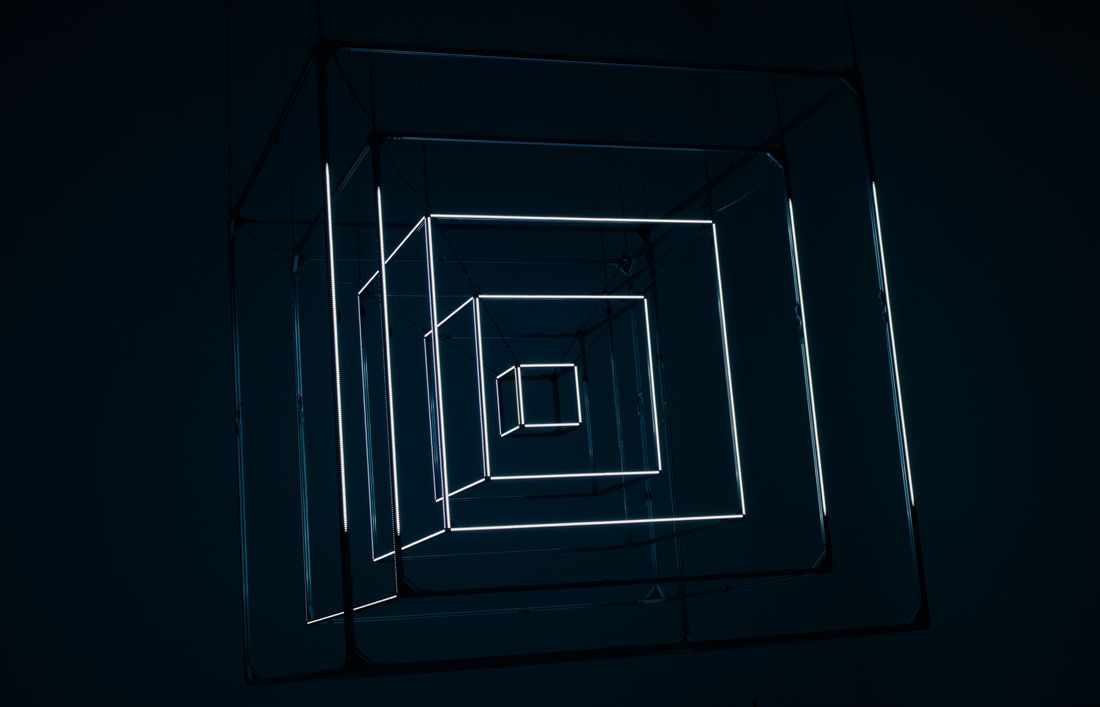
Photographing a painting means bringing light to a passive object and controlling it until the surface reads true. Neon, LED, and other light-based work flips that entirely: the piece is already lit, and it's lighting itself in a way the camera can't fully hold in one frame. Every choice that follows, exposure, color, whether the room lights stay on, starts from that inversion.
Every other documentation job starts by controlling the light falling on the work. Light-based art removes that step, because the piece generates its own brightness. The camera has to expose for the glow itself, and a single frame rarely holds both the lit element and the room around it cleanly.
Why Doesn't the Usual Art-Lighting Approach Work on Light-Based Work?
Every other documentation job starts with controlling the light falling on the work: even it out, neutralize its color, then photograph the object underneath it. Light-based art removes that starting point, because the artwork generates its own brightness. The camera has to expose for something that won't hold still tonally, and that changes nearly every decision after it.
With a painting or a print, the light is a tool the photographer brings and controls. With a neon sculpture or an LED installation, the light is the subject. There is no neutral illumination to add on top of it, and adding one usually competes with the piece instead of revealing it. A soft box next to a glowing tube doesn't make the tube easier to see; it adds a second, unrelated source into a frame that already has one built in.
This is why the standard checklist, even light, accurate white balance, controlled shadows, mostly doesn't transfer. Those goals assume the photographer is managing an external source aimed at a passive object. Here the object is active. It has its own brightness, its own color temperature, and its own behavior on camera, and the room around it is passive by comparison.
The practical result is that light-based work needs its own approach, built around the piece's own glow rather than a modified version of the flat-work or sculpture playbook. Recognizing that early is what keeps a session from turning into an hour spent fighting a setup that was never going to work.
Why Do You Expose for the Tube Instead of the Surface Around It?
Expose for the glowing element, not the wall or floor around it. A light source reads many stops brighter than anything nearby. Meter for the room and the tube blows into a shapeless glow with no color left. Meter for the tube and the room goes dark. That gap is the shoot's central technical problem.
A camera's meter, left alone, tends to average the frame and expose for the room, since that's where most of the visible surface area sits. Uncorrected, that produces the failure mode everyone recognizes from casual phone photos of neon: a washed-out halo where the color and shape of the glass should be. Manually dialing exposure down until the tube holds its true color and edge usually means the room falls into near-black.
That tradeoff isn't a mistake to fix; it's the actual choice being made. Holding detail in the light source is usually the priority, since the tube or panel is the artwork, and its color and form are what the documentation exists to record. A dark, underexposed room around a correctly exposed tube is a far more useful record than a well-lit room with a blown-out artwork inside it.
Getting there takes lower ISO, a smaller aperture, and a shutter speed set for the glowing element specifically, then checked against the histogram rather than the meter's default, since both the eye and the meter get fooled by how bright a light source looks in person.
Why Can't One Frame Usually Hold Both the Glow and the Room?
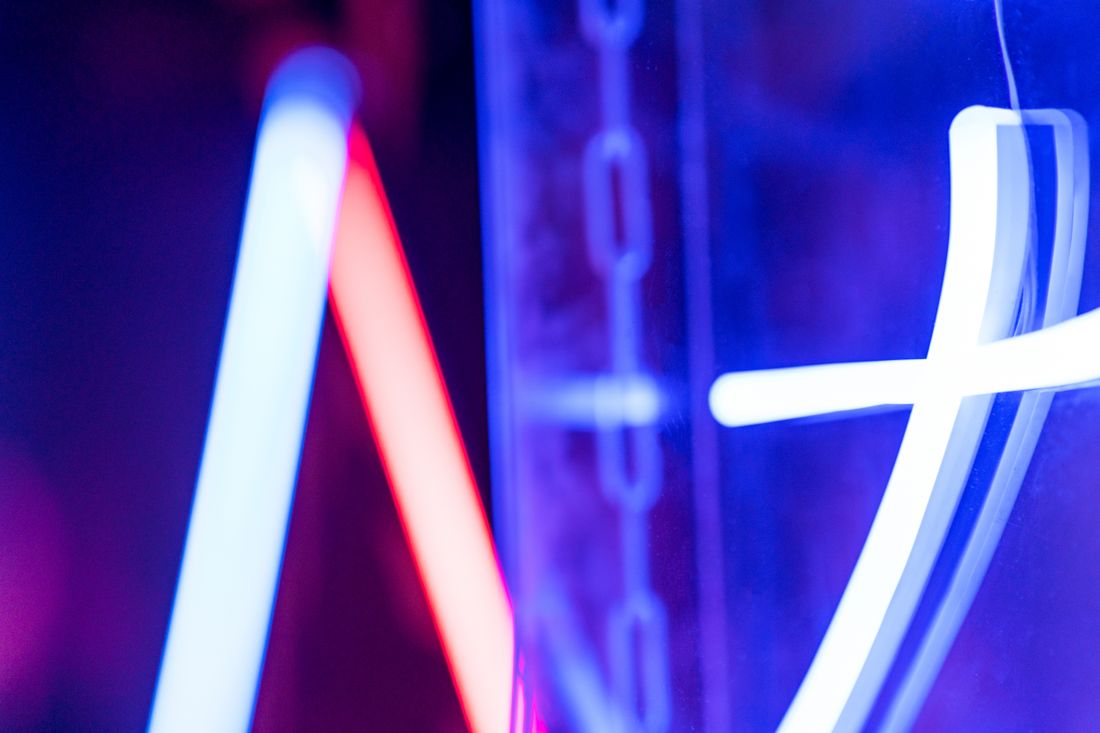
A single exposure usually can't hold both the lit element at full color and the surrounding room with usable detail, because the range between a glowing tube and a shadowed gallery wall regularly exceeds what one frame records cleanly. The tube needs a fast, controlled exposure; the room needs a much longer one just to become visible at all.
This is the same dynamic-range problem that shows up in interior photography with a bright window in frame, just more extreme, since a light source is brighter relative to its surroundings than daylight through glass usually is. A piece in a dim room can easily run ten or more stops brighter than the wall six feet away. No sensor holds that entire range in one clean file without something giving up detail at one end.
In practice, this means picking a priority before the shutter fires rather than hoping one setting covers everything. If the piece needs to read accurately, color, brightness, form, that becomes the exposure target, and the room is allowed to go dark. If the documentation instead needs to show how the piece sits in its space, a longer exposure that renders the room legibly is the better choice, even at some cost to the light source's finest color detail.
Neither option is an accidental compromise. It's a deliberate choice about which part of the record matters most for a given use, made before the shoot instead of discovered afterward in a file that can't do both.
Is Blending or Bracketing an Honest Documentation Choice?
Blending two exposures, one for the glow and one for the room, is an honest documentation technique when it represents what a viewer actually experiences in front of the piece, and becomes manipulation only when it adds, removes, or reshapes something that wasn't really there. The distinction is about intent and result, not whether more than one frame was involved.
Exposure blending has a long history in fields where dynamic range regularly exceeds a single frame, real estate and architecture photography being the clearest example. The same logic applies here: a correctly exposed frame of the artwork combined with a separately exposed frame of the room so both read clearly isn't different in kind from what a human eye does automatically, adjusting as it moves between a bright light and a dim wall. A sensor can't do that in one shot, so blending does it in post.
Where it crosses into manipulation is changing the actual color, shape, or brightness relationship of the piece, warming a color that was really cooler, sharpening an edge that was genuinely soft, or implying a room was better lit than it was. Honest blending preserves what was true about both exposures; it solves a sensor limitation rather than editorializing the work.
Being upfront with the artist or client about which images are single exposures and which are blended matters most for anything headed toward an archival or insurance record, rather than a portfolio image.
Why Is Color So Hard to Pin Down on Neon and LED Work?
Color is hard to pin down on neon and LED work because emissive sources produce narrow, uneven spectra instead of the smooth, continuous spectrum white balance presets are built around. Argon and neon tubes glow at specific wavelengths; LEDs emit their own narrow spikes. A preset tuned for daylight or tungsten has nothing to calibrate against.
This shows up as color that shifts depending on the camera, its color science, and even the white balance setting chosen, in ways that wouldn't happen photographing a painting under a known light source, since tube color also depends on the exact gas and glass coating used to make it. Reds can turn orange or pink, blues can shift toward violet or teal, and two cameras photographing the same tube can disagree noticeably. None of the built-in presets are wrong exactly; they're solving a different problem than the one a narrow-spectrum source presents.
Custom white balance, read directly off the piece rather than a gray card lit by it, gets closer, but even that is an approximation, since one reading can't fully correct for a source emitting several distinct color spikes at once instead of one even curve.
The realistic goal is closeness and consistency across the shoot, not a provably exact color, and setting that expectation with the artist beforehand avoids a frustrating conversation afterward about why the file doesn't match the tube exactly as remembered.
Why Do Neon and LED Pieces Flicker or Band on Camera?
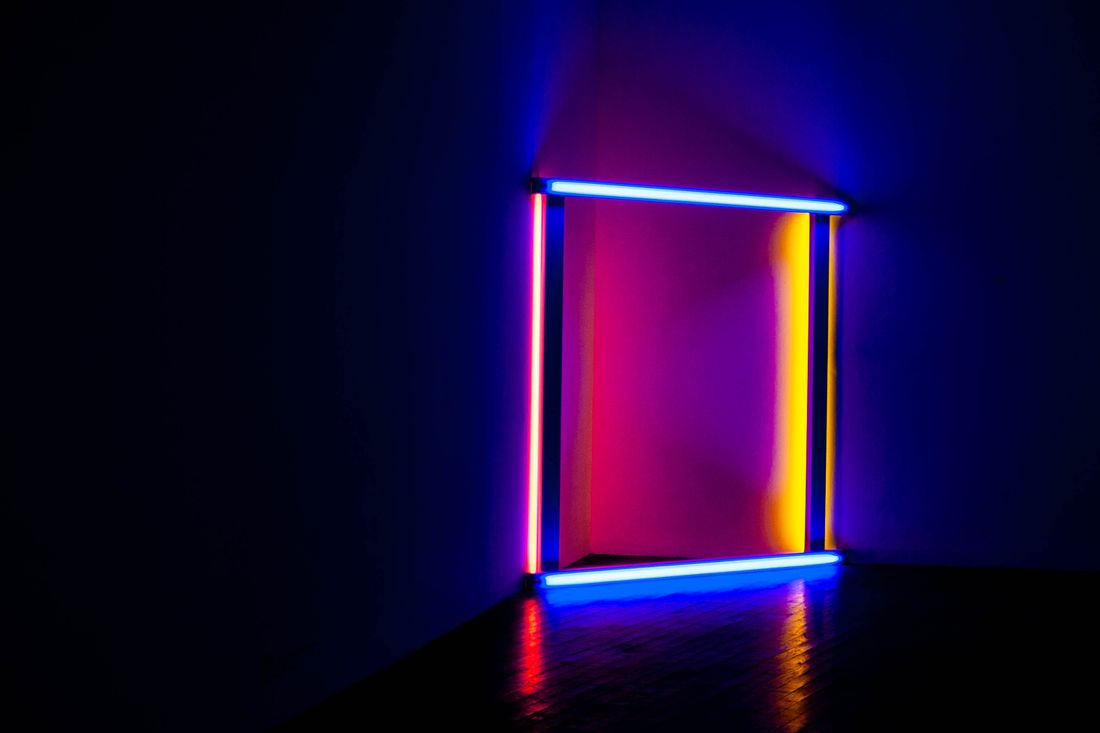
Neon and LED pieces can flicker or band on camera because many light sources cycle on and off faster than the eye notices, but not always faster than a shutter or sensor readout. A fast shutter can catch the light mid-cycle; a rolling shutter sensor can record different frame rows at different points in that cycle, producing a visible band.
LED fixtures dimmed through pulse-width modulation are the more common source of this, since dimming is often achieved by switching the LEDs on and off rapidly rather than genuinely lowering output, and that frequency can land right where a shutter interacts badly with it. True neon and argon tubes, run on older transformer-based power, tend to flicker less, but LED-based "neon-style" fixtures, now common in newer work, inherit the PWM problem fully.
For stills, this usually means testing a range of shutter speeds on location rather than trusting a single default setting, since a band clearly visible at one speed can disappear almost entirely at a slightly different one. For video, it means checking frame rate and shutter angle against the specific fixture before a full take, since banding invisible on a small monitor preview can be obvious once footage plays back at full size.
A short test capture at the very start of a session, checked immediately on a real screen, catches this before it quietly becomes a reshoot.
How Do You Handle Reflections in a Vitrine or Gallery Glass?
Reflections in a vitrine or gallery glass are handled by controlling the angle between camera, light source, and glass, since a light-based piece is unusually prone to reflecting itself, its case, and the room back into frame. Shooting dead-on almost always shows the camera and photographer reflected in the glass, which a slight angle usually resolves.
The complication specific to light-based work is that the piece also lights the glass in front of it, so even a clean angle can pick up a soft double image, the tube's glow reflected faintly beside the tube itself, especially in a dark room with little else competing for attention in that reflection. A polarizing filter helps with reflected ambient light but does comparatively little against a reflection of the light source itself, since polarization mainly cuts glare from light bouncing off a surface, not glow generated by the object being photographed.
Black flags or negative fill placed just outside frame, positioned to absorb stray reflections rather than block the shot, often do more real work here than a filter. So does repositioning the camera lower, higher, or further to one side until the case's reflection lines up with something dark rather than something bright.
None of this fully eliminates reflection on a piece actively lit from within its own case; the realistic goal is minimizing it until it reads as an honest property of the vitrine, not a distraction.
Should the Room Lights Stay On, Go Off, or Get Shot Both Ways?
Whether the room lights stay on, go off, or get shot both ways depends on how the piece is meant to be seen, a question for the artist before the shoot, not a lighting decision made on site. A piece built for a dark room reads correctly only there; a lit-gallery piece loses its intended balance shot pitch black.
Asking directly, is this piece meant to be seen in a dark room or a lit one, settles most of the ambiguity before it becomes a wasted setup. Some light-based work is designed around darkness, the glow is the entire experience, and ambient room light competes with it. Other pieces are meant to hold their own in normal gallery lighting, and documenting them in total darkness misrepresents how a visitor would actually encounter them.
When there's real uncertainty, or the documentation needs to serve more than one purpose, a portfolio image versus a record of the piece installed in its space, shooting both versions is usually worth the extra time. Lights-off captures the piece as its own object, isolated and at its most legible; lights-on captures it in context, showing scale, placement, and how it actually reads next to other work in the room.
Settling this before the shoot, rather than guessing on site, avoids either underselling a piece that depends on darkness or misrepresenting one never meant to be shown that way.
Frequently asked questions
Do we need a completely dark room to document neon or light-based work?
Not automatically. It depends on how the piece is meant to be experienced, which is worth asking the artist directly before the shoot rather than deciding on site. Some light-based work is built around darkness, and any ambient light in the room competes with it visually. Other pieces are meant to hold their own in a normally lit gallery, and photographing those in total darkness misrepresents how a visitor would actually encounter them.
Can one exposure serve both a portfolio image and an archival record of a light-based piece?
Sometimes, but not reliably enough to plan around. A portfolio image usually favors the glow at its most dramatic, room dark, tube perfectly exposed, color saturated. An archival or insurance record usually needs the piece and its immediate context both legible enough to be useful later. Those two priorities pull in different directions often enough that shooting two distinct versions is generally the safer plan.
Why does the same neon piece look like a different color in different photographs?
Neon and LED sources emit narrow, uneven spectra rather than the smooth, continuous spectrum most cameras and white balance presets are calibrated around, so color rendering varies noticeably by camera body, sensor, and even the specific white balance setting chosen. Two photographers shooting the identical tube can reasonably disagree on the exact color. Consistency across one full shoot matters more than chasing a single, provably correct color reading.
Is video harder than stills for documenting light-based work?
In some ways, yes. Video adds flicker and rolling-shutter banding risks that a single still exposure doesn't really face, since frame rate and shutter angle both interact with how a light source cycles on and off many times per second. A quick test clip, reviewed at full size on a real screen before the real take, catches most of these problems early enough to adjust settings while still on location.
What should we ask the artist before scheduling a shoot for neon or light-based work?
The most useful question is simple: is this piece meant to be seen in a dark room or a normally lit one? That single answer shapes exposure strategy, whether the room lights stay on or off during the shoot, and whether the documentation needs just one version or two distinct, deliberately different sets of images. Settling it beforehand avoids guessing on site and having to reshoot later.
Make sure your archive means something when someone asks for proof.
We photograph the work the way an insurer or gallery registrar wants it documented, straight views, correct color, and condition callouts you can actually point to later.
Explore artwork documentation →