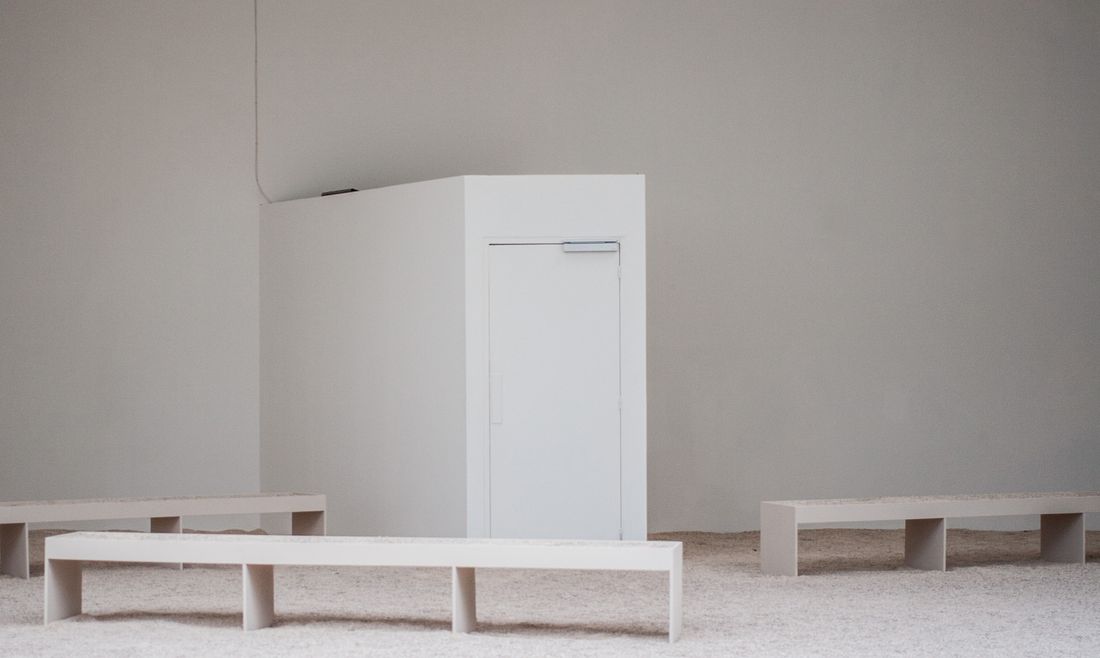
A still frame of a speaker on a gallery wall tells a viewer almost nothing about the sound work that lived there. When the artwork can't be seen, when it's sound, scent, temperature, or duration rather than an object, the record has to be built differently: from audio, from the room, from written specifics, and honestly, from what a photograph alone will never capture.
When the artwork is sound, scent, temperature, or duration rather than an object, a photograph of the equipment proves nothing about the piece. A usable record separates the audio master from the room recording, documents scale and listener position, notes placement and duration precisely, and when representation genuinely fails, becomes evidence the work existed and how it was encountered.
Why does photographing the speaker fail to document a sound piece?
A photograph of a speaker, subwoofer, or hidden transducer records the delivery hardware, not the artwork. It proves that equipment was present in a room. It says nothing about what the piece sounded like, how loud it played, where a listener stood, or how the sound moved through the space. The equipment shot photographs the wrong subject entirely.
The habit comes from documenting objects. A painting is the artwork, so a faithful photograph of the painting stands in for it well. Sound work behaves differently. The visible components, speakers, amplifiers, cable runs, are infrastructure, not the piece. The work happens in the air between source and listener, across duration. A single still frame cannot hold that, no matter how well it is composed.
The equipment shot survives because it is the easiest thing to produce on-site. It needs no planning: point a camera at the box on the wall, take the picture, move on. It also satisfies a checklist instinct, something got photographed, so it feels like something got documented. A grant reviewer or archivist looking at that image later gains almost nothing from it. Nobody can hear a piece from a photograph of a speaker cone.
The fix starts with naming the actual subject before a single frame gets shot. If the work is sound, the primary record is audio, not image. Photography still has a job, showing the room, the scale, and the listener's position, but it plays a supporting role. Treating it as the whole record documents a sound work into uselessness.
What does a usable audio record of a sound work actually contain?
A usable audio record contains at least two separate files: a clean master of the piece's own signal, captured close to the source, and a separate room recording made with a microphone at roughly where a listener would stand. Combining the two into one file loses both the piece and the space it lives in.
The clean master matters because it is the actual artwork in playable form. If the piece runs from a media player, a session file, or a looping device, pull the file directly from that source when possible instead of re-recording it through a microphone. A direct pull avoids room reflections, HVAC hum, and whatever conversation happened to be nearby. This file becomes the reference copy an archive or a future installation can play back accurately, independent of any one room's acoustics.
The room recording is a different document with a different job. It captures how the piece actually sounded in that specific space, including reverb, bleed from other works, and ambient conditions a clean master will never show. Recording this on a decent handheld recorder at the listener's typical standing position, not pressed against the speaker, gives a far more honest sense of the encounter than a boosted, close-mic'd version ever could.
Save both as uncompressed files where possible, not a compressed export, and log the conditions in a plain text note: date, playback volume if known, distance from the source, and whether other sound sources were active nearby. Without that note, a good recording still leaves the next person guessing what it represents.
What should installation views of a sound piece actually show?
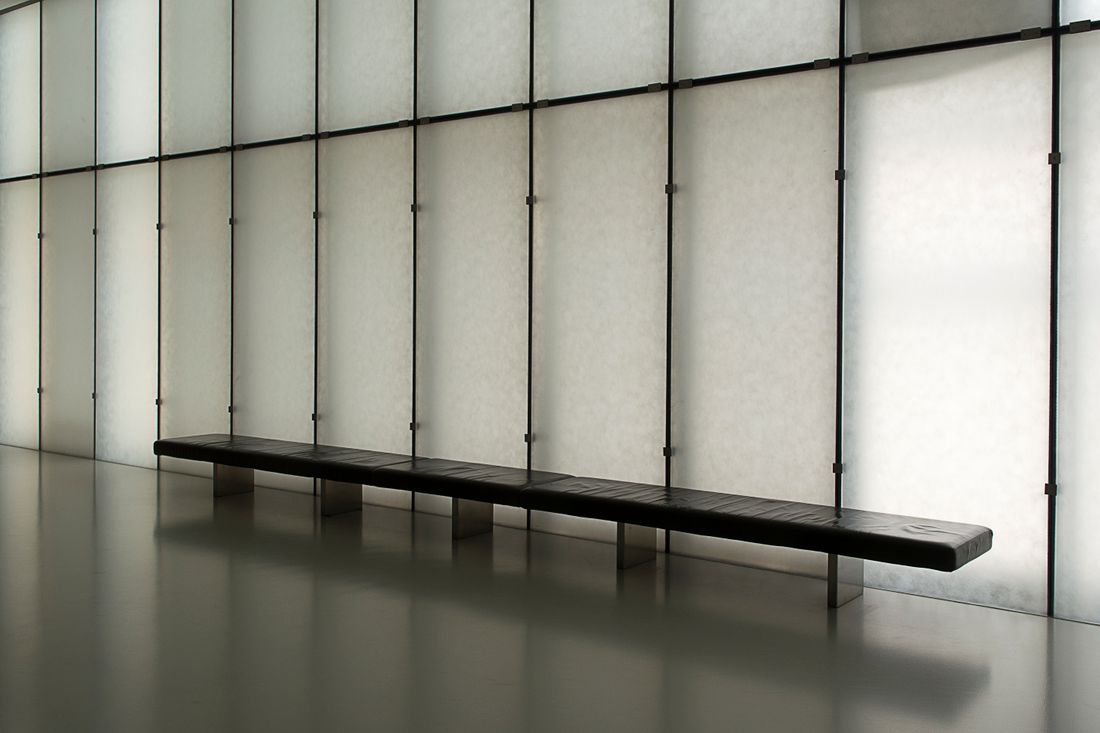
Installation views for a sound piece should show the whole room the sound occupies: its boundaries, the visible sound source in relation to walls and other objects, and roughly where a listener stands or moves to experience the work. A wide shot that includes floor, ceiling, and adjacent walls does more documentary work than any close, styled composition of the speaker itself.
Scale is the first thing these images need to establish. A single small speaker in a large, echoing room reads completely differently than the same speaker in a tight, closet-sized space, and a photograph cropped tight on the hardware erases that difference entirely. Shoot from two or three points in the room, including one from roughly the entry point, so a viewer can reconstruct how someone would actually move through the piece.
Listener position matters as much as the source. If the work is designed to be heard from one spot, a bench, a marked line on the floor, a doorway, photograph that spot along with sightlines back toward the source. If the piece changes as a listener moves through the room, several images along that path do more than one hero shot ever could.
Keep these images free of people where possible, since the goal is an accurate spatial record rather than a lifestyle photograph. A tape measure or a consistent reference object placed briefly in frame, then removed for a clean shot, helps later viewers judge distances a photograph alone tends to compress or distort.
How do you document where the sound source sits in the room?
Sound source placement needs a record that behaves like an engineering drawing, not a portrait: height off the floor, distance from the nearest walls, angle relative to the listener, and mounting method, whether hung, floor-standing, embedded, or hidden behind a surface. A measured photograph paired with a simple floor plan communicates placement more reliably than any single artistic frame.
Start with a straight-on photograph taken level with the source, not from an angle that flatters the composition. Include a visible measurement, a tape measure laid along the floor or wall, or a note with exact figures, so a future installer can recreate the placement without guessing from foreshortening in the image. A second photograph from directly above, even a rough shot from a ladder or balcony, helps enormously when the room allows it.
A simple floor plan sketch, hand-drawn and photographed rather than professionally rendered, should mark the source's position, the direction it faces, any reflective or absorptive surfaces nearby, and the intended listener zone. This single page often carries more reinstallation value than every photograph combined, because it strips the information down to exactly what a technician needs.
Where the work depends on multiple sources working together, number each one on the plan and photograph them individually as well as together. A gallery or archive receiving only a wide shot of a multi-speaker piece has no reliable way to tell which sound came from which unit, and that detail is often the difference between a faithful reinstallation and a rough approximation.
Why does duration and loop information need to be written down?
Duration and loop information belongs in a plain text sheet, not left to memory or inference from a recording: total loop length, whether the piece is continuous or triggered, any silence gaps built into the cycle, and the playback level it was set to run at. None of this survives in a photograph, and most of it is easy to lose within weeks of the installation coming down.
Loop length sounds like a small detail until someone tries to reinstall the piece without it. A twelve-minute loop and a ninety-second loop create entirely different listening experiences in the same room, and a short room recording alone cannot reveal which one is correct. Writing the exact duration down, along with whether the loop restarts instantly or pauses first, removes the guesswork for whoever sets the piece up next.
Triggered versus continuous playback is worth stating explicitly. A motion-triggered piece that only a photographer's memory can confirm becomes an ambiguous case in an archive years later. Note what triggers it, how long the triggered event lasts, and how long before it can be triggered again.
Playback level deserves its own line too. If the piece was calibrated to a specific volume on a specific system, record that setting, or at minimum, describe the loudness relative to normal conversation in the room. A future installer working from a silent floor plan and a vague memory of "not too loud" will make different choices than one working from an actual number.
How do you photograph a room whose content is invisible?
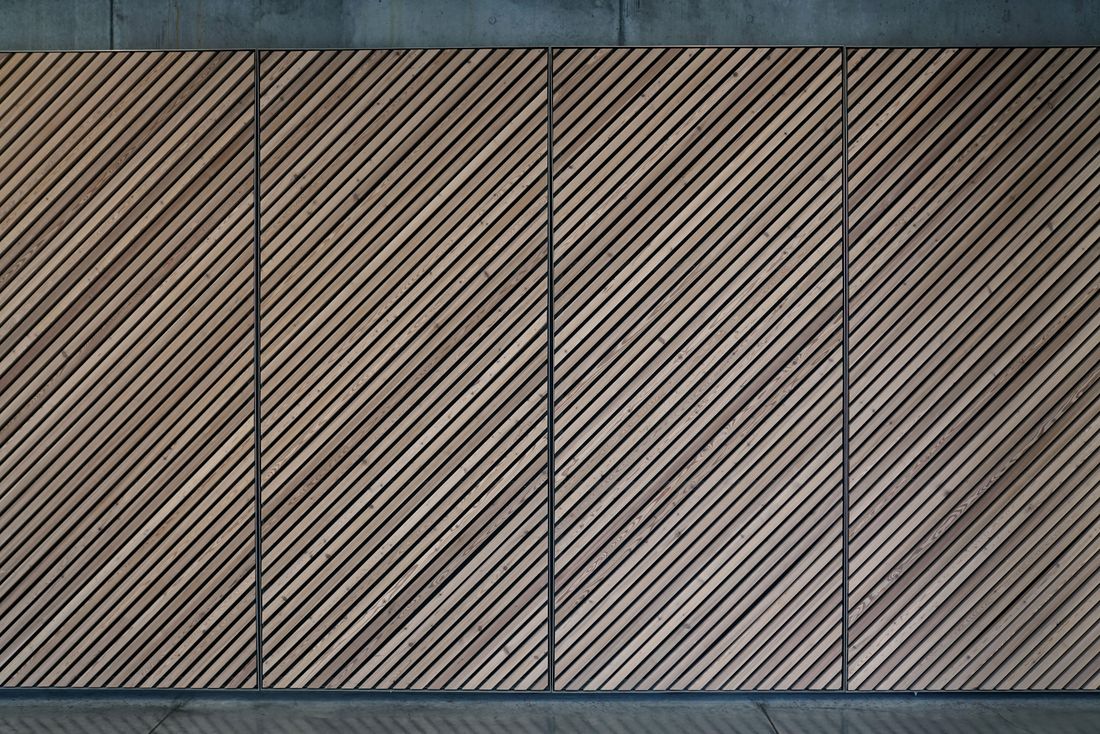
Photographing a room built around an invisible sound, scent, or temperature work means documenting everything that makes the encounter legible: the space itself, the materials that shape it, the light, any seating or path that guides a visitor, and the visible cues that signal something is happening even though the work itself cannot be seen. The photograph documents the container, not the content.
Resist the urge to visualize the invisible element literally. Sound-wave graphics, glowing overlays, or staged gestures implying someone is hearing or smelling something read as illustration, not documentation, and they misrepresent what a visitor would have actually encountered walking into the room. The honest version of this photograph often looks quiet: an empty gallery corner, a bench, a diffuser or speaker grille barely visible in the frame.
Materials matter more here than in most documentation work, because they carry information a photo of an object normally would. Acoustic paneling, curtains, unusual flooring, and enclosed architecture all shape how a sound or scent piece behaves, and photographing those surfaces gives a future reader real information about the conditions the work depended on.
Light matters too, since a dim, enclosed room built for close listening reads very differently from a bright, open one built for passersby to drift through. Photograph the room as a visitor would actually experience walking into it, at eye level, without over-lighting it into a cleaner version of itself than it really was.
What do a grant panel, an archive, and a gallery each need from this record?
A grant panel needs a short, clearly framed excerpt that proves the work exists and communicates its idea within seconds, since reviewers move through many applications quickly. An archive needs complete uncompressed files with full metadata, built to outlast any one exhibition. A gallery needs a smaller set of usable, presentable materials for its own promotion. These are three different deliverables from the same source material, not one file serving three jobs.
For a panel or application, lead with the strongest, most legible thirty to ninety seconds, paired with one or two installation views that establish scale immediately. Reviewers are not trying to reconstruct the full experience, they are trying to confirm the work is real, coherent, and worth a closer look. Overloading a submission with every file collected on-site usually works against the artist.
An archive wants the opposite instinct: everything, labeled plainly, with nothing discarded because it seemed redundant at the time. The clean master, the room recording, the placement photographs, the floor plan, and the written duration sheet belong together in one folder with a consistent naming system, since the value of an archive is in what survives being forgotten, not what looks good today.
A gallery generally needs a middle ground: a few strong installation images suitable for a website or press use, and a short audio or video excerpt cleared for public sharing. None of these three audiences are served by the same single file, which is why building the fuller record first, then excerpting downward, works better than shooting for one narrow use from the start.
What happens when a work genuinely cannot be represented?
Some encounters cannot be reduced to a repeatable record: a scent that fades within an hour, a durational piece that only means something across several hours in one room, a temperature shift felt against skin, a one-time live event with no fixed script. When that is true, the record's job stops trying to reproduce the effect and starts proving the work existed and describing how it was actually encountered.
This is not a failure of documentation, it is an honest boundary of what documentation can do. A photograph of an empty room where a scent piece once played will never let a future viewer smell it. No amount of better equipment changes that. Pretending otherwise, through staged reenactment or overpromising captions, misrepresents the work more than admitting the limit does.
What still has real value in this situation: a precise written description of the encounter from someone who was actually there, timestamped installation and room photographs, any technical specifications that made the piece possible, and a clear note about what could not be captured and why. This turns the record into evidence of the work's existence and conditions rather than a failed attempt at reproduction.
Artists, archivists, and grant reviewers generally respond better to this honesty than to an inflated claim. A record that says plainly, this piece cannot be reproduced from documentation, here is what we captured and how it was experienced, reads as more credible than a folder of files quietly implying they add up to the whole thing when they do not.
Frequently asked questions
Do we need a professional audio engineer to record a sound installation?
Not always. A decent handheld recorder or a direct pull from the piece's own playback source covers most documentation needs. An engineer becomes worth bringing in when the piece is complex, multi-channel, or central to a major submission, since mic placement and gain staging affect how faithfully the recording represents the work. For most single-source pieces, careful placement and a clean, uncompressed file matter more than specialized gear.
What file format should the audio master use?
Save the clean master as an uncompressed WAV file rather than a compressed format like MP3, since compression discards detail that matters for archival accuracy and future editing. Keep the original sample rate and bit depth the piece was recorded or exported at. Compressed copies work fine for sharing or web use, but they should always be generated from the uncompressed master, never treated as the primary file.
Can a video recording substitute for a proper audio record?
A video can support the record but should not replace a dedicated audio file. Camera microphones are built to prioritize speech clarity over accurate sound reproduction, and they compress dynamic range in ways that distort how a piece actually sounds. Use video to show the room and the listener's experience moving through it, and pair it with a separately recorded audio master for the sound itself.
How do we document work built around scent, temperature, or another non-visual, non-audio element?
Focus on the room, the materials, and a precise written account from someone present at the time: what changed, how it was felt or noticed, how long it lasted, and under what conditions it occurred. Photograph the space and any delivery mechanism honestly, without staging a visual stand-in for the sensation itself. The written account often carries more documentary value here than any image can, since it is the only record of an experience the camera cannot represent.
What if the space doesn't allow a clean audio recording because of ambient noise?
Record what is actually there rather than chasing an artificially clean take, since ambient noise is often part of the honest room recording anyway. Note the noise source and its rough level in a written log so a future listener understands the conditions the piece was heard under. If a cleaner reference is genuinely needed, pull the piece's clean master directly from its playback source instead of trying to out-record the room's own noise floor.
Build a paper trail your insurer can't argue with.
We shoot artwork documentation the way an appraiser or adjuster actually reads it, full views, true color, condition notes, and files that stay tied to the right piece.
Explore artwork documentation →