
A body of work headed to a fair usually gets photographed under a deadline that can't move, in one session, right before it goes into crates. That timing changes the job. Once the work leaves the studio, the file is the only proof of what it actually looked like (the color, the surface, the condition) before travel, hanging lights, and handling can put marks on all three. Documenting a whole body of work before it ships needs a specific plan. It needs a shooting order, a naming system, and enough condition detail that a mark noticed in a hotel room can be checked against a fact instead of a guess.
Documenting a body of work before a fair means photographing the whole set in one deadline-shaped session, with a fixed shot order, consistent color across hours of shooting, condition photos taken before crating, and a file naming system. The images end up covering a booth preview, press, a checklist, and sales follow-up, and the file stays the reliable record once the actual work is out of reach.
Why Does A Body Of Work Get Photographed As One Session, Not Piece By Piece?
A body of work photographed piece by piece over months drifts. A piece shot in June under one set of lights looks different from a piece shot in August under another, even when nothing about the work itself changed. Put those files side by side in a booth preview or a PDF and the mismatch shows immediately: one canvas reads warm, the next reads cool, and a gallery has to explain why two pieces from the same artist look like they came from two different sessions.
A fair does not see individual pieces. It sees a set, a wall of images in a booth preview email, a checklist with a photo next to each title, a press packet a writer skims once. All of that only works if the files look like they came from the same hand, on the same day, under the same light, whether the pieces were finished in January or finished the week before the shoot. Photographing the whole body in one session, run against the crate date rather than the studio's own calendar, is the only way to guarantee that. It also removes the option that quietly undermines most bodies of work: coming back later for just the one piece that got missed. Once the crate closes, there is no later.
What Does 'Consistent' Actually Mean Across A Full Set?
Consistent sounds vague until it's broken into what actually has to hold steady from the first piece to the last:
- The same lighting setup. Once the lights are positioned and metered for the group, they stay put. Moving a light half a foot to catch a stubborn glare on one piece, then moving it back, is exactly how two pieces from the same session end up lit differently.
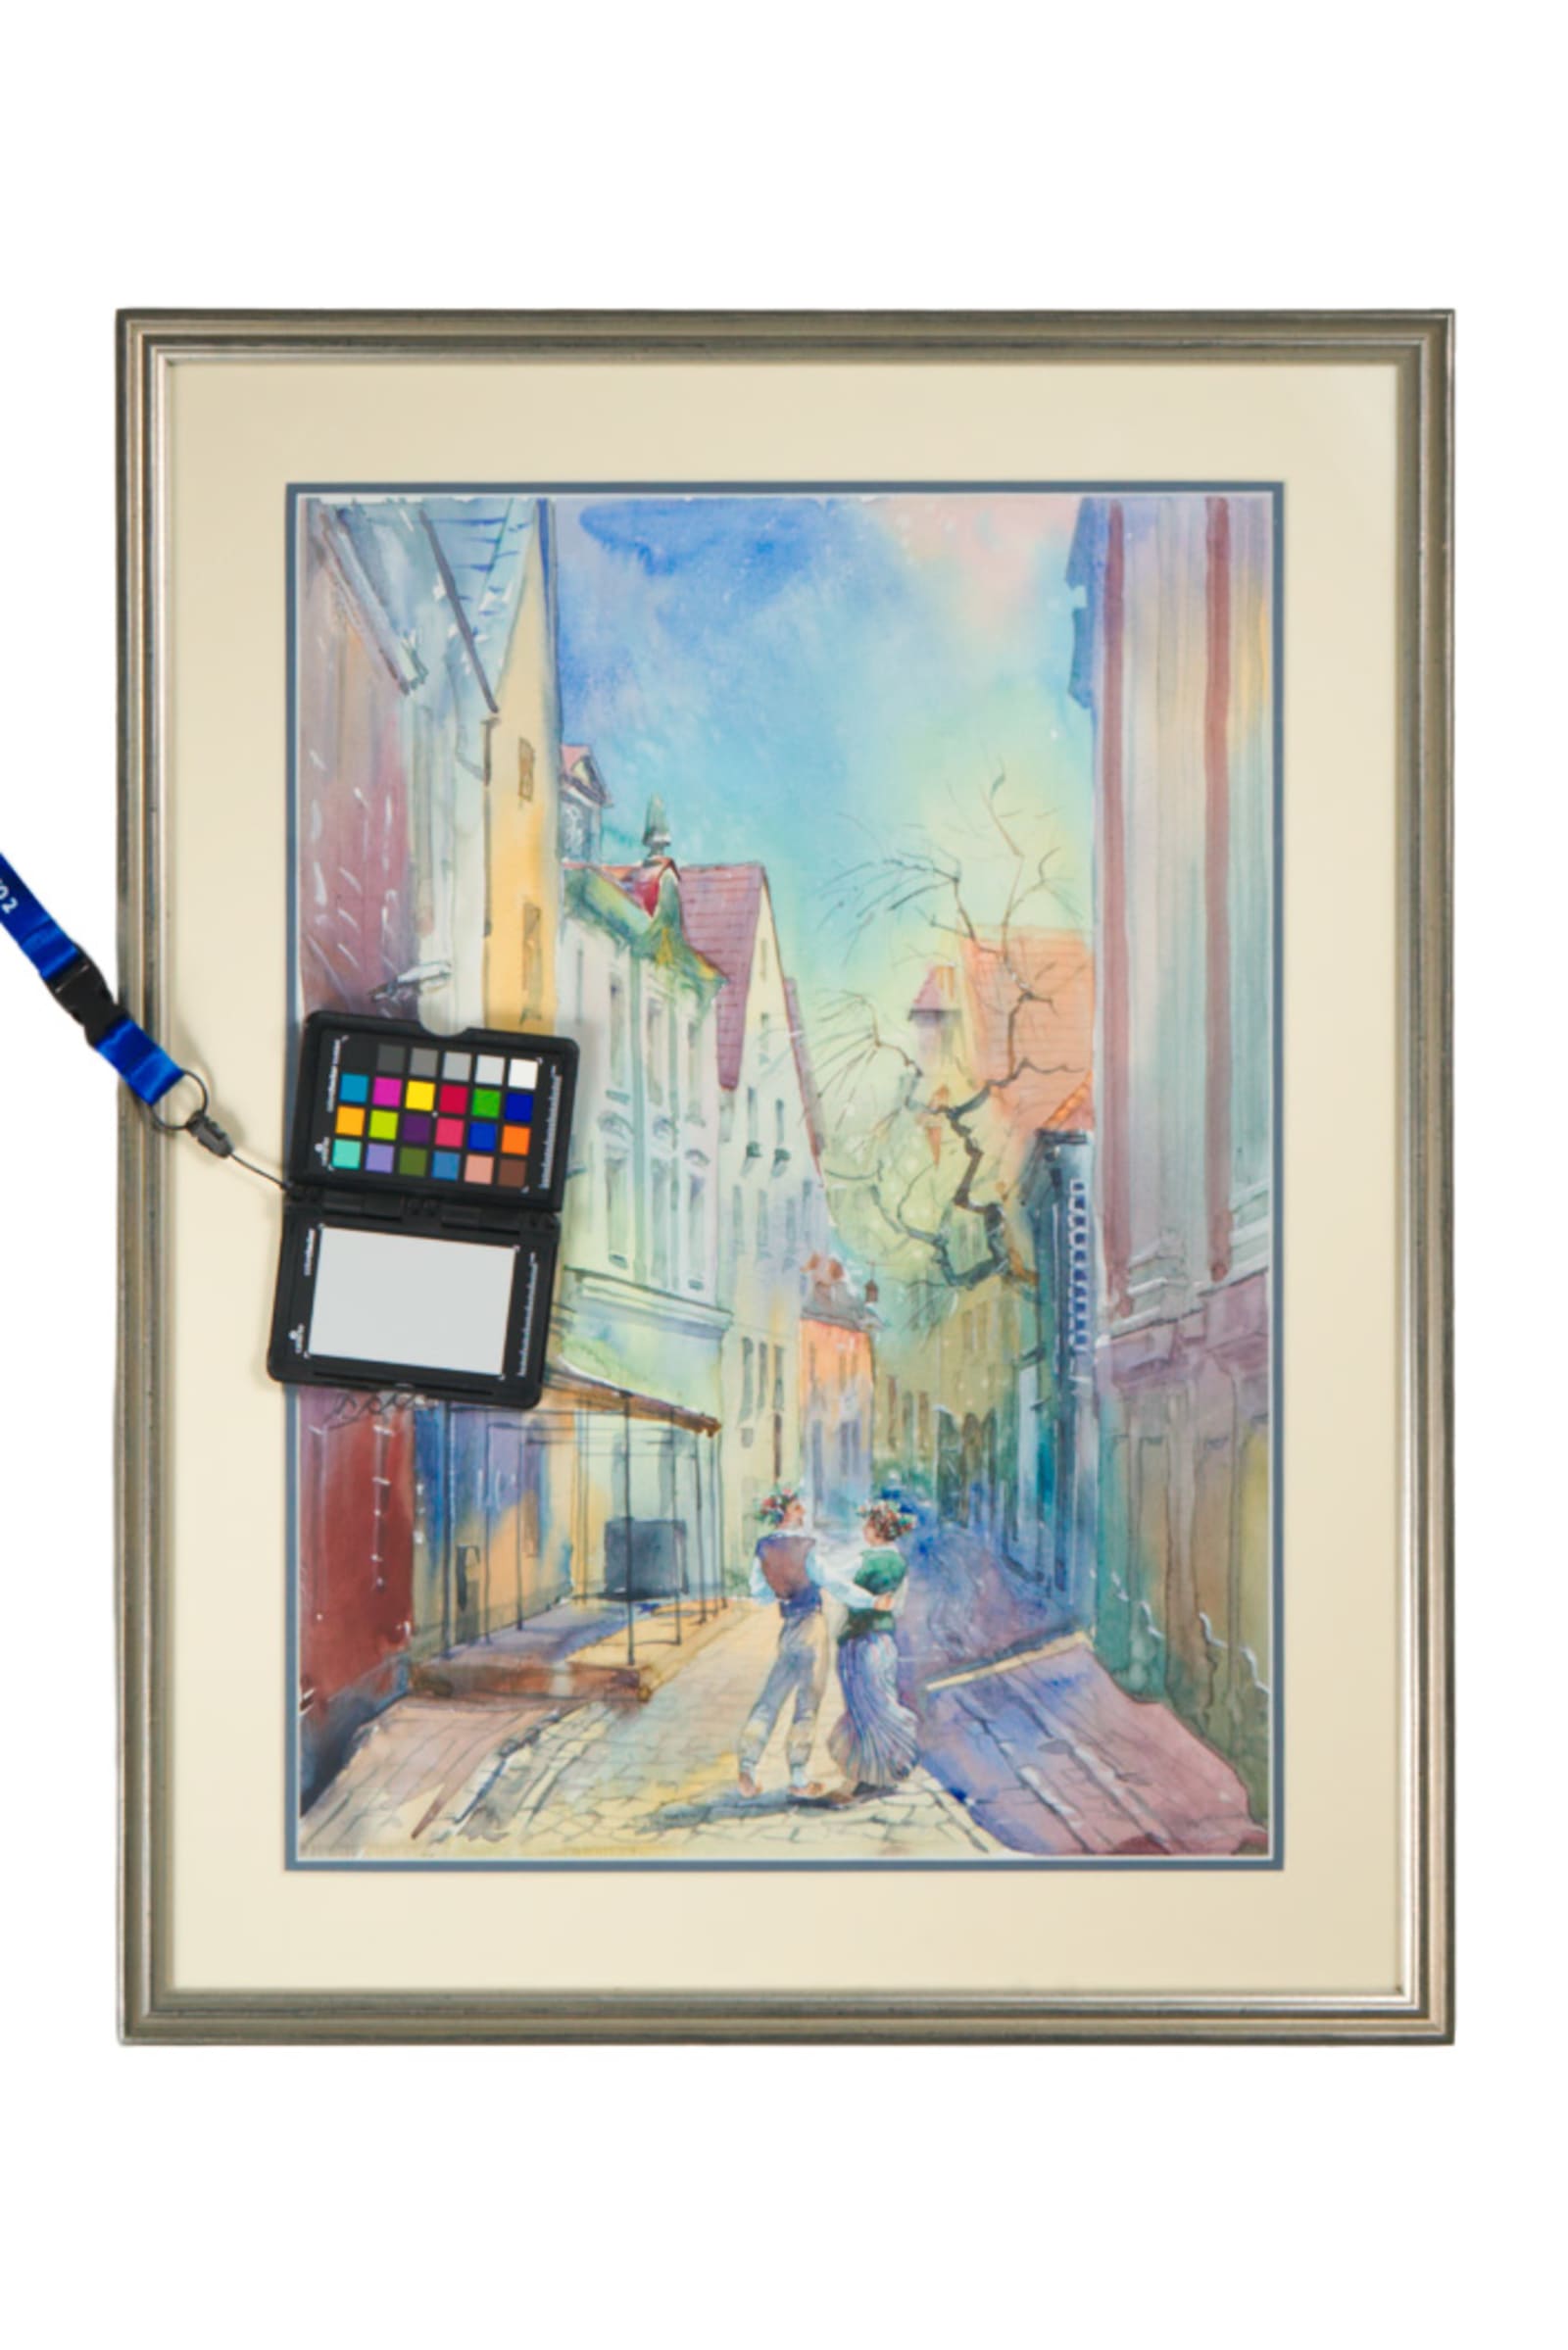
- The same color reference. A color-calibration card, read once under the working light and checked again partway through a long session, keeps every file anchored to the same white point instead of drifting piece by piece as auto white balance reacts to each canvas's own colors.
- The same distance and framing logic. Every piece gets the same margin of space around it in the frame and the same camera height relative to its center, so a small work and a large one both read as full, straight views rather than one looking cropped tight and the next looking lost in empty space.
- Files named the same way, every time. Artist or set name, a piece number, and a view type, full, detail, or back, applied at export, not reconstructed later from memory in a hotel room the night before the fair.
How Long Does Shooting A Full Body Of Work Actually Take?
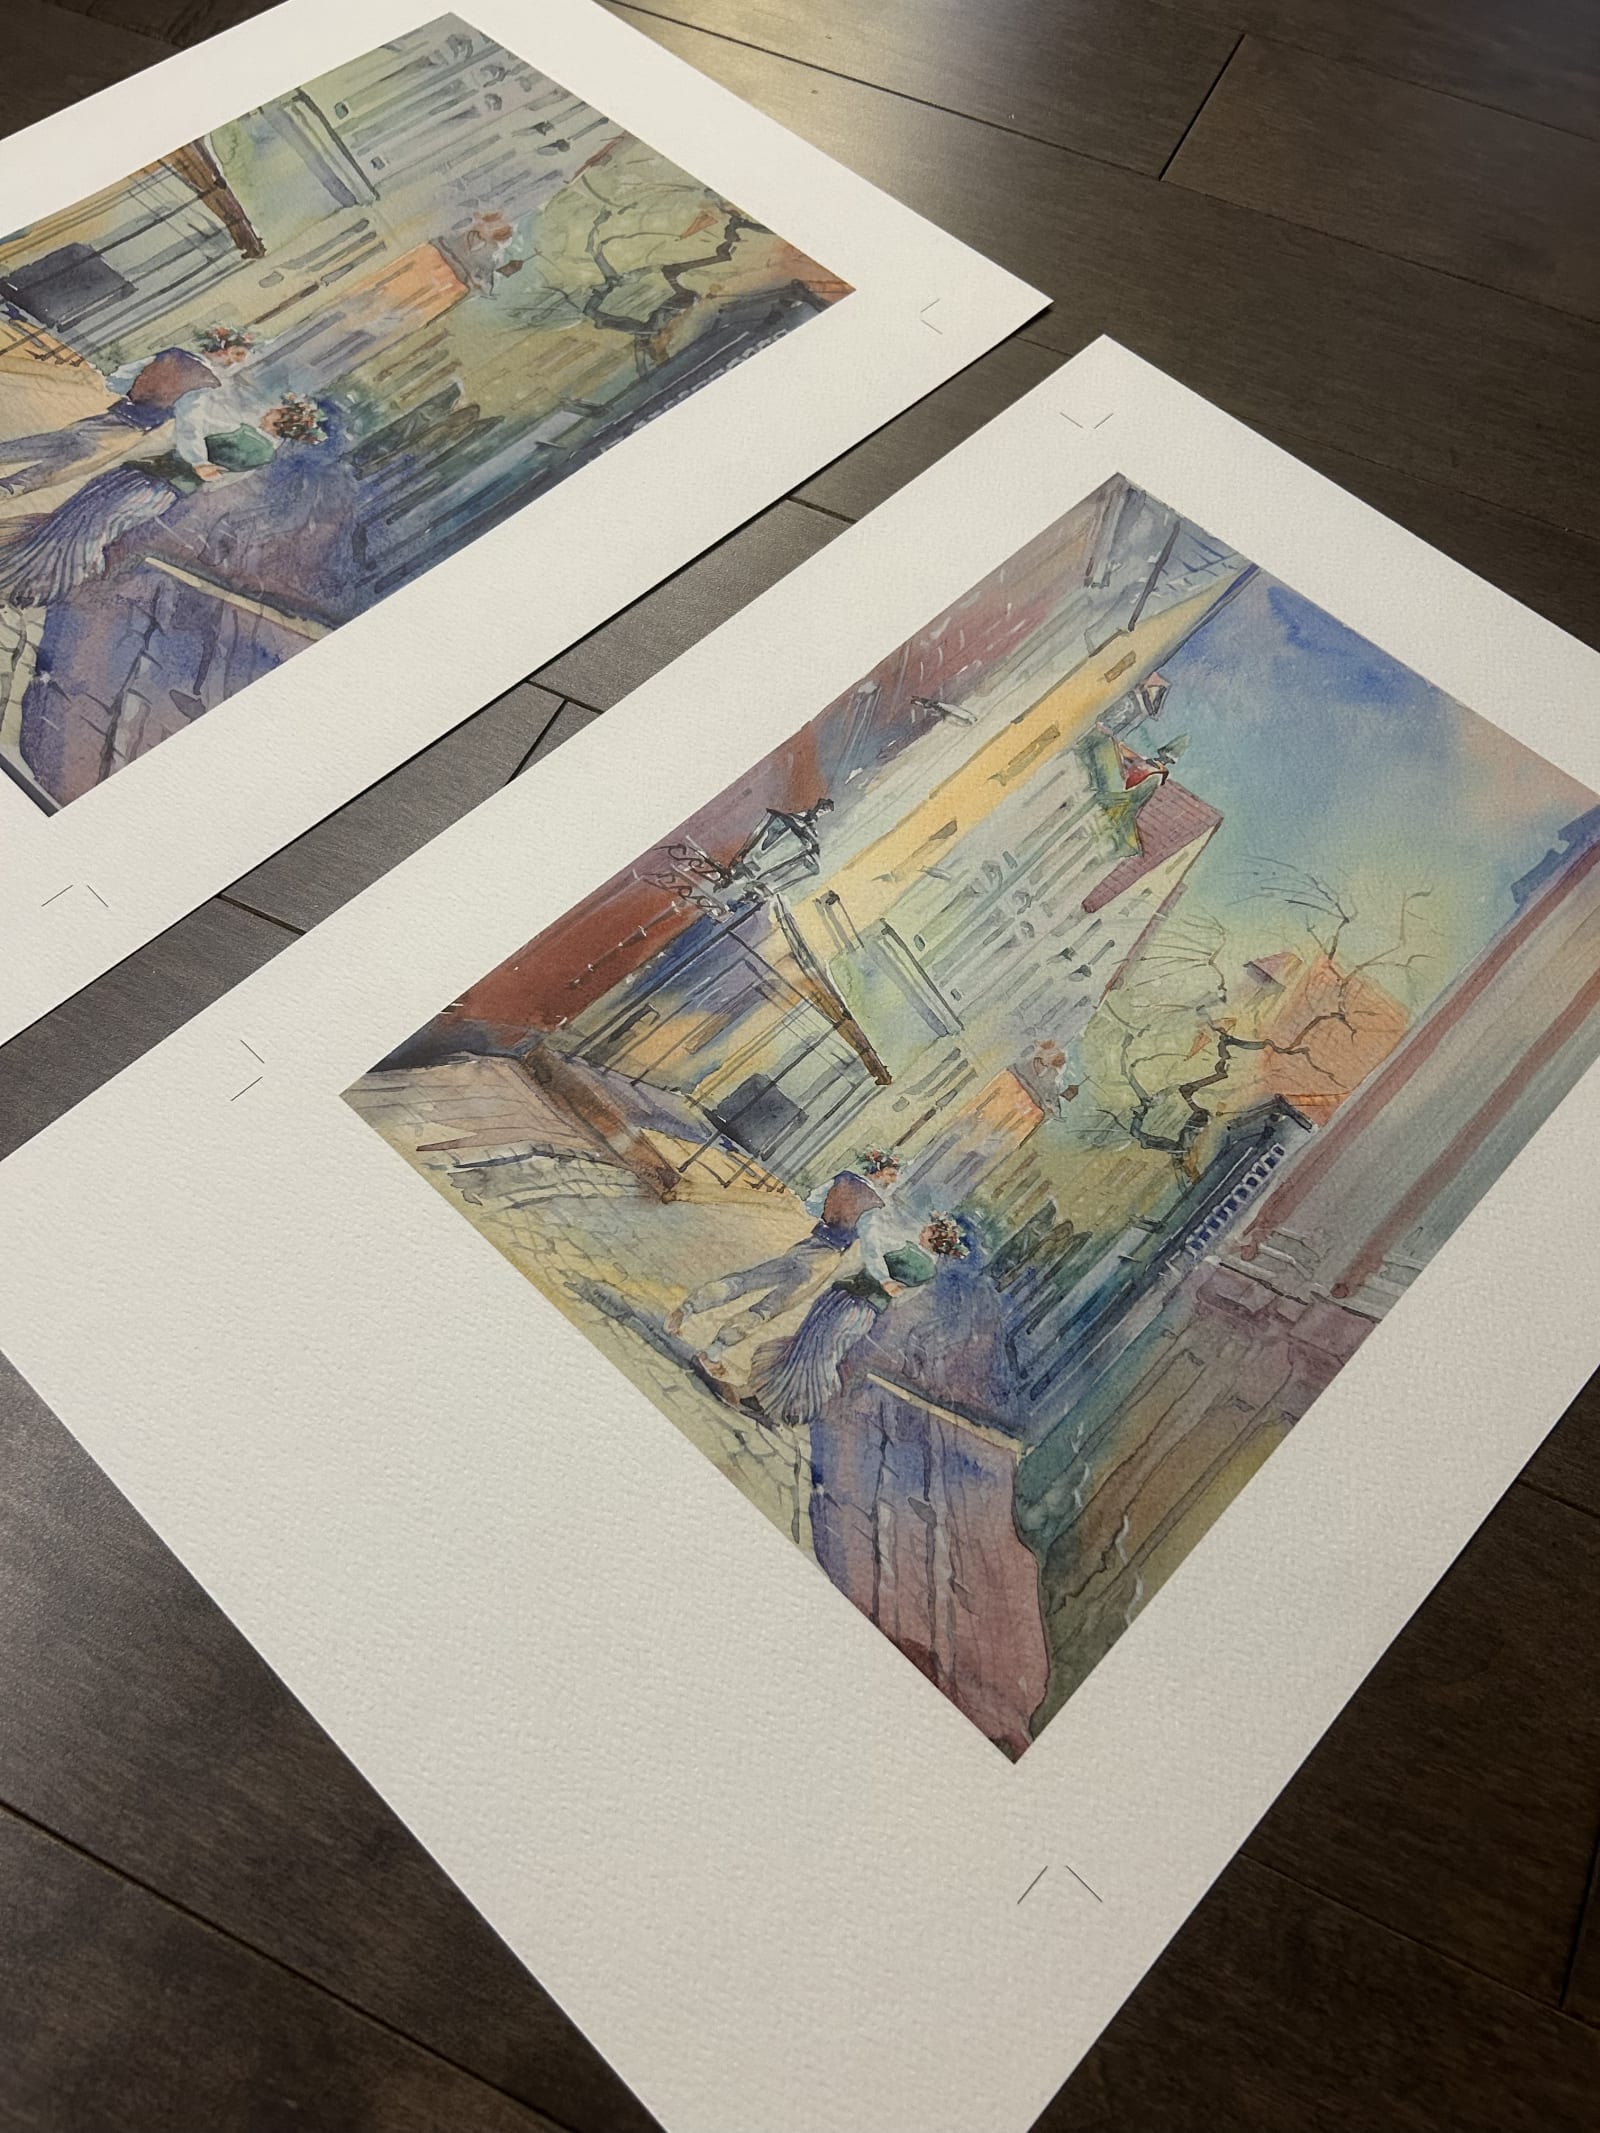
A full body of work takes longer than a single-piece shoot for a simple reason: even with the lighting locked, every piece still needs its own repositioning, its own check for glare or reflection, and its own review on screen before moving to the next one. A set of eight to twelve pieces usually fills a four to six hour session once setup and a couple of reshoots are counted in. A larger body headed for a bigger booth, twenty pieces or more, is realistically a full day, sometimes split across two sessions rather than crammed into one.
The pricing scales the same way. A standard piece, a hero shot plus two detail shots, color-corrected and print-ready, runs $85; a body of ten to nineteen pieces gets ten percent off the per-piece total, and twenty pieces or more moves to a custom quote built around the actual time on site. The $500 minimum on any NYC documentation booking exists for exactly this reason: bring the whole body of work to one session rather than splitting it across several smaller bookings, and the minimum works in the artist's favor instead of against it. Glass or framed work adds a flat fee for the anti-reflective lighting rig, the same fee whether the set has one glazed piece or six. None of that changes the honest answer to how long this takes: book more time than feels necessary, because the pieces that get rushed are always whichever ones land at the end of the list.
What Has To Happen Before The Crate Closes?
Some parts of this job can be redone later. None of the following can, once the crate company has come and gone:
- Full front and back views of every piece. Not just the side that will hang. A back view is the fastest way to settle, later, whether a mark was already there.
- Close details of any existing wear. A scuff, a chip, an uneven varnish edge. This is a documentation habit, not a professional condition assessment, but a plain record of how a piece looked before travel added its own wear on top.
- A shot of the frame or edge. Corners take the worst of handling and crating; a frame photographed clean before it ships is the reference for a corner that arrives dinged.
- File names and a matching checklist finished at export. Piece number, title, and medium, saved alongside the images, so a gallery can hand the folder to a printer or a collector without a phone call back to whoever shot it.
Five extra minutes per piece during a session that is already happening is a lot cheaper than trying to reconstruct what a piece looked like from memory once it is on a different wall in a different city.
What Shooting Order Protects The Last Pieces On The List?
Grouping pieces by size and surface, not by however they happen to be leaning against the studio wall, keeps the light stable and cuts down on relighting. Large canvases get shot as one group so the tripod height gets set once; small works on paper get shot as another. Matte and glossy surfaces get grouped separately too, since glare correction on a glossy piece takes a different angle than a matte one, and switching back and forth wastes time re-adjusting for no reason.
The harder decision is what gets shot last. Pieces that need extra handling, a large diptych, something still partly wrapped, anything fragile, usually go near the end, once the easier pieces are done and there is still light and time left for a second pass if something needs it. The instinct to save the hardest piece for the very last slot of a deadline day is understandable, and it is also how a body of work ends with one rushed, underlit frame standing in for the rest. A short shot list made the day before, even handwritten, is enough to catch that before the camera goes up.
What Goes Wrong When This Step Gets Rushed?
When this step gets rushed, the results are predictable: color that shifts across the set because the reference was only checked once at the start, a missing detail shot nobody noticed until the gallery asked for it, a file name that doesn't match what the gallery is calling the piece, and condition photos that never got taken because the crate company arrived before the last few pieces were finished.
None of this looks like a problem on shoot day. The piece still gets crated. The truck still leaves on time. It shows up two weeks later, in a hotel room or at a booth, when someone needs a clean file of exactly that piece and the file that exists doesn't quite match what's on the wall.
A fair deadline can't move. That's not the part to fix. What can change is treating the whole body of work as one connected sequence, with the naming, the color checks, and the condition shots built into the order from the start, rather than added at the end once the clock has already run out.
Make sure your archive means something when someone asks for proof.
We photograph the work the way an insurer or gallery registrar wants it documented, straight views, correct color, and condition callouts you can actually point to later.
Explore artwork documentation →