
A restoration is judged a success when it disappears, when the retouching blends in, the surface reads clean, and the piece just looks like itself again. That also means the finished piece carries no visible trace of what was done to it. The photographic record taken before treatment started, and again once it ended, is what proves any of it actually happened. It only works if the before and after are shot to the same specification. Match the angle, the light, the scale, and the color reference, and the comparison holds up. Skip any of that, and the two photos prove nothing.
A proper condition record is a matched before-and-after photo set, shot to the same specification both times: same angle, same lighting, a color and scale reference in frame, raking-light shots for surface deformation, and close details of every treated area at a known scale. The files then need to be labeled and archived clearly enough that someone who wasn't there for either shoot can still read them as evidence years later. Casual phone photos before treatment usually fail on consistency, color accuracy, or resolution, which is exactly what makes the comparison useless later.
Match the Camera, the Light, and the Distance, Not Just the Subject
The single requirement a condition record lives or dies on: every variable that isn't the artwork itself has to stay fixed between the before shoot and the after shoot. Camera height, lens, angle to the surface, light source and position, and exposure settings as close to identical as the equipment allows. If any of that drifts, the two photos stop being comparable.
The temptation is to treat the before shoot and the after shoot as two separate events, especially when weeks or months pass between them and different weather, different time of day, or a different person ends up behind the camera. That's the wrong instinct. Write down the setup the first time, camera position, light angle, distances, and use those same numbers the second time.
Framing needs a full, straight-on shot of the entire piece, captured the same way both times, plus tighter shots of specific areas as the treatment plan calls for them. The overall shot proves nothing changed outside the treated area. Get that one right and everything else in the set has something honest to sit next to.
Put a Color and Scale Reference in Every Set
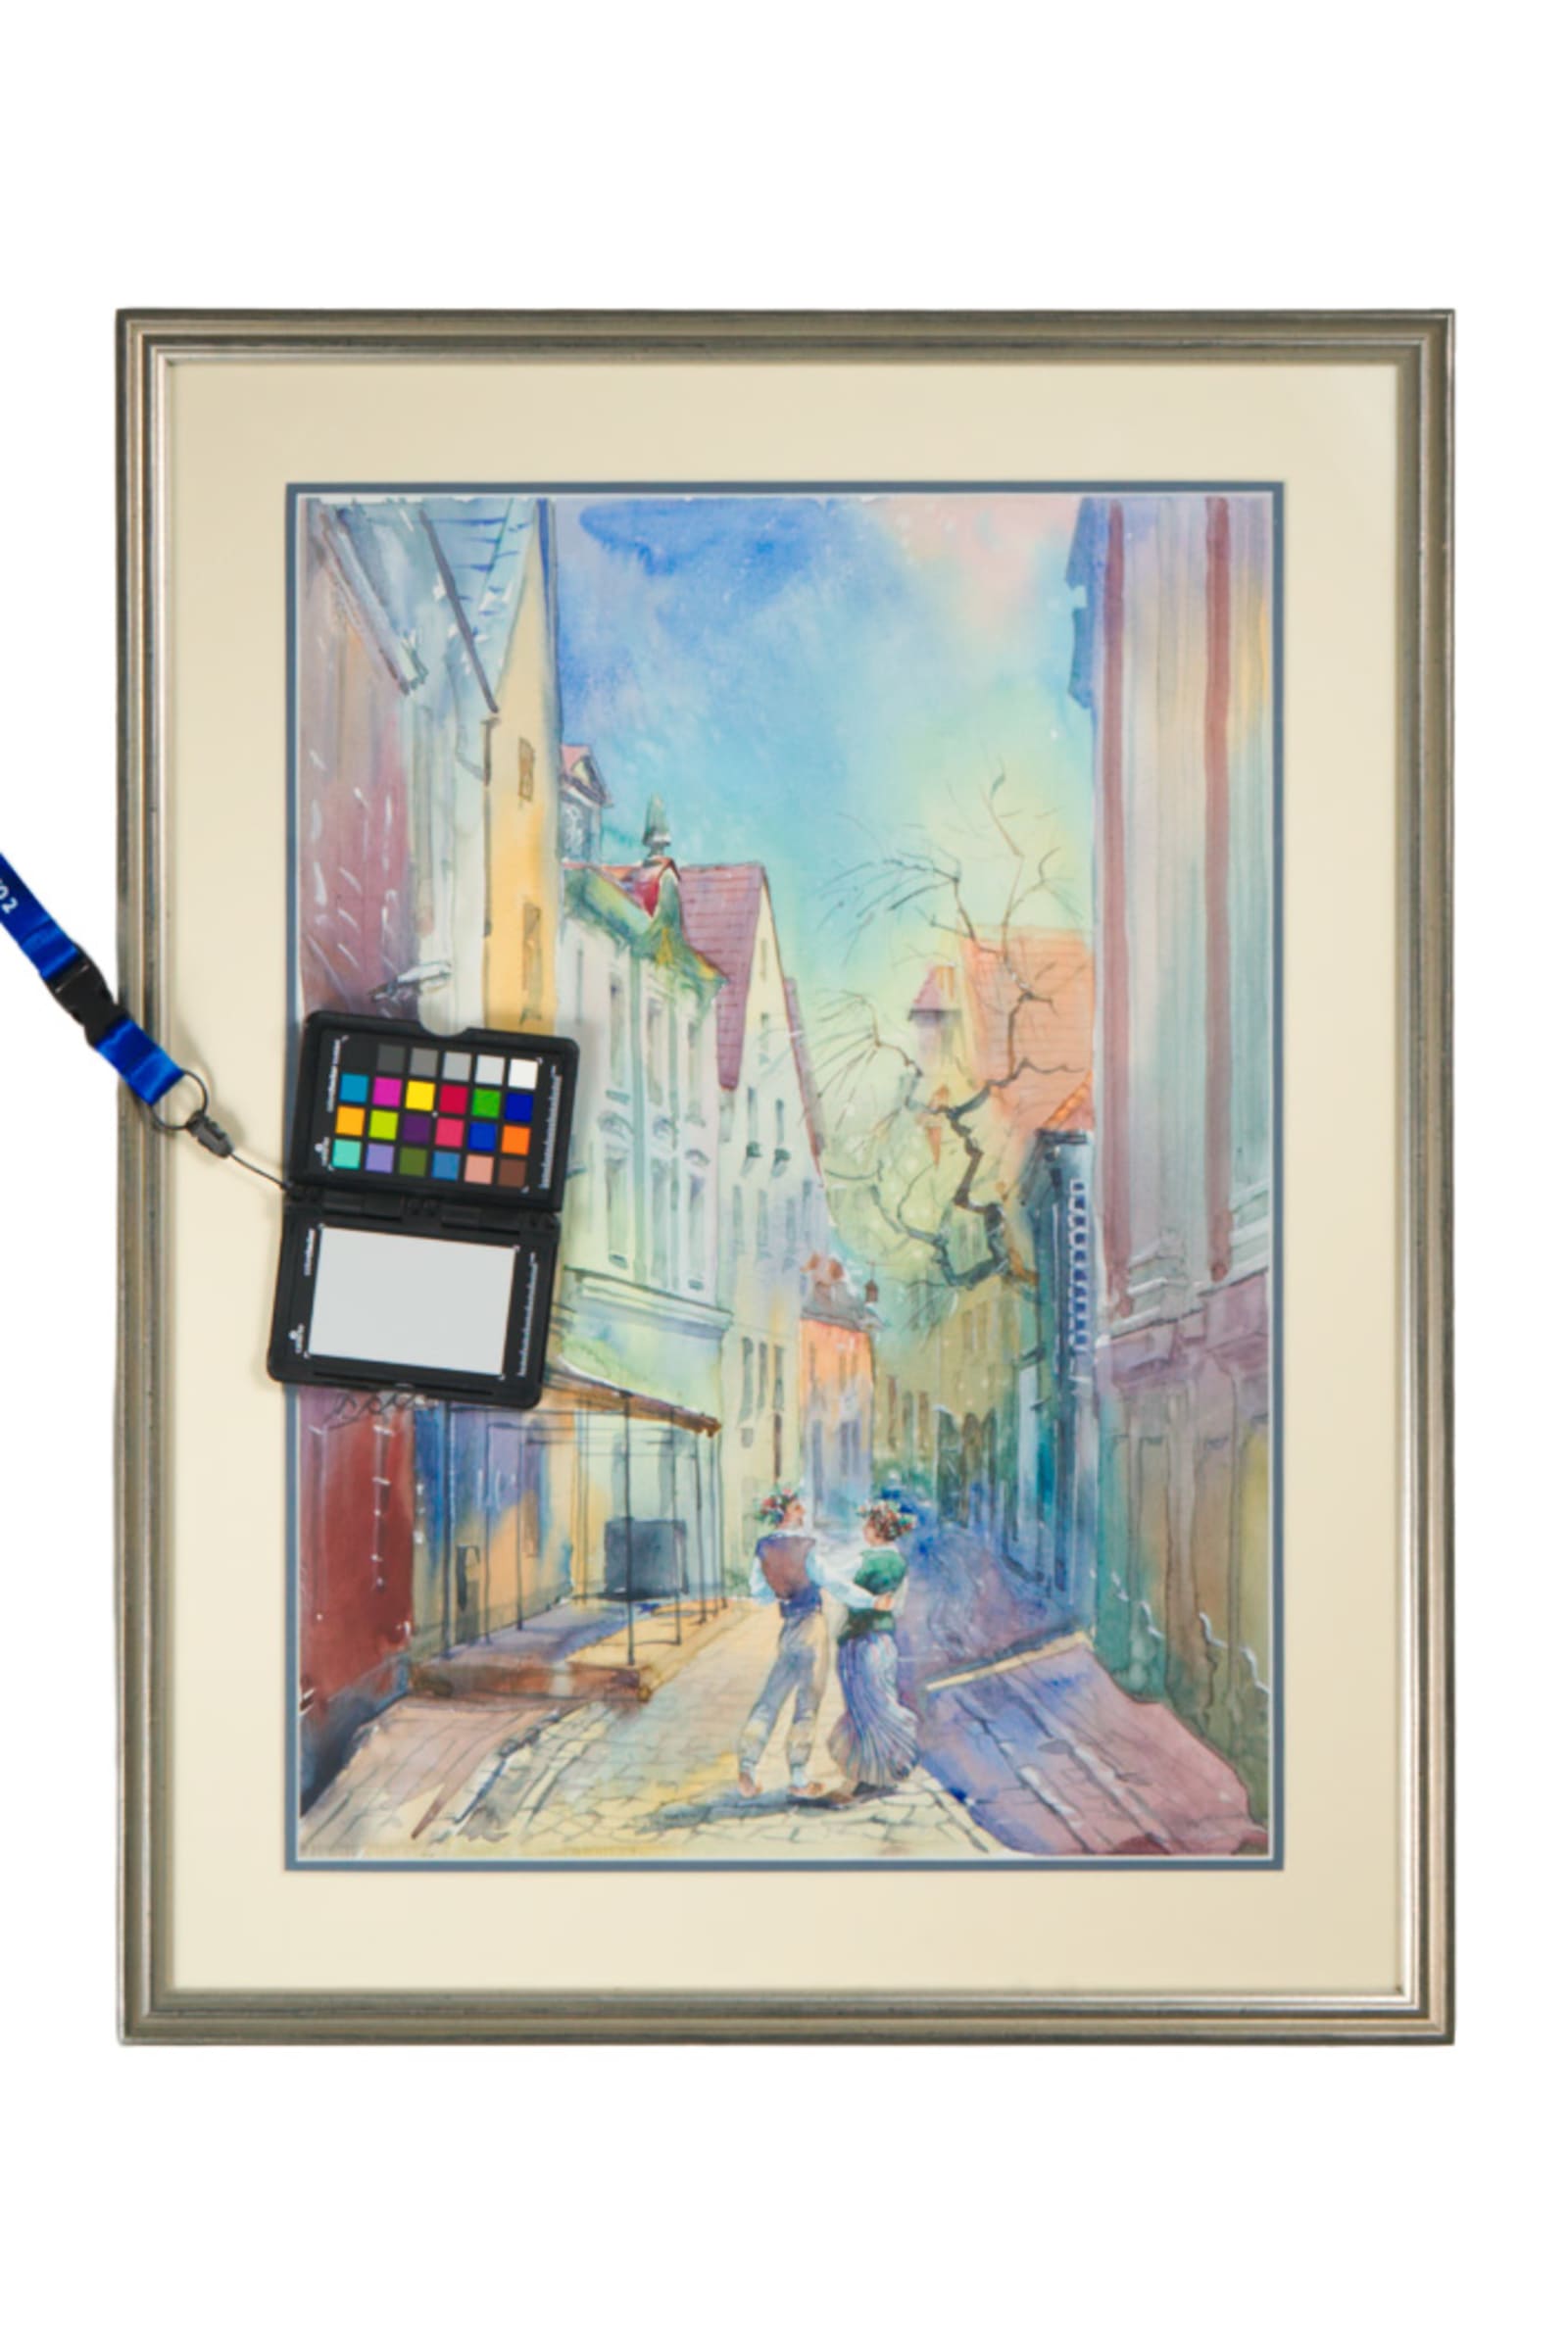
A color reference card and a ruler or scale marker belong in frame for at least one shot in each set, before and after. Color casts drift between shoots for reasons that have nothing to do with the painting: a different bulb, a different time of day, a phone's own auto white balance. A reference target is what lets anyone looking at the photos later correct for that drift and compare the actual pigment, not the lighting on that particular day.
The scale reference does a separate job. It fixes the size of whatever the photo is showing, so a two-inch mark on a detail shot stays a two-inch mark no matter how the image gets cropped, resized, or printed later.
This is worth doing even on a documentation shoot that has nothing to do with restoration, because the habit of including a calibration target in frame is what makes the file trustworthy on its own, without a caption explaining what it is.
Shoot Raking Light for Surface Deformation
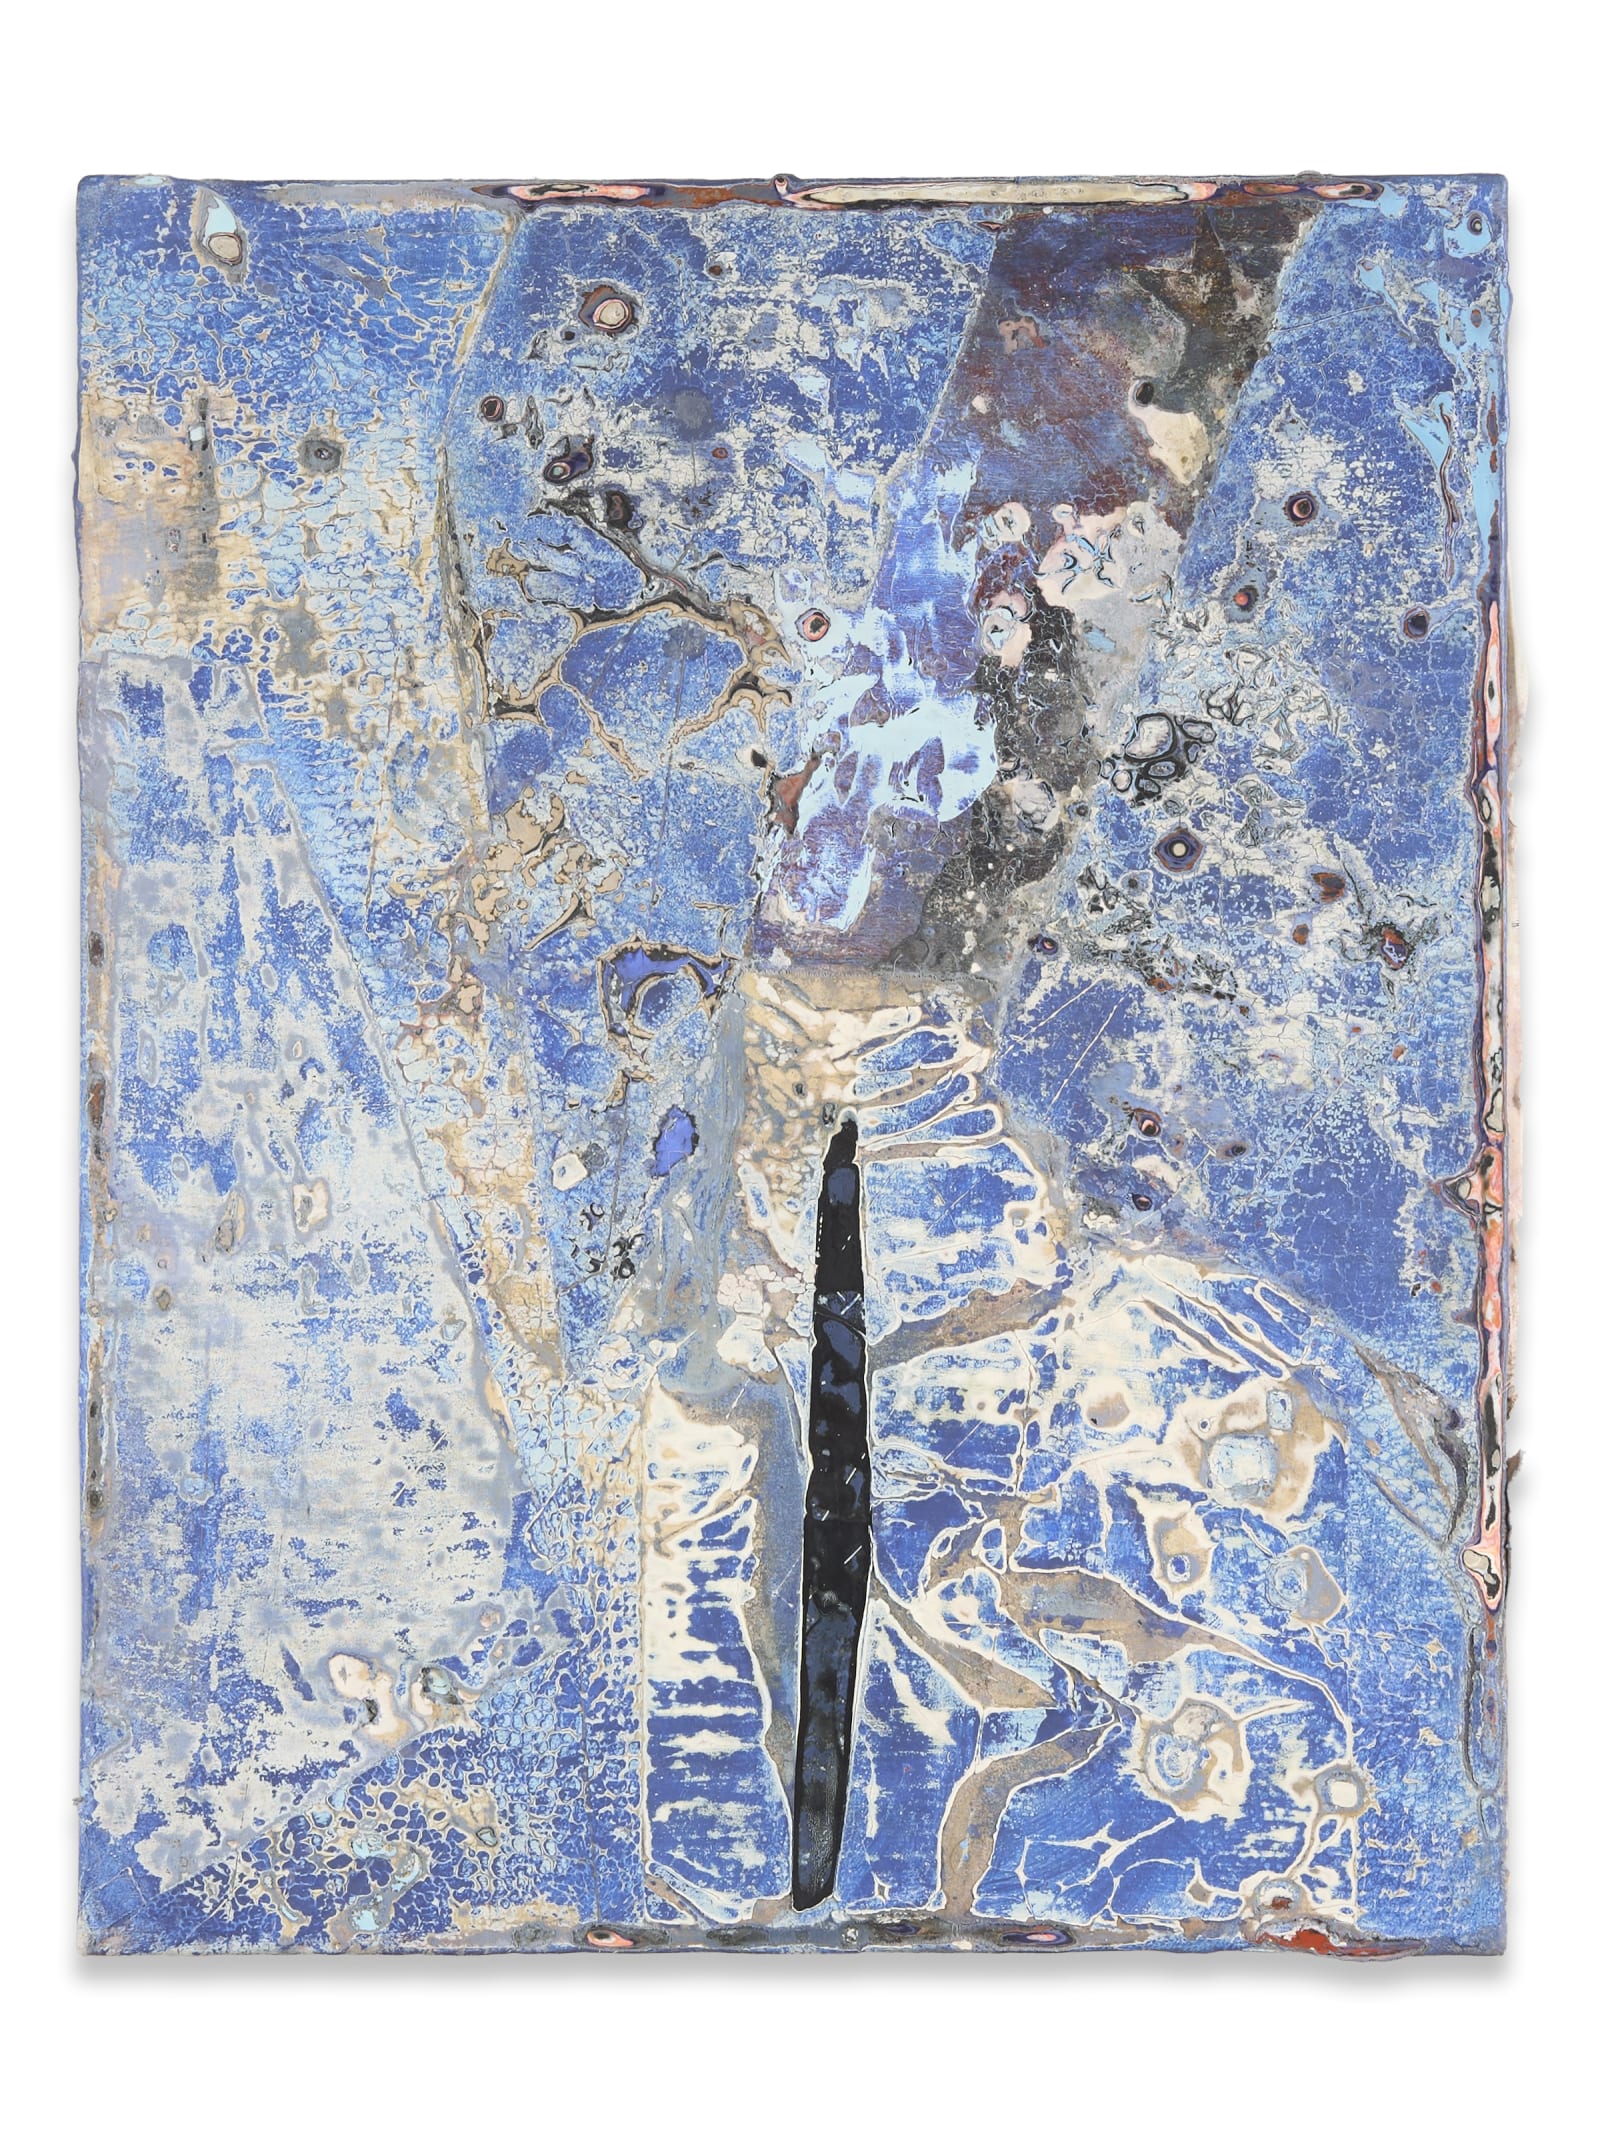
Raking light, cast across the surface at a low angle rather than straight on, reveals texture that flat, even lighting hides completely. Flaking paint, old varnish ridges, cupped canvas, and fine cracks all throw shadows under raking light that disappear under standard even illumination.
Straight-on, evenly lit photography is built to show color and form accurately, which is exactly what makes it bad at showing surface topography. A crack that reads clearly in person, because it catches light differently than the surrounding paint, can vanish entirely in a flat, front-lit photo.
Raking light solves this by grazing the surface from one side, low enough that any change in height throws a visible shadow. It belongs in both the before and after sets whenever surface condition is part of what's being treated. The before shots document the deformation in a way a written description can't match; the after shots, taken at the same angle, show whether the surface actually sits flat now.
It's a standard technique in condition reporting for exactly this reason. A single flashlight or a portable LED panel held low and to one side is enough on most pieces; the goal is a shadow, not a flood of light across the whole surface.
Capture the Full Piece, Then Every Treated Area at a Known Scale
Beyond the full, straight-on view, a condition record needs close, well-lit detail shots of every specific area on the treatment plan: a tear, a loss, an area of flaking, a stain, old overpaint. Each area gets its own before-and-after pair, shot close enough to show the actual surface and with a scale reference so the size of that area is unambiguous later.
A painting can have flaking in one corner and a separate stain elsewhere, and a single generic detail photo tends to favor whichever damage is most visible, leaving quieter problems undocumented. It's worth photographing every area on the plan individually rather than assuming one wide detail shot covers everything.
These detail pairs are usually what gets referenced later, more than the overall shots. If a question comes up about whether a specific repair holds, or whether a certain area was actually treated at all, the detail photograph pairing the before and after of that exact spot is the answer, not the wide shot of the whole piece.
Skip the Phone: Shoot at a Resolution That Holds Up to Cropping
A quick phone photo before treatment usually fails on the three things that make a condition record useful later: consistent angle and lighting that can be matched in the after shoot, color accuracy that holds up against a screen's own auto-adjustments, and resolution that survives cropping into a detail years down the line.
Phone cameras apply their own automatic corrections to exposure, white balance, and sharpness, often differently from one shot to the next depending on ambient light and the phone's own processing decisions. That's fine for a casual reference image. It's a problem for a photo meant to be compared, months later, against a second photo taken under different conditions.
A phone photo that looks sharp on a screen often can't be cropped into a tight detail without visible softness or compression artifacts, and a condition record frequently needs exactly that kind of close inspection later, by an insurer, an appraiser, or a future owner looking at one specific area.
None of this is a knock on phones as cameras generally, it's specific to what a condition record is for: matched, comparable, high-resolution evidence taken under repeatable conditions. A phone photo can document that a piece existed in some state at some point. It usually can't do the more demanding job of proving what changed.
Label and Archive the Files So They Still Read as Evidence Years Later
A condition record is only useful later if whoever opens the folder can tell, without asking anyone, which piece, which shoot, and which view they're looking at. A generic camera filename like IMG_4021 tells a future viewer nothing. Name each file with the piece identifier, the date, whether it's before or after, and what it shows: overall, raking, or the specific detail area.
Keep the before set and the after set filed together under the same piece, not scattered across separate shoot folders by date shot. Store the full-resolution originals, not just a compressed web export, since the whole point of the resolution requirement is being able to crop back into a detail later.
Digital storage costs very little compared to what a condition record is worth if a dispute, a claim, or a resale conversation comes up. Treat the file structure as part of the record itself, not an afterthought once the shoot is over.
A simple pattern works for most collections: piece ID, date, before or after, view. Something like SMITH-042_2026-08-18_before_overall.jpg tells anyone who opens it exactly what they're looking at without a caption attached.
Who Actually Needs This Record
An artist uses it to establish what a piece looked like at a fixed point, independent of anyone's memory, which matters if a question ever comes up about damage from shipping or handling. A conservator uses it to document the state a piece arrived in, which is the clearest defense against a claim that treatment caused damage that was already there.
An insurer or a future owner uses it as the baseline any later claim, appraisal, or resale conversation gets measured against. Without a documented before state, all three of those conversations run on guesswork instead of comparison. A record built to this specification serves all of them from the same shoot, because the requirements above, matched setup, color and scale reference, raking light, resolution, and clear labeling, are what make it trustworthy to someone who wasn't there for either session.
For a gallery or a collection with more than one piece moving through treatment at a time, the same filing habits scale the record from a single before-and-after set into a working archive that stays legible piece by piece.
Make sure your archive means something when someone asks for proof.
We photograph the work the way an insurer or gallery registrar wants it documented, straight views, correct color, and condition callouts you can actually point to later.
Explore artwork documentation →